Introdução
Use this guide to fix a cracked or broken screen by replacing just the bare front panel, a.k.a. LCD and digitizer assembly, in the iPhone SE 2022.
This guide was performed on the A2783 (international) model.
If the frame is deformed, it's important to replace it to make sure the new screen will mount correctly and won’t suffer damage from uneven pressure
This guide shows how to replace only the iPhone SE 2022 LCD and digitizer assembly (a.k.a. the bare “front panel”). This requires you to transfer several components from your original screen to the new one before installing it—including the front-facing camera, earpiece speaker, LCD shield plate, and home button assembly.
In order to maintain Touch ID functionallity it's important to carefully transfer the original home/Touch ID sensor onto the new display. The solid-state home button is paired to its original logic board by Apple, so replacing it will render it unusable.
If you do not replace the adhesive seals when reassembling, your device will function normally, but will most likely lose its water protection.
You’ll need replacement adhesive to reattach components when reassembling the device.
O que você precisa
-
-
Power off your phone before beginning disassembly.
-
Remove the two 3.4 mm P2 pentalobe screws on the bottom edge of the iPhone.
-
-
-
Measure 3 mm from the tip and mark the opening pick with a permanent marker.
-
-
-
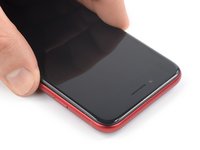
Lay overlapping strips of clear packing tape over the iPhone's screen until the whole face is covered.
-
If you can't get the suction cup to stick in the next few steps, fold a strong piece of tape (such as duct tape) into a handle and lift the screen with that instead.
-
-
Ferramenta utilizada neste passo:Clampy - Anti-Clamp$24.95
-
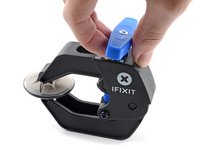
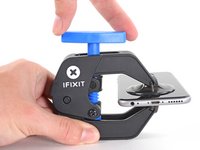
Pull the blue handle backwards to unlock the Anti-Clamp's arms.
-
Slide the arms over either the left or right edge of your iPhone.
-
Position the suction cups near the bottom edge of the iPhone just above the home button—one on the front, and one on the back.
-
Squeeze the cups together to apply suction to the desired area.
-
-
-
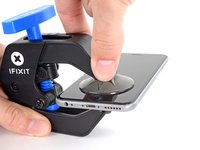
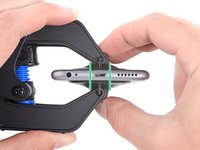
Heat an iOpener and thread it through the arms of the Anti-Clamp.
-
Fold the iOpener so it lays on the bottom edge of the iPhone.
-
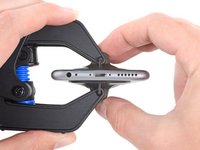
Wait one minute to give the adhesive a chance to release and present an opening gap.
-
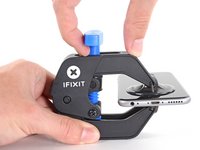
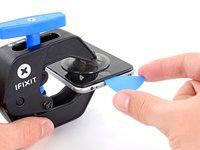
Insert an opening pick under the screen's plastic bezel, not the screen itself.
-
Skip the next two steps.
-
-
-
Prepare an iOpener and apply it to the screen for at least two minutes to loosen the adhesive underneath.
-
-
-
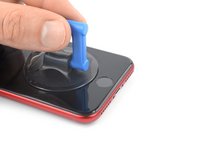
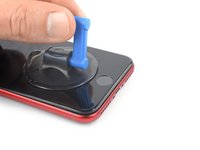
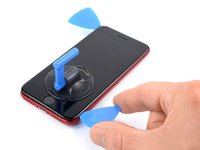
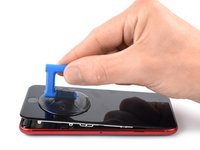
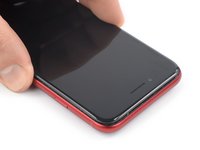
Secure a suction handle to the lower half of the front panel, as close to the home button as possible.
-
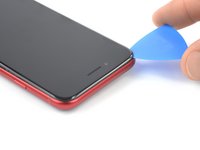
Lift the front panel with the suction handle to create a small gap between the front panel and the frame.
-
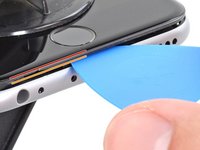
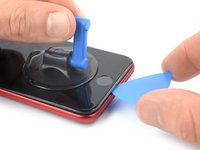
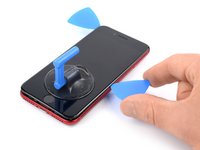
Insert an opening pick into the gap under the screen's plastic bezel.
-
-
-
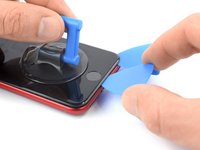
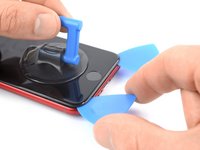
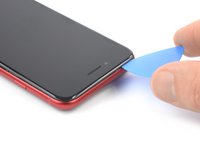
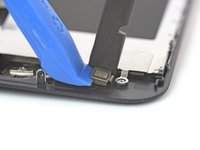
Slide the opening pick to the bottom right corner to slice the front panel adhesive.
-
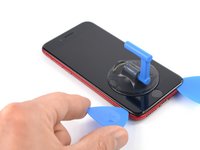
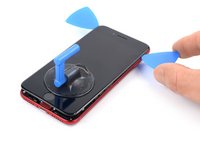
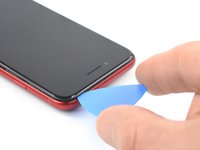
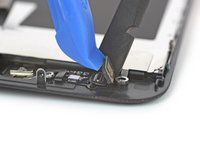
Insert a second opening pick at the bottom edge of your phone.
-
Slide the opening pick to the bottom left corner to slice the adhesive.
-
Leave the opening picks in place to prevent the adhesive from resealing.
-
-
-
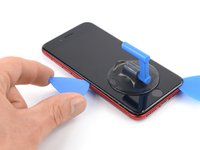
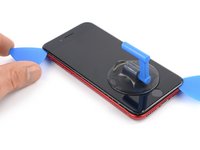
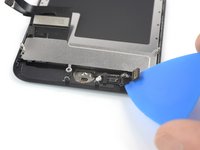
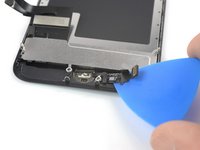
Slide the bottom left opening pick along the left edge of your phone to slice the adhesive.
-
Stop near the top left corner of the display.
-
-
-
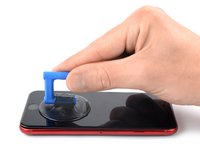
Remove the opening picks.
-
Gently pull up on the suction handle to lift up the bottom edge of the display.
-
Remove the suction handle.
-
-
-
Slide an opening pick underneath the top left corner of the display.
-
Slide the opening pick around the top left corner and along the top edge of the phone to slice the remaining adhesive.
-
-
-
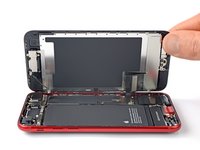
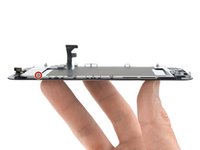
Slide the display assembly slightly down in direction of the charging port to disengage the clips holding it to the rear case.
-
-
-
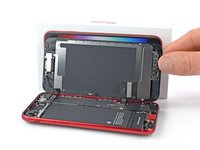
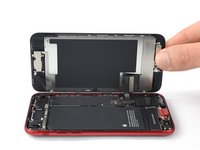
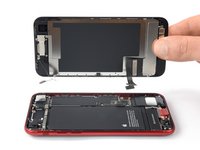
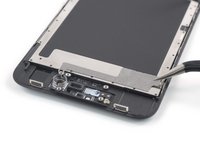
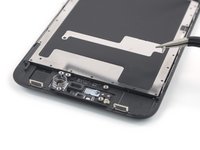
Open the phone by swinging the display up from the left side, like the back cover of a book.
-
Lean the display against something to keep it propped up while you're working on the phone.
-
-
-
Ferramenta utilizada neste passo:Magnetic Project Mat$19.95
-
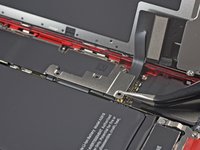
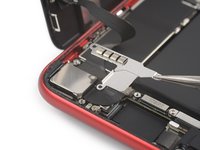
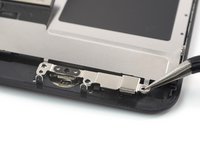
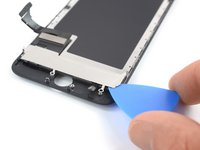
Remove the four Phillips screws securing the lower display cable bracket:
-
Two 1.2 mm-long screws
-
Two 2.8 mm-long screws
-
-
Ferramenta utilizada neste passo:Tweezers$4.99
-
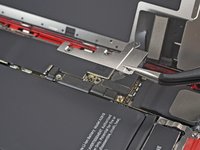
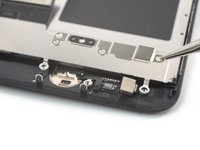
Use a pair of tweezers to carefully remove the lower display cable bracket.
-
-
-
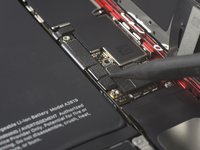
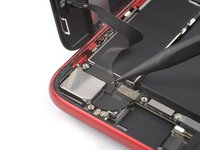
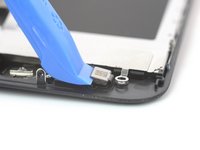
Use the pointed end of a spudger to disconnect the battery by prying the connector straight up from its socket.
-
-
-
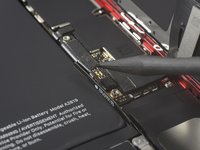
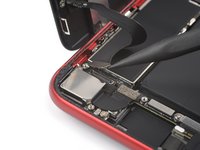
Use the pointed end of a spudger to disconnect the bottom two display cables by prying the connectors straight up from their sockets.
-
-
-
Use a Phillips screwdriver to remove the three 1.2 mm-long screws securing the front sensor assembly bracket.
-
-
Ferramenta utilizada neste passo:Tweezers$4.99
-
Use a pair of tweezers to carefully remove the front sensor assembly bracket.
-
-
-
Use the pointed end of a spudger to disconnect the front sensor assembly by prying the connector straight up from its socket.
-
-
-
Remove the four screws securing the home/Touch ID sensor bracket:
-
Three 1.2 mm-long Y000 screws
-
One 1.1 mm-long Y000 screw
-
-
Ferramenta utilizada neste passo:Tweezers$4.99
-
Use a pair of tweezers to carefully remove the home/Touch ID sensor bracket.
-
-
-
Use an opening tool to pry under the left edge of the home/Touch ID sensor cable connector to disconnect it from its socket.
-
-
-
Prepare an iOpener and apply it to the screen where the home/Touch ID button is located for at least two minutes to loosen the adhesive underneath its cable.
-
-
-
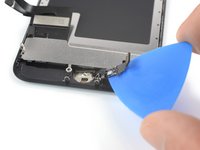
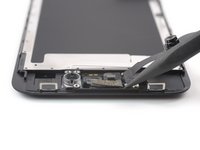
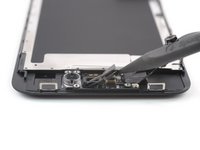
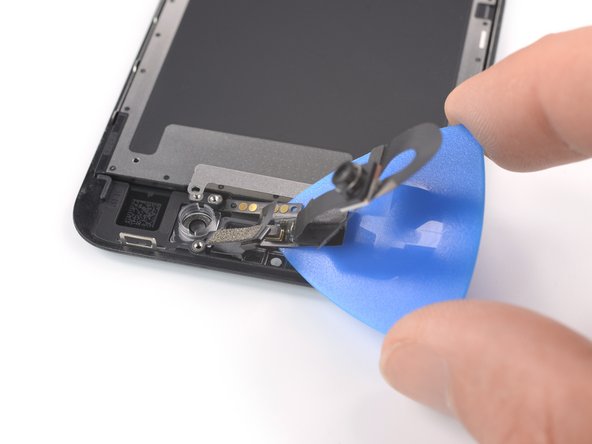
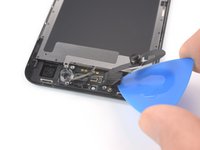
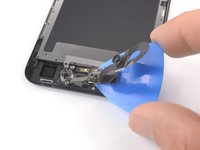
Carefully slide an opening pick underneath the home/Touch ID sensor cable and separate it from the back side of the display panel.
-
-
-
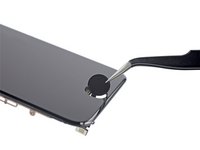
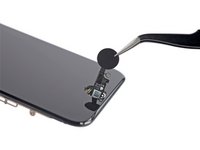
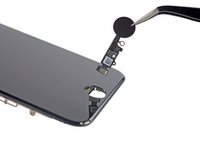
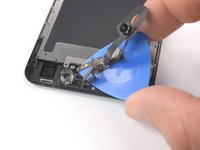
Use a pair of tweezers to remove the home/Touch ID sensor assembly by lifting it through the front side of the display.
-
-
-
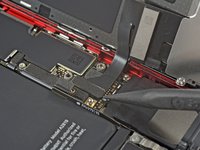
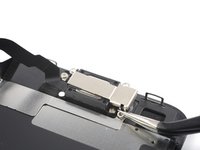
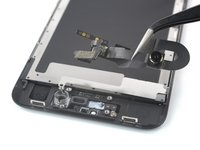
Unfasten the three screws securing the earpiece speaker bracket:
-
Two 2.6 mm-long Phillips screws
-
One 1.6 mm-long Phillips screw
-
-
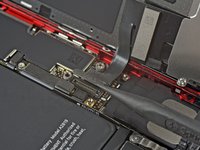
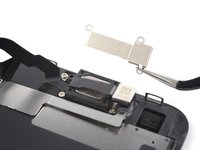
Ferramenta utilizada neste passo:Tweezers$4.99
-
Use a pair of tweezers to carefully remove the earpiece speaker bracket.
-
-
-
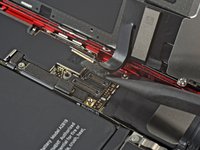
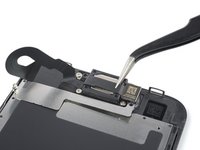
Use a pair of tweezers to lift the front facing camera out of its socket and swing it to the left to get free access to the earpiece speaker.
-
-
-
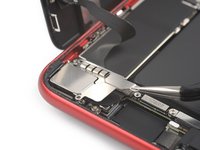
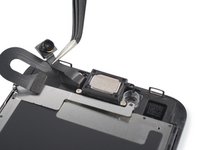
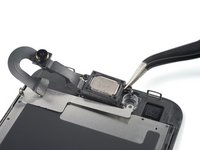
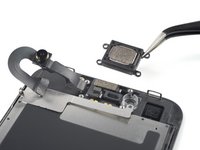
Unfasten the two screws securing the earpiece speaker:
-
One 1.8 mm-long Phillips screw
-
One 2.3 mm-long Phillips screw
-
-
-
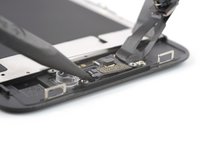
Apply a heated iOpener to the top edge of the screen to loosen the adhesive securing the front camera and sensor assembly. Apply the iOpener for at least 2 minutes.
-
-
-
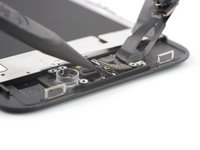
Use the pointed end of a spudger to carefully pry the proximity sensor out of its recess on the front panel.
-
-
-
Use the pointed of a spudger to carefully pry the ambient light sensor out of its recess on the front panel.
-
-
-
Slide an opening pick underneath the front camera and sensor cable assembly to separate it from the front panel.
-
-
Ferramenta utilizada neste passo:Tweezers$4.99
-
Use a pair of tweezers to remove the front camera and sensor assembly cable.
-
-
-
Use a screwdriver to remove the three 1.1 mm-long Y000 screws securing the LCD and digitizer brackets.
-
-
-
Use a pair of tweezer to remove the top LCD and digitizer bracket.
-
-
-
Prepare an iOpener and apply it to the bottom LCD and digitizer bracket for at least two minutes to loosen the adhesive underneath.
-
-
-
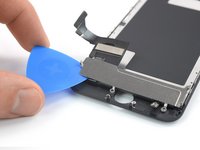
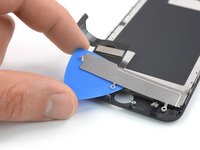
Carefully slide an opening pick underneath the right edge of the LCD and digitizer bracket to separate it from the screen.
-
-
Ferramenta utilizada neste passo:Tweezers$4.99
-
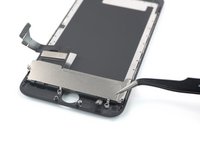
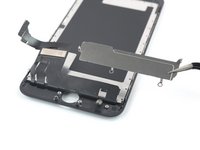
Use a pair of tweezers to remove the bottom LCD and digitizer bracket.
-
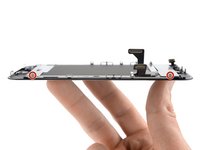
Only the LCD and digitizer remain.
-


If possible, turn on your device and test your repair before installing new adhesive and resealing.
To reassemble your device, follow these instructions in reverse order.
The best way to secure the new screen is to apply a sheet of custom-cut double-sided tape to the frame and place the screen back in its original position.
Take your e-waste to an R2 or e-Stewards certified recycler.
Repair didn’t go as planned? Try some basic troubleshooting, or ask our Answers community for help.
Cancelar: não concluí este guia.
3 outras pessoas executaram este guia.


4 comentários
Hi I would like to ask if LCD for iPhone SE 2020/ iPhone 8 is compatible with new iPhone SE 3.gen 2022?
Second question is if after replacement there is notification about non genuine LCD like have new iPhones?
Probably late for you, but for the next bloke, the 3rd part screen that worked for the iPhone 8/SE2020 WILL NOT work on the iPhone SE 3rd gen 2022.
An original screen for the SE2020 or a 3rd party LCD specifically designed for the SE2022 will work.
Where can I buy the replacement LCD/digitizer, or a replacement screen?
AliExpress or your local parts dealer :)