Ir para o conteúdo principal
Participe da comunidade de reparos - Criar conta

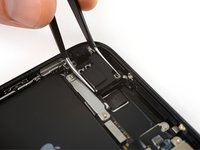
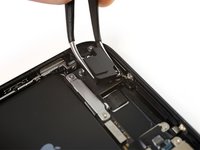
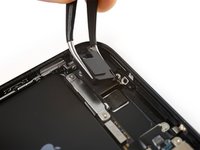
iPhone 7 Plus Top Left Antenna Replacement

O que você precisa

  1. iPhone 7 Plus Top Left Antenna Replacement, Pentalobe Screws: passo 1, imagem 1 %32
    • Before you begin, discharge your iPhone battery below 25%. A charged lithium-ion battery can catch fire and/or explode if accidentally punctured.

    • Power off your iPhone before beginning disassembly.

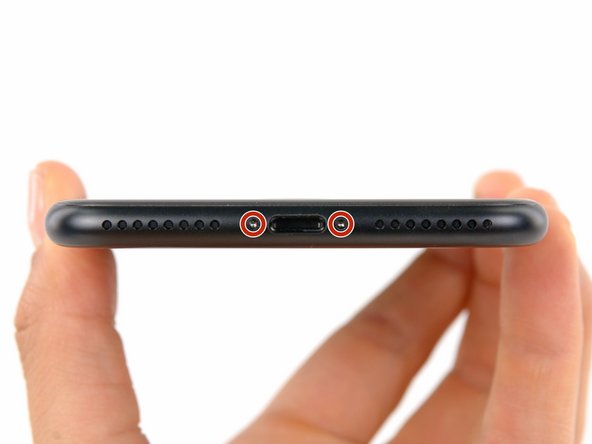
    • Remove the two 3.4 mm pentalobe screws at the bottom edge of the iPhone (using a P2 screw bit, if you have a set of bits).

    • Opening the iPhone's display will compromise its waterproof seals. Have replacement seals ready before you proceed past this step, or take care to avoid liquid exposure if you reassemble your iPhone without replacing the seals.

    Pergunte ao FixBot

    Comentar

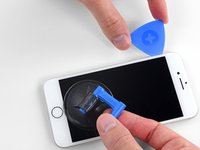
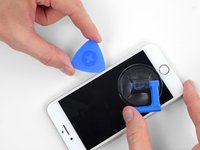
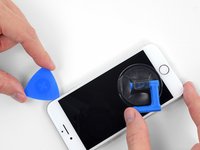
  2. iPhone 7 Plus Top Left Antenna Replacement, Mark your opening picks: passo 2, imagem 1 %32 iPhone 7 Plus Top Left Antenna Replacement, Mark your opening picks: passo 2, imagem 2 %32 iPhone 7 Plus Top Left Antenna Replacement, Mark your opening picks: passo 2, imagem 3 %32
    • If inserted too far, an opening pick can damage your device. Follow this step to mark your pick and prevent damage.

    • Measure 3 mm from the tip and mark the opening pick with a permanent marker.

    • You can also mark the other corners of the pick with different measurements.

    • Alternatively, tape a coin to a pick 3 mm from the tip.

    Pergunte ao FixBot

    Comentar

  3. iPhone 7 Plus Top Left Antenna Replacement, Anti-Clamp instructions: passo 3, imagem 1 %32 iPhone 7 Plus Top Left Antenna Replacement, Anti-Clamp instructions: passo 3, imagem 2 %32 iPhone 7 Plus Top Left Antenna Replacement, Anti-Clamp instructions: passo 3, imagem 3 %32
    Ferramenta utilizada neste passo:
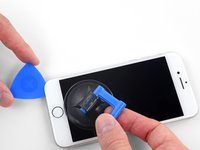
    Clampy - Anti-Clamp
    $24.95
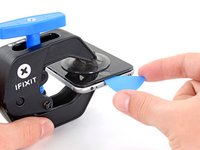
    • The next three steps demonstrate the Anti-Clamp, a tool we designed to make the opening procedure easier. If you aren't using the Anti-Clamp, skip down three steps for an alternate method.

    • For complete instructions on how to use the Anti-Clamp, check out this guide.

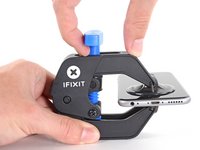
    • Pull the blue handle backwards to unlock the Anti-Clamp's arms.

    • Slide the arms over either the left or right edge of your iPhone.

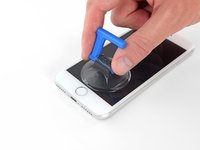
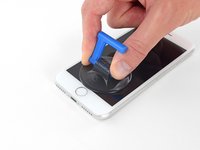
    • Position the suction cups near the bottom edge of the iPhone just above the home button—one on the front, and one on the back.

    • Squeeze the cups together to apply suction to the desired area.

    • If you find that the surface of your iPhone is too slippery for the Anti-Clamp to hold onto, you can use tape to create a grippier surface.

    Pergunte ao FixBot

    Comentar

  4. iPhone 7 Plus Top Left Antenna Replacement: passo 4, imagem 1 %32 iPhone 7 Plus Top Left Antenna Replacement: passo 4, imagem 2 %32 iPhone 7 Plus Top Left Antenna Replacement: passo 4, imagem 3 %32
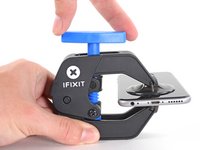
    • Pull the blue handle forwards to lock the arms.

    • Turn the handle clockwise 360 degrees or until the cups start to stretch.

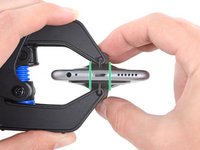
    • Make sure the suction cups remain aligned with each other. If they begin to slip out of alignment, loosen the suction cups slightly and realign the arms.

    Pergunte ao FixBot

    Comentar

  5. iPhone 7 Plus Top Left Antenna Replacement: passo 5, imagem 1 %32 iPhone 7 Plus Top Left Antenna Replacement: passo 5, imagem 2 %32
    • Heat an iOpener and thread it through the arms of the Anti-Clamp.

    • You can also use a hair dryer, heat gun, or hot plate—but extreme heat can damage the display and/or internal battery, so proceed with care.

    • Fold the iOpener so it lays on the bottom edge of the iPhone.

    • Wait one minute to give the adhesive a chance to release and present an opening gap.

    • Insert an opening pick into the gap.

    • If the Anti-Clamp doesn't create a sufficient gap, apply more heat to the area and rotate the handle a quarter turn.

    • Don't crank more than a quarter turn at a time, and wait one minute between turns. Let the Anti-Clamp and time do the work for you.

    • Skip the next three steps.

    Pergunte ao FixBot

    Comentar

  6. iPhone 7 Plus Top Left Antenna Replacement, Heat the display: passo 6, imagem 1 %32
    • The next three steps show how to separate the screen using a suction cup.

    • Heating the lower edge of the iPhone will help soften the adhesive securing the display, making it easier to open.

    • Use a hairdryer or prepare an iOpener and apply it to the lower edge of the phone for about 90 seconds in order to soften up the adhesive underneath.

    Pergunte ao FixBot

    Comentar

  7. iPhone 7 Plus Top Left Antenna Replacement, Separate the display: passo 7, imagem 1 %32 iPhone 7 Plus Top Left Antenna Replacement, Separate the display: passo 7, imagem 2 %32
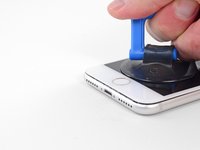
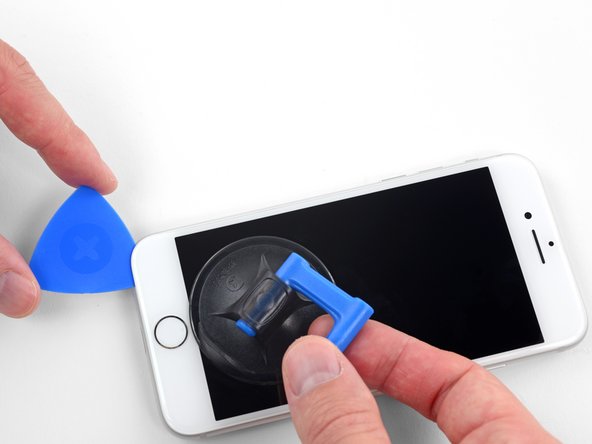
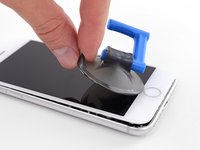
    • Apply a suction cup to the lower half of the front panel, just above the home button.

    • Be sure the suction cup does not overlap with the home button, as this will prevent a seal from forming between the suction cup and front glass.

    Pergunte ao FixBot

    Comentar

  8. iPhone 7 Plus Top Left Antenna Replacement: passo 8, imagem 1 %32 iPhone 7 Plus Top Left Antenna Replacement: passo 8, imagem 2 %32 iPhone 7 Plus Top Left Antenna Replacement: passo 8, imagem 3 %32
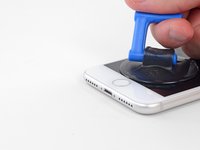
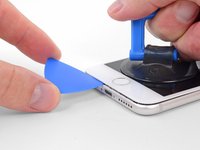
    • Pull up on the suction cup with firm, constant pressure to create a slight gap between the screen and the frame.

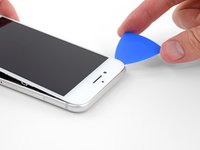
    • Insert an opening pick into the gap.

    • The watertight adhesive holding the screen in place is very strong; creating this initial gap takes a significant amount of force. If you're having a hard time opening a gap, apply more heat, and gently rock the screen up and down to weaken the adhesive until you create enough of a gap to insert your tool.

    Pergunte ao FixBot

    Comentar

  9. iPhone 7 Plus Top Left Antenna Replacement: passo 9, imagem 1 %32 iPhone 7 Plus Top Left Antenna Replacement: passo 9, imagem 2 %32 iPhone 7 Plus Top Left Antenna Replacement: passo 9, imagem 3 %32
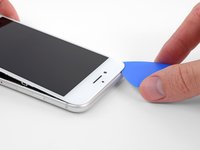
    • Slide the opening pick up the left edge of the phone starting at the lower edge and moving towards the volume control buttons and silent switch, breaking up the adhesive holding the display in place.

    • Stop near the top left corner of the display.

    • Do not try to pry the top edge of the display away from the rear case, as it is held in place by plastic clips that may break.

    Pergunte ao FixBot

    Comentar

  10. iPhone 7 Plus Top Left Antenna Replacement, Screen information: passo 10, imagem 1 %32
    • There are delicate cables along the right edge of your iPhone. Don't insert your pick here, as you may damage the cables.

    Pergunte ao FixBot

    Comentar

  11. iPhone 7 Plus Top Left Antenna Replacement: passo 11, imagem 1 %32 iPhone 7 Plus Top Left Antenna Replacement: passo 11, imagem 2 %32 iPhone 7 Plus Top Left Antenna Replacement: passo 11, imagem 3 %32
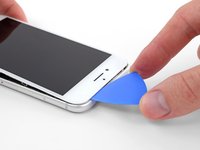
    • Re-insert your tool at the lower right corner of the iPhone, and slide it around the corner and up the right side of the phone to separate the adhesive.

    • Don't insert your pick more than 3 mm, as you may damage the display cables.

    Pergunte ao FixBot

    Comentar

  12. iPhone 7 Plus Top Left Antenna Replacement: passo 12, imagem 1 %32 iPhone 7 Plus Top Left Antenna Replacement: passo 12, imagem 2 %32
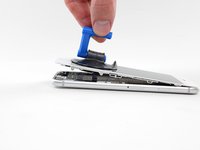
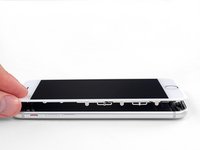
    • Gently pull up on the suction cup to lift up the bottom edge of the display.

    • Do not raise the display more than 15º or you'll risk straining or tearing the ribbon cables connecting the display.

    • Pull on the small nub on the suction cup to remove it from the front panel.

    Pergunte ao FixBot

    Comentar

  13. iPhone 7 Plus Top Left Antenna Replacement: passo 13, imagem 1 %32 iPhone 7 Plus Top Left Antenna Replacement: passo 13, imagem 2 %32 iPhone 7 Plus Top Left Antenna Replacement: passo 13, imagem 3 %32
    • Slide an opening pick underneath the display around the top left corner and along the top edge of the phone to loosen the last of the adhesive.

    Pergunte ao FixBot

    Comentar

  14. iPhone 7 Plus Top Left Antenna Replacement: passo 14, imagem 1 %32 iPhone 7 Plus Top Left Antenna Replacement: passo 14, imagem 2 %32
    • Slide the display assembly slightly down (away from the top edge of the phone) to disengage the clips holding it to the rear case.

    Pergunte ao FixBot

    Comentar

  15. iPhone 7 Plus Top Left Antenna Replacement: passo 15, imagem 1 %32 iPhone 7 Plus Top Left Antenna Replacement: passo 15, imagem 2 %32 iPhone 7 Plus Top Left Antenna Replacement: passo 15, imagem 3 %32
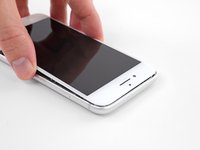
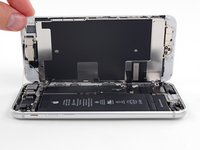
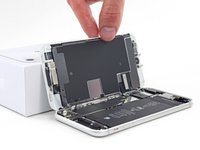
    • Open the iPhone by swinging the display up from the left side, like the back cover of a book.

    • Don't try to fully separate the display yet, as several fragile ribbon cables still connect it to the iPhone's logic board.

    • Lean the display against something to keep it propped up while you're working on the phone.

    Pergunte ao FixBot

    Comentar

  16. iPhone 7 Plus Top Left Antenna Replacement, Battery Disconnection: passo 16, imagem 1 %32
    • Remove the following four tri-point Y000 screws securing the lower display cable bracket to the logic board:

    • Three 1.2 mm screws

    • One 2.6 mm screw

    Pergunte ao FixBot

    Comentar

  17. iPhone 7 Plus Top Left Antenna Replacement: passo 17, imagem 1 %32 iPhone 7 Plus Top Left Antenna Replacement: passo 17, imagem 2 %32
    • Remove the lower display cable bracket.

    Pergunte ao FixBot

    Comentar

  18. iPhone 7 Plus Top Left Antenna Replacement: passo 18, imagem 1 %32 iPhone 7 Plus Top Left Antenna Replacement: passo 18, imagem 2 %32 iPhone 7 Plus Top Left Antenna Replacement: passo 18, imagem 3 %32
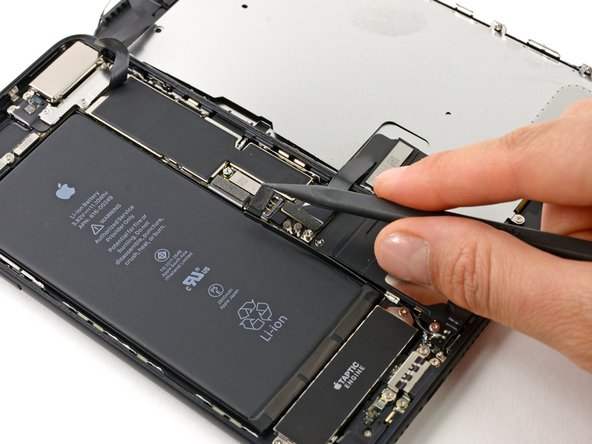
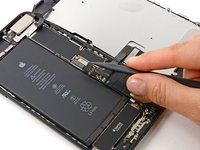
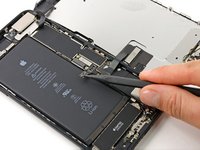
    • Use the point of a spudger to lift the battery connector out of its socket on the logic board.

    • Bend the connector cable up slightly to prevent it from making contact with the socket and providing power to the phone.

    Pergunte ao FixBot

    Comentar

  19. iPhone 7 Plus Top Left Antenna Replacement, Display Assembly: passo 19, imagem 1 %32 iPhone 7 Plus Top Left Antenna Replacement, Display Assembly: passo 19, imagem 2 %32 iPhone 7 Plus Top Left Antenna Replacement, Display Assembly: passo 19, imagem 3 %32
    • Make sure the battery is disconnected before you disconnect or reconnect the cables in this step.

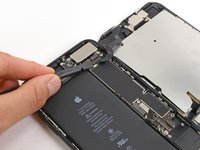
    • Use the flat end of a spudger or a fingernail to disconnect the two lower display connectors by prying them straight up from their sockets on the logic board.

    • To re-attach press connectors, press down on one end until it clicks into place, then repeat on the other end. Do not press down on the middle. If the connector is even slightly misaligned, the connector can bend, causing permanent damage.

    • If you have a blank screen, white lines on the display, or partial or complete lack of touch response after reassembling your phone, try disconnecting and carefully reconnecting both of these cables and make sure they are fully seated.

    Pergunte ao FixBot

    Comentar

  20. iPhone 7 Plus Top Left Antenna Replacement: passo 20, imagem 1 %32 iPhone 7 Plus Top Left Antenna Replacement: passo 20, imagem 2 %32 iPhone 7 Plus Top Left Antenna Replacement: passo 20, imagem 3 %32
    • Remove the three tri-point Y000 screws securing the bracket over the front panel sensor assembly connector:

    • One 1.3 mm screw

    • Two 1.0 mm screws

    • Remove the bracket.

    Pergunte ao FixBot

    Comentar

  21. iPhone 7 Plus Top Left Antenna Replacement: passo 21, imagem 1 %32 iPhone 7 Plus Top Left Antenna Replacement: passo 21, imagem 2 %32
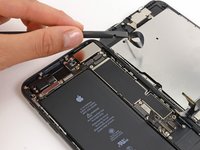
    • Disconnect the front panel sensor assembly connector from its socket on the logic board.

    • This press connector should also be reconnected one end at a time to minimize the risk of bending.

    Pergunte ao FixBot

    Comentar

  22. iPhone 7 Plus Top Left Antenna Replacement: passo 22, imagem 1 %32
    Pergunte ao FixBot

    Comentar

  23. iPhone 7 Plus Top Left Antenna Replacement, Left Wi-Fi Antenna: passo 23, imagem 1 %32
    • Remove three Phillips screws securing the antenna component:

    • Two 1.3 mm screws

    • One 1.2 mm screw

    Pergunte ao FixBot

    Comentar

  24. iPhone 7 Plus Top Left Antenna Replacement: passo 24, imagem 1 %32
    • Remove the 1.3 mm Phillips screw securing the antenna component to the top edge of the rear case.

    Pergunte ao FixBot

    Comentar

  25. iPhone 7 Plus Top Left Antenna Replacement: passo 25, imagem 1 %32 iPhone 7 Plus Top Left Antenna Replacement: passo 25, imagem 2 %32 iPhone 7 Plus Top Left Antenna Replacement: passo 25, imagem 3 %32
    • The screw boss at the top of the antenna component is tucked into a small recess in the top edge of the iPhone.

    • Tilt the antenna component up towards the top of the phone.

    • Slide the screw boss down and out of its recess.

    Pergunte ao FixBot

    Comentar

  26. iPhone 7 Plus Top Left Antenna Replacement: passo 26, imagem 1 %32
    • Remove the top left antenna component.

    Pergunte ao FixBot

    Comentar

Conclusão

To reassemble your device, follow these instructions in reverse order.

Cancelar: não concluí este guia.

28 outras pessoas executaram este guia.

Paige Reisman

Membro desde: 04/07/14

24.173 Reputação

Autoria de 15 guias

5Comentários do guia

thank you so much…

Muhammed AÇIKGÖZ - Responder Compartilhar

my phone has not been saying no service and when i opened it up this piece was missing. Is this piece missing causing me to not get service?

Neamul Islam - Responder Compartilhar

great guide, works for the regular 7 too

Bryan Cruse - Responder Compartilhar

Very precise ,thank you Paige

Tony 8/11/20

tony vital - Responder Compartilhar

This is only the antenna cover. Why is it sold and labeled as top left antenna ?

Jean-Claude Cantave - Responder Compartilhar

Comentar

Visualizações:

Últimas 24 horas: 3

Últimos 7 dias: 29

Últimos 30 dias: 148

Ao todo: 62,122