Introdução
Is your iPhone's selfie camera failing to take photos? It may be time to replace the front camera. Use this guide to replace the front camera sensor assembly, including the ambient light sensor and microphone in an iPhone 7.
O que você precisa
Vídeo de Apresentação
-
-
Power off your iPhone before beginning disassembly.
-
Remove the two 3.4 mm pentalobe screws on the bottom edge of the iPhone.
-
-
-
Measure 3 mm from the tip and mark the opening pick with a permanent marker.
-
-
Ferramenta utilizada neste passo:Clampy - Anti-Clamp$24.95
-
Pull the blue handle backwards to unlock the Anti-Clamp's arms.
-
Slide the arms over either the left or right edge of your iPhone.
-
Position the suction cups near the bottom edge of the iPhone just above the home button—one on the front, and one on the back.
-
Squeeze the cups together to apply suction to the desired area.
-
-
-
Heat an iOpener and thread it through the arms of the Anti-Clamp.
-
Fold the iOpener so it lays on the bottom edge of the iPhone.
-
Wait one minute to give the adhesive a chance to release and present an opening gap.
-
Insert an opening pick into the gap.
-
Skip the next three steps.
-
-
-
Heating the lower edge of the iPhone will help soften the adhesive securing the display, making it easier to open.
-
Use a hairdryer or prepare an iOpener and apply it to the lower edge of the phone for about 90 seconds in order to soften up the adhesive underneath.
-
-
-
Apply a suction cup to the lower half of the front panel, just above the home button.
-
-
-
Ferramenta utilizada neste passo:Tri-point Y000 Screwdriver$5.99
-
Remove four tri-point Y000 screws securing the lower connector bracket, of the following lengths:
-
Three 1.2 mm screws
-
One 2.4 mm screw
-
-
-
Use a spudger or a fingernail to disconnect the two lower display connectors by prying them straight up from their sockets on the logic board.
-
-
-
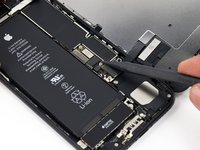
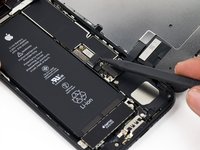
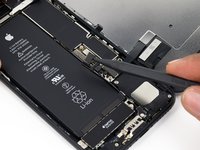
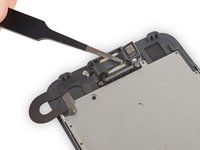
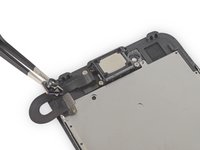
Remove the three Phillips screws securing the earpiece bracket to the front panel:
-
Two 2.6 mm screws
-
One 1.7 mm screw
-
-
-
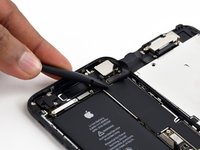
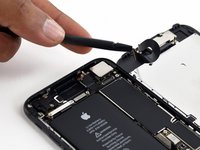
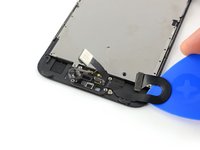
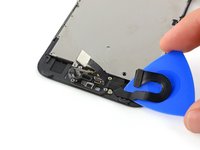
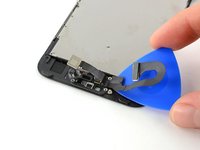
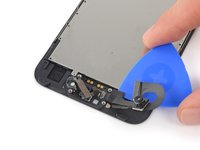
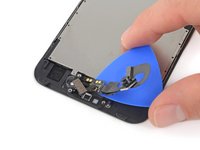
Reheat your iOpener and apply it to the upper edge of the display assembly to soften the adhesive holding the front camera and sensor assembly in place.
-


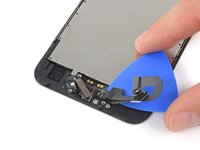

To reassemble your device, follow these instructions in reverse order.
Cancelar: não concluí este guia.
166 outras pessoas executaram este guia.

20Comentários do guia
Question ..... I have a clear square plastic piece (open in the center) with a tab on one side. What is that for?
Holds the lens in place.
No that is for the ambient light sensor. LCD replacements come with it already installed on em’, so you can toss it if you see it on the replacement already. The larger, circular plastic piece is for the lens.
Does the iPhone 7 plus Front Camera and Sensor Cable Replacement has to do anything with the earpieces speaker? i have replace my iphone 7 plus screen and front camera and sensor cable replacement and speaker and it still doesn’t work. what could really be wrong with my iphone 7 plus?
Awesome tutorial, thank you! I couldn’t have replaced my camera without this! Well I could have but not the right way!!