Introdução
Use this guide to replace a broken speaker in your iPhone 6.
This guide instructs you to remove the front panel assembly; this is intended to prevent accidental damage to the display cables while you work. If you feel comfortable supporting the display carefully while removing the speaker from the iPhone, you can skip the display removal and go directly to the speaker removal steps.
O que você precisa
-
-
Power off your iPhone before beginning disassembly.
-
Remove the two 3.6 mm-long P2 Pentalobe screws next to the Lightning connector.
-
-
Ferramenta utilizada neste passo:Clampy - Anti-Clamp$24.95
-
Pull the blue handle backwards to unlock the Anti-Clamp's arms.
-
Slide the arms over either the left or right edge of your iPhone.
-
Position the suction cups near the bottom edge of the iPhone just above the home button—one on the front, and one on the back.
-
Squeeze the cups together to apply suction to the desired area.
-
-
Ferramenta utilizada neste passo:Clampy - Anti-Clamp$24.95
-
If you don't have an Anti-Clamp, use a single suction cup to lift the front panel:
-
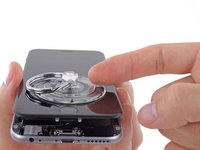
Press a suction cup onto the screen, just above the home button.
-
-
-
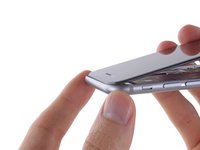
While holding the iPhone down with one hand, pull up on the suction cup to slightly separate the front panel assembly from the rear case.
-
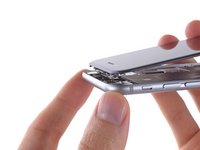
Using a plastic opening tool, begin to gently pry the rear case down, away from the display assembly, while continuing to pull up with the suction cup.
-
-
-
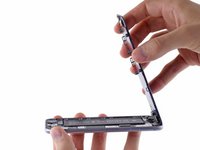
Open the iPhone by swinging the home button end of the front panel assembly away from the rear case, using the top of the phone as a hinge.
-
-
-
Ferramenta utilizada neste passo:Magnetic Project Mat$19.95
-
Remove the following Phillips screws from the battery connector bracket:
-
One 2.2 mm screw
-
One 3.2 mm screw
-
-
-
Use a plastic opening tool to gently pry the battery connector up from its socket on the logic board.
-
-
-
Remove the following five Phillips screws securing the front panel assembly cable bracket:
-
Three 1.2 mm screws
-
One 1.7 mm screw
-
One 3.1 mm screw
-
-
-
Remove the front panel assembly from the rear case.
-
-
-
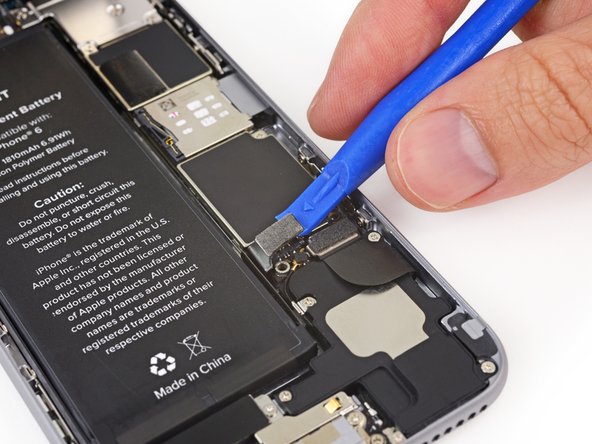
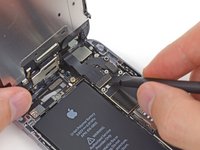
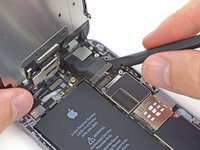
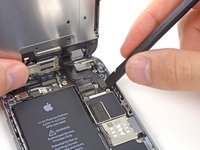
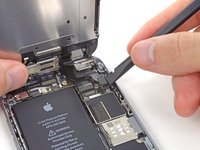
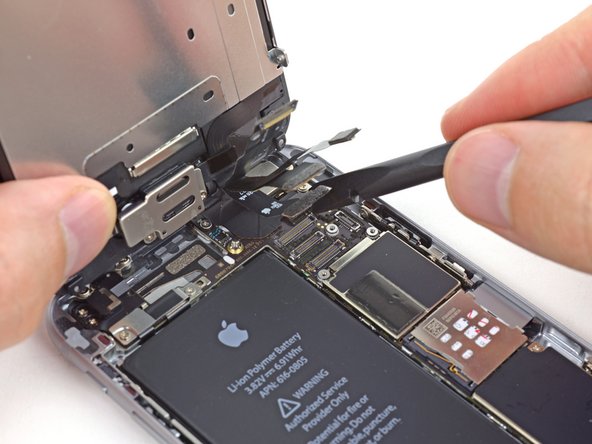
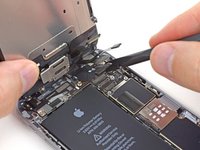
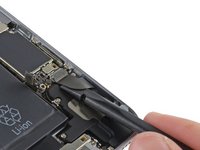
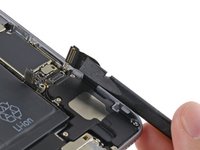
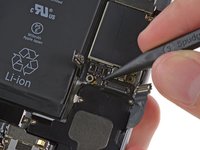
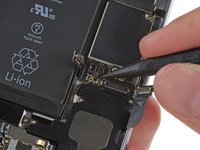
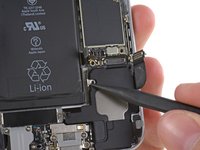
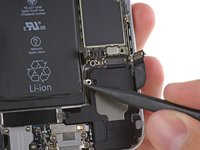
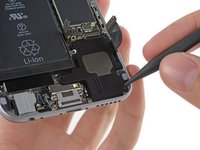
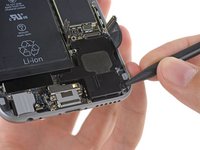
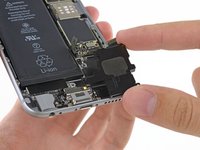
Use the flat end of a spudger to disconnect the Lightning connector assembly cable and fold it out of the way of the speaker.
-
To reassemble your device, follow these instructions in reverse order.
To reassemble your device, follow these instructions in reverse order.
Cancelar: não concluí este guia.
134 outras pessoas executaram este guia.
18 comentários
Hi guys, I'm about to start this process. My question is, do I need to remove the screen before changing the speaker? Is there any reason why I should do that? Or can I just live the phone in 90 degrees, as shown on step 9? To sum up, can I just jump from step 13 to step 20? Thanks!
I'm wondering the same thing. Why does the screen need to come off? I have no problem doing it but seems like a good bit of work that is not needed for just replacing the speaker.
psycwon -
Fully detaching the display is not necessary. If it's properly supported so that there's no strain on the display cables, you can skip straight to removing the speaker.
After replacing my speaker when I turn my phone on the audio sounds distorted and if I turn the volume up too high instead of increasing the volume the phone will power off. Any ideas?
The same here!!! :( any solutions?


