Introdução
Follow this guide to remove or replace the rear facing camera on an iPad mini 5 Wi-Fi. You may need to replace this part if the rear facing camera isn’t working.
For your safety, discharge the battery below 25% before disassembling your device. This reduces the risk of a dangerous thermal event if the battery is accidentally damaged during the repair. If your battery is swollen, take appropriate precautions.
Some photos in this guide are from a different model and may contain slight visual discrepancies, but they won't affect the guide procedure.
O que você precisa
-
-
If your display glass is cracked, keep further breakage contained and prevent bodily harm during your repair by taping the glass.
-
Lay overlapping strips of clear packing tape over the iPad's display until the whole face is covered.
-
Do your best to follow the rest of the guide as described. However, once the glass is broken, it will likely continue to crack as you work, and you may need to use a metal prying tool to scoop the glass out.
-
-
-
Leave the opening pick in the iPad slightly past the front-facing camera.
-
Take a second pick and insert it to the left of the camera, where the first pick just was. Slide it back to the corner to completely cut any remaining adhesive.
-
Leave the second pick in place to prevent the corner adhesive from re-sealing as it cools.
-
-
-
-
To avoid stressing any cables, hold the screen perpendicular to the frame.
-
-
-
Use a Phillips screwdriver to remove the two 1.3 mm screws securing the display cable bracket.
-
-
-
Insert the flat end of a spudger under the display cable bracket and lift up to disconnect the battery press connector from the logic board.
-
-
-
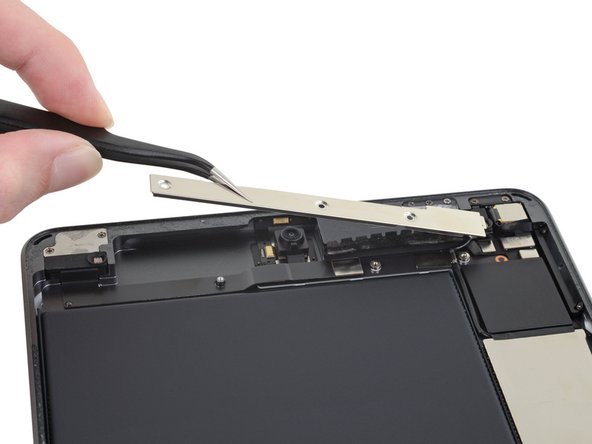
Use a pair of tweezers to pull the display cable bracket's clip out from under the frame's edge.
-
Rotate the display cable bracket toward the battery.
-
-
-
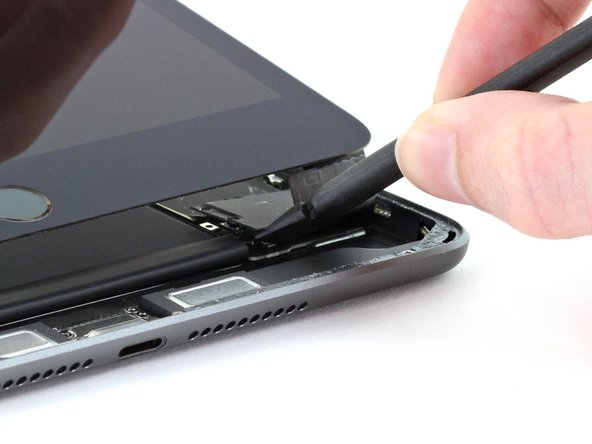
Use the pointed end of a spudger to disconnect the digitizer press connector from the logic board.
-
-
-
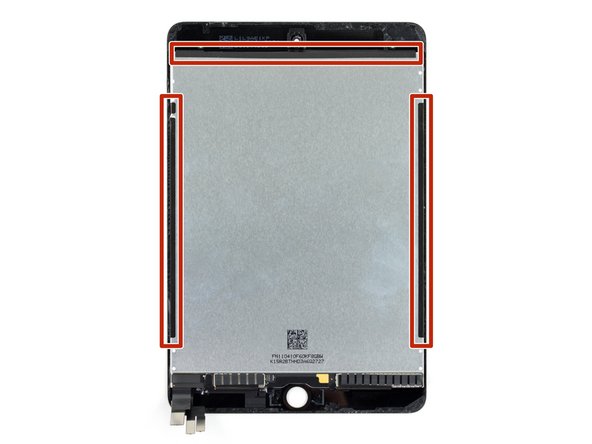
Don't remove the black tape on the left, right, and upper edges of the display. These hold the display to the front glass.
-
-
-
Use a pair of tweezers to lift up the tape covering the press connector cover screws.
-
-
-
Use a Phillips screwdriver to remove the three screws securing the press connector cover:
-
One 1.9 mm screw
-
Two 1.3 mm screws
-
-
-
Use a pair of tweezers to remove the press connector cover.
-
-
-
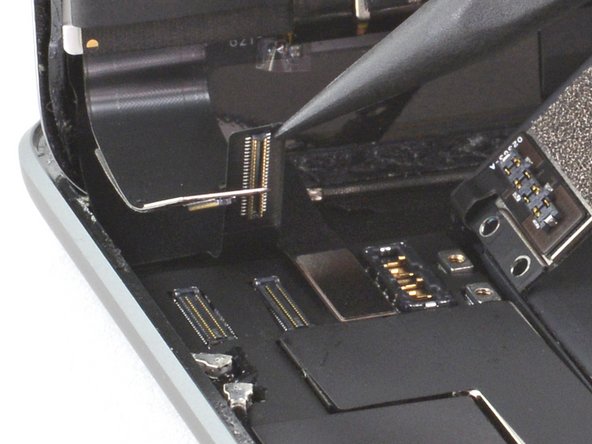
Use the pointed end of a spudger to disconnect the rear facing camera press connector.
-
-
-
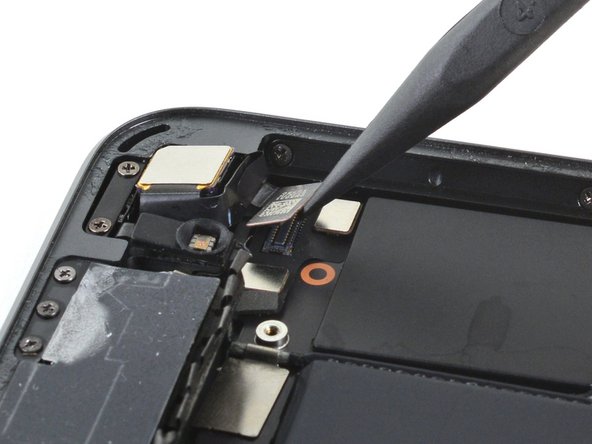
Apply one or two drops of high-concentration (90% or higher) isopropyl alcohol around the perimeter of the rear facing camera.
-
Wait two minutes for the isopropyl alcohol to weaken the adhesive underneath the rear facing camera.
-
-
-
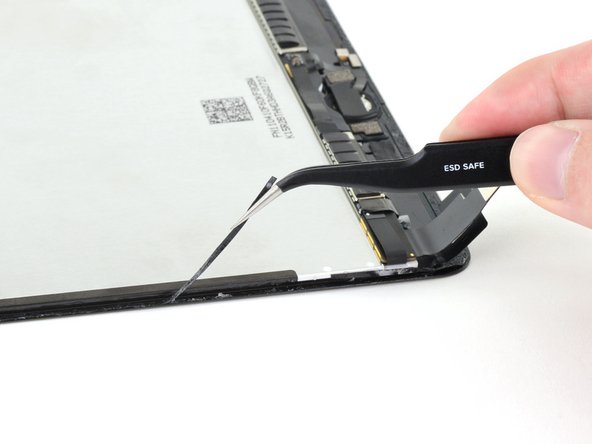
Use a pair of tweezers to lift and remove the rear facing camera.
-


Compare your new replacement part to the original part—you may need to transfer remaining components or remove adhesive backings from the new part before installing.
To reassemble your device, follow these instructions in reverse order.
Take your e-waste to an R2 or e-Stewards certified recycler.
Repair didn’t go as planned? Try some basic troubleshooting, or ask our iPad mini 5 Answers community for help.
