Introdução
Follow this guide to remove and replace the battery in your Samsung Galaxy Note5.
Before disassembling your phone, discharge the battery below 25%. A charged lithium-ion battery can catch fire and/or explode if accidentally punctured.
If your battery is swollen, take appropriate precautions. Do not heat your phone. If needed, you can use a dropper or syringe to inject isopropyl alcohol (90+%) around the edges of the back cover to weaken the adhesive. Swollen batteries can be very dangerous, so wear eye protection and exercise due caution, or take it to a professional if you're not sure how to proceed.
After completing this guide, calibrate your newly-installed battery.
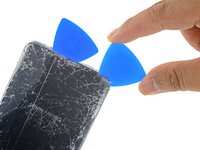
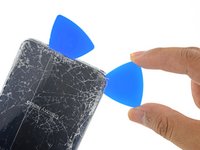
O que você precisa
-
-
Insert a SIM eject tool, SIM eject bit, or a straightened paperclip into the small hole in the SIM card tray at the top of the phone.
-
Press to eject the tray. This may require some force.
-
Remove the SIM card tray.
-
-
-
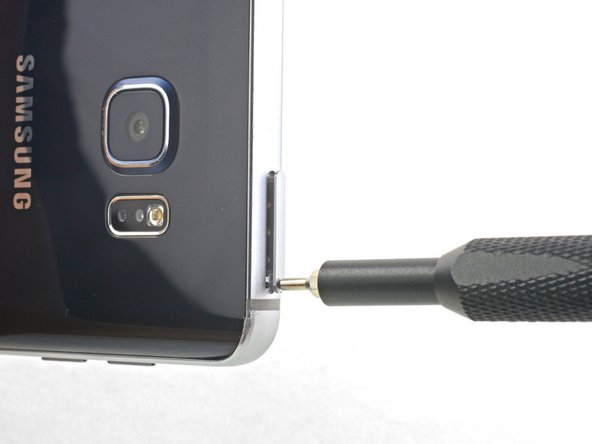
Using your fingernail, push the S-Pen button until it clicks and pops out of the phone.
-
Remove the S-Pen.
-
-
-
Ferramenta utilizada neste passo:Tesa 61395 Tape$5.99
-
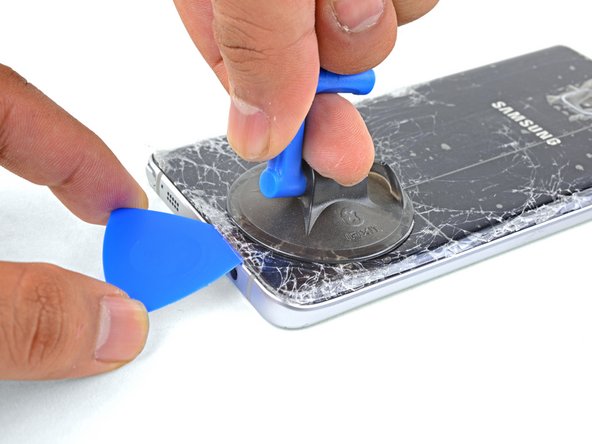
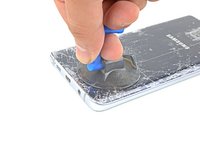
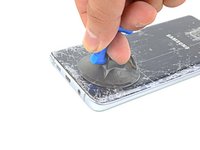
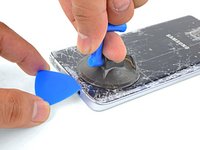
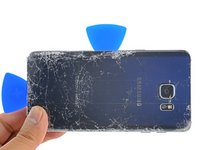
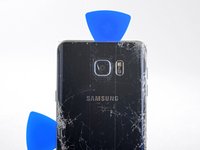
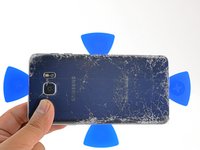
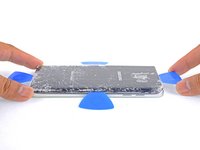
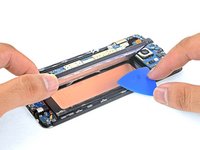
Use tweezers to peel away any remaining adhesive from both the back cover and the phone's chassis.
-
Clean the adhesion areas with high concentration isopropyl alcohol (at least 90%) and a lint-free cloth. Swipe in one direction only, not back and forth. This will help prep the surface for the new adhesive.
-
Be sure to turn on your phone and test your repair before installing new adhesive and resealing the phone.
-
After installing the rear cover, apply strong, steady pressure to your phone for several minutes to help the adhesive form a good bond, such as by placing it under a stack of heavy books.
-
-
-
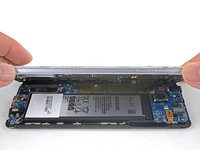
Using the flat end of a spudger, lift the battery connector straight up from its socket on the motherboard.
-
-
-
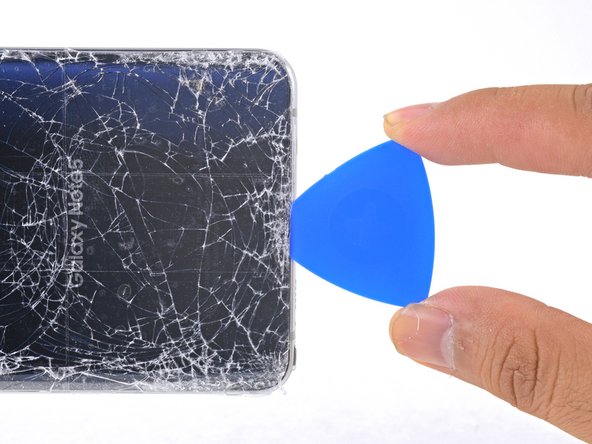
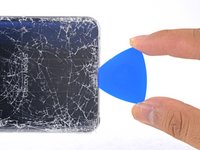
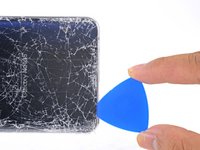
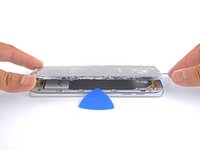
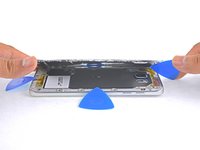
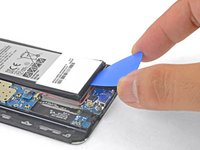
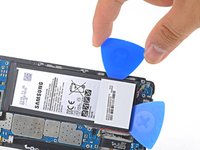
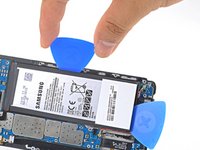
Slide an opening pick under the bottom edge of the battery to slowly pry it up from the case.
-
-
-
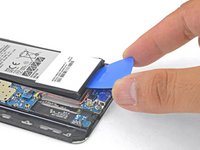
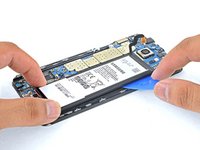
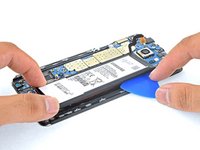
Lift the battery out of the case.
-
Remove any remaining adhesive from the phone, and clean the glued areas with isopropyl alcohol and a lint-free cloth.
-
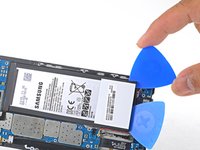
Secure the new battery with pre-cut adhesive or double-sided adhesive tape. In order to position it correctly, apply the new adhesive into the phone, not directly onto the battery. The adhesive should go around the perimeter of the battery compartment, but not in the rectangular cutout in the center (which is actually the back side of the display).
-
Press the battery firmly into place for 5-10 seconds.
-


Compare your new replacement part to the original part. You may need to transfer remaining components or remove adhesive backings from the new part before installing.
To reassemble your device, follow the above steps in reverse order. Take your e-waste to an R2 or e-Stewards certified recycler.
Repair didn’t go as planned? Check out our Answers community for troubleshooting help.
Cancelar: não concluí este guia.
120 outras pessoas executaram este guia.


43 comentários
Yes if you over heat the back for a long time. If you just heating it up to remove adhesive you should be fine.
Would doing this void my warranty?
Ofcourse it will void your warranty..You seriously think opening up fixed battery wont void your warranty lol..
By the time you need a new battery, your warranty will be out anyway most likely.
Kathy -