Introdução
You will start by isolating the motherboard and then continue to make the suggested repairs by soldering.
O que você precisa
-
-
Remove the antennas from the back of the device. To do this, follow steps 1 and 2 of Installing the Antennas Guide: Linksys WAP54g Antennas Replacement
-
-
-
Remove the two black rubber feet of the device using the screwdriver. The feet are located on the bottom towards the front.
-
-
-
Once the feet are removed, two small screws will be visible. With a small screwdriver, unscrew them. Screws are phillips head, 4.35 mm in diameter, 7.88 mm in length.
-
-
-
-
To remove the front blue panel, grip firmly and place thumbs in the two notches on top. Push thumbs forward while keeping a firm grip on bottom.
-
-
-
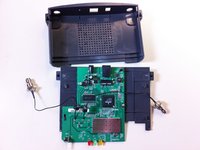
Now slide the bottom panel forward and remove it so the top casing is isolated from the bottom casing and motherboard.
-
-
-
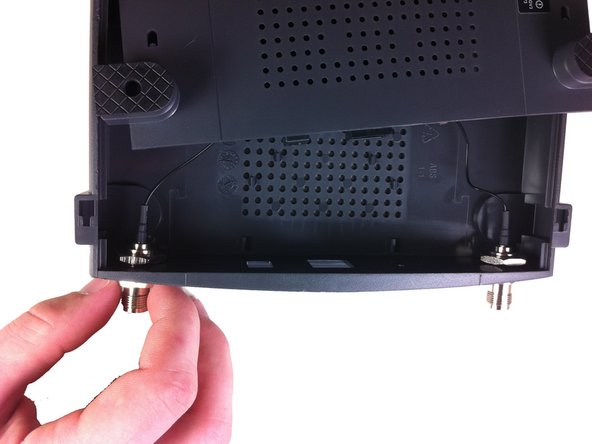
Unscrew the nut on the outer side of the back casing. Remove the nut and the washer from both antenna mounts.
-
-
-
From here, remove the wires and nuts connected to the back panel by pulling the nuts through the holes.
-
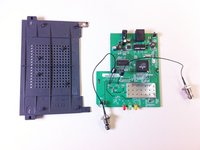
Now the top casing has been removed and isolated from the rest of the device. From here, you can make repairs to the top casing.
-
-
-
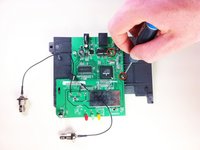
Unscrew the two screws that connect the motherboard to the bottom casing.
-
-
-
Using a soldering iron, desolder the LED lights from the bottom of the logic board.
-
For help with soldering or desoldering refer to ifixit's soldering guide: Como soldar e dessoldar contatos
-
-
-
Place new LED lights through holes created by desoldering and removing old lights.
-
-
-
Solder the lights onto the bottom of the board to solidify the connection and make electrical contact.
-
Follow the Installing the Casing guide in reverse to re-assemble your device.
-

 Pergunte ao FixBot








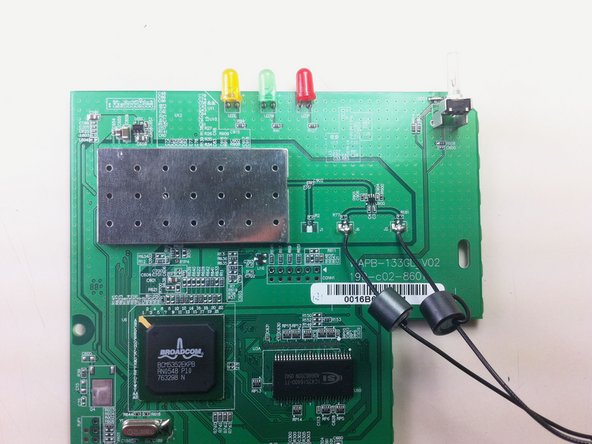
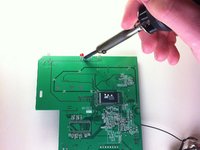
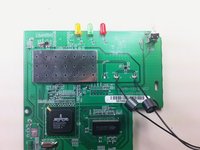
Once the soldering is complete, the device should work and the LED lights should light up.
Cancelar: não concluí este guia.
Uma outra pessoa concluiu este guia.

Equipe

Cal Poly, Team 21-21, Maness Fall 2011 Membro de Cal Poly, Team 21-21, Maness Fall 2011
CPSU-MANESS-F11S21G21
5 Membros
Autoria de 12 guias
