Introdução
If your Asus ZenBook UX330U or UX330UA never holds a charge or has a short battery life, then you may need to replace the battery. Before using this guide, look at the troubleshooting page located here for possible fixes that do not require any disassembly. This guide can be used to remove the back panel and battery for the ASUS ZenBook UX330U or UX330UA.
The battery is an essential part of the Asus Zenbook- it gives your laptop life. Before removing the battery, inspect it to make sure that it is not swollen, and that all power has been discharged from the battery. For more information about battery safety, please look at this guide that iFixit has provided.
Before beginning any device disassembly, please power off and unplug your device.
O que você precisa
-
-
Before starting any device dissasembly, please put on the anti-static bracelet provided by iFixit. Make sure the metal part of the bracelet is touching your skin.
-
Remove the alligator clip at the end of the bracelet by simply pulling it off, to reveal the bullet connector.
-
Insert the bullet connector into the ground port of an outlet.
 Pergunte ao FixBot
-
-
-
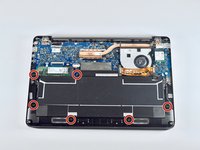
Remove the eight 3.1 mm screws using the T5 Torx screwdriver.
-
Remove the longer 5.1 mm screw using the T5 Torx screwdriver.
-
-
-
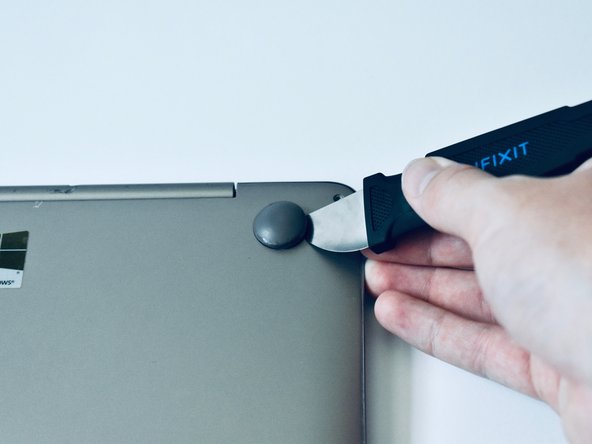
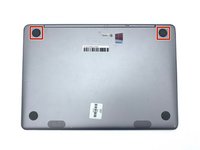
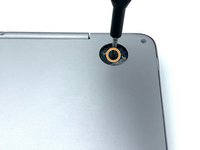
Use a Jimmy or a spudger to pry off the two rubber feet that are closest to the hinge.
-
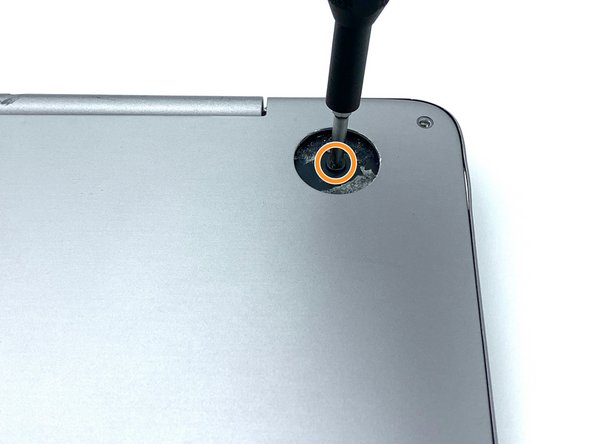
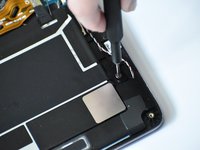
Unscrew the two 5.6mm screws that were underneath the rubber feet using the Philips #0 screwdriver bit.
-
-
-
-
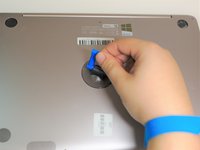
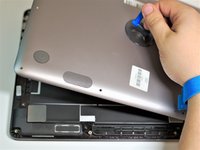
Press the suction handle on the center of the back cover, and gently lift up.
-
-
-
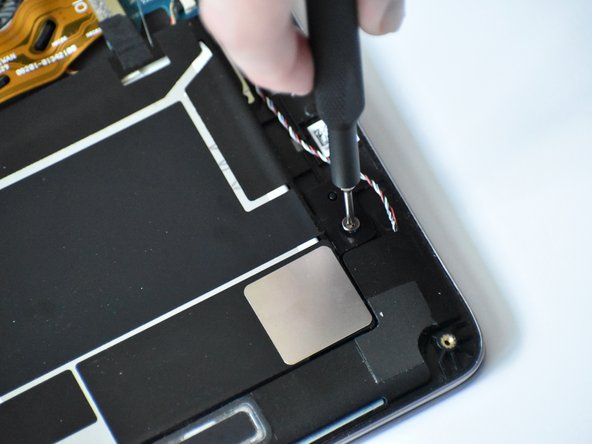
Unscrew the six 3.7mm screws using the Philips #0 screwdriver bit.
-
-
-
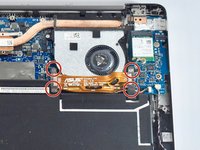
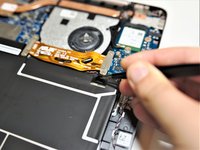
Remove the four 2.8mm screws from the motherboard ribbon connector using the Philips #0 screwdriver bit.
-
-
Ferramenta utilizada neste passo:Tweezers$4.99
-
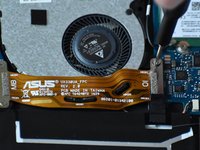
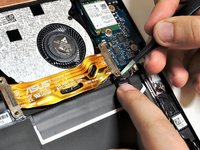
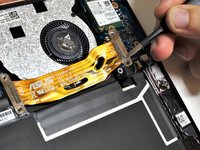
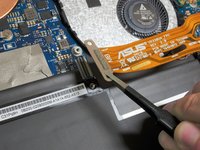
Remove the motherboard ribbon connector by pulling up on the metal ends with the blunt nose tweezers.
-
-
-
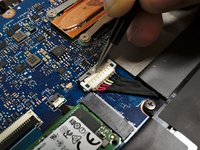
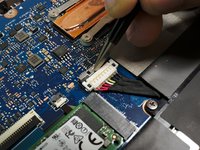
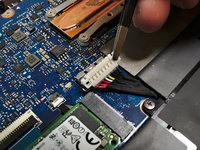
Pull back the silver battery connector lock with the blunt nose tweezers. This should slide back and should require minimal force.
-
Lift the battery connector vertically using the blunt nose tweezers to remove it from the socket.
-













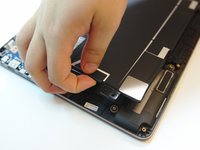
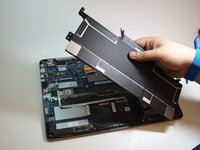
To reassemble your device, follow these instructions in reverse order.
For optimal performance, after completing this guide, calibrate your newly installed battery.
Take your e-waste to an R2 or e-Stewards certified recycler.
Repair didn’t go as planned? Try some basic troubleshooting, or ask our Answers community for help.
Cancelar: não concluí este guia.
23 outras pessoas executaram este guia.

Equipe

Embry-Riddle Aeronautical University, Team S1-G111, Watkins Fall 2019 Membro de Embry-Riddle Aeronautical University, Team S1-G111, Watkins Fall 2019
ERAU-WATKINS-F19S1G111
3 Membros
Autoria de 6 guias
19Comentários do guia
It would be nice if you mentioned the model of battery the Asus UX330 uses, even of you don’t carry it.
Other than that, great instructions. I’ve ordered tools from you folks and would have ordered the battery if you stocked it.
My wife can hardly wait for me to fix her computer!
Thanks!
Mike
Glad the guide was helpful! We (students) did this project as part of a course for our university and compiled all the information ourselves. I don’t remember if we ever found a part number for the battery, which would explain why one wasn’t provided in the guide.
The battery model number is C31N1602
Your instructions made the battery replacement as smooth as silk! I really hate getting into laptops, but you made it (almost) painless.
The problems were, as usual, my big hands and my aging eyes.
Thanks,
Mike
I was pleasantly surprised at how easy the battery replacement turned out to be, partly due to the design of the ASUS UX330, but also due to the excellent repair guide. Thanks!
