Traduzindo o passo 4
Passo 4


-
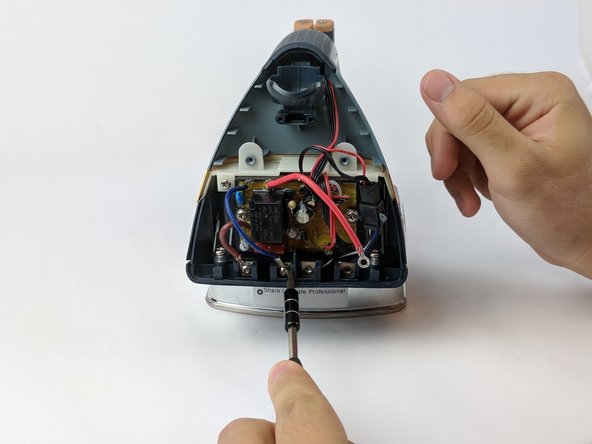
Use the Philips head #0 screwdriver to remove remaining 6.58mm screws that hold a wire on the bottom (brown and blue).
-
Unscrew from left to right.
-
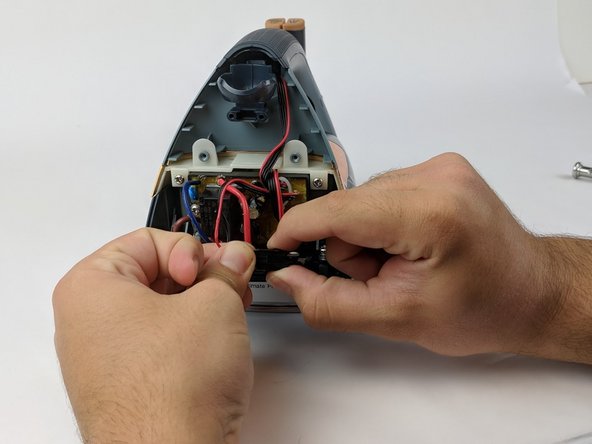
Unclip the black adapter piece on the bottom right.
| - | [* |
|---|---|
| + | [* red] Use the Philips head #0 screwdriver to remove remaining 6.58mm screws that hold a wire on the bottom (brown and blue). |
| [* black] Unscrew from left to right. | |
| + | [* icon_note] Wires order (from left to right): Brown, Blue, Black, Red |
| [* black] Unclip the black adapter piece on the bottom right. | |
| - | [* icon_note] Wires order (from left to right): Brown, Blue, Red, Black |
Suas contribuições são licenciadas pela licença de código aberto Creative Commons.