Introdução
For an easier repair, use our fix kit and follow this shorter guide to replace your iPhone’s entire display assembly.
For more advanced fixers, this guide will help you replace only the iPhone 5s LCD screen + digitizer assembly (a.k.a. the bare “front panel”). This requires you to transfer several components from your original screen to the new one before installing it—including the front-facing camera, earpiece speaker, LCD shield plate, and home button assembly.
For all screen/display repairs, it's important to transfer the original home button onto the new display in order for Touch ID (fingerprint scanning) to function.
You can also use this guide to replace the following parts:
O que você precisa
Vídeo de Apresentação
-
-
Power off your iPhone before beginning disassembly.
-
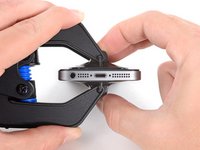
Remove the two 3.9 mm Pentalobe screws from either side of Lightning connector.
-
-
-
If your display glass is cracked, keep further breakage contained and prevent bodily harm during your repair by taping the glass.
-
Lay overlapping strips of clear packing tape over the iPhone's display until the whole face is covered.
-
-
-
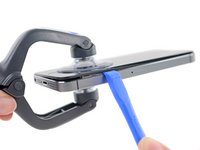
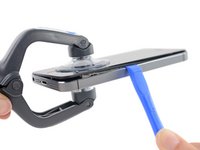
Regardless of the tool you use, you need to be sure you pull up the entire display.
-
If the glass begins to separate from the plastic, as shown in the first image, slide a plastic opening tool between the plastic frame and the metal phone body to pry the metal clips out of the case.
-
-
Ferramenta utilizada neste passo:Clampy - Anti-Clamp$24.95
-
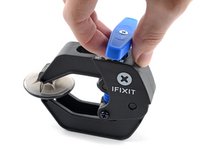
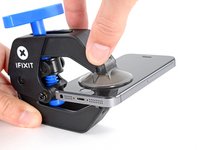
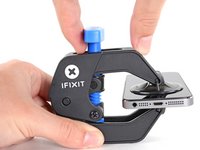
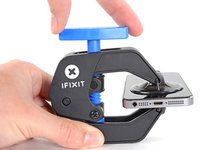
Pull the blue handle backwards to unlock the Anti-Clamp's arms.
-
Slide the arms over either the left or right edge of your iPhone.
-
Position the suction cups near the bottom edge of the iPhone just above the home button—one on the front, and one on the back.
-
Squeeze the cups together to apply suction to the desired area.
-
-
-
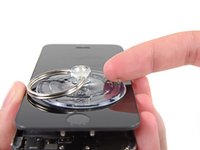
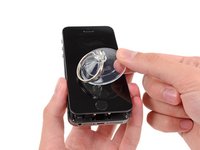
If you don't have an Anti-Clamp, use a single suction cup to lift the front panel:
-
Press a suction cup onto the screen, just above the home button.
-
-
-
While holding the iPhone down with one hand, pull up on the suction cup to slightly separate the home button end of the front panel from the rear case.
-
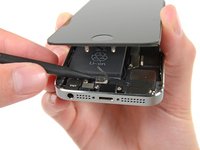
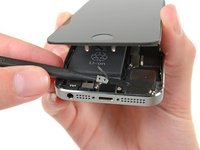
With a plastic opening tool, gently pry the edges of the rear case down, away from the front panel assembly, while you pull up with the suction cup.
-
-
Ferramenta utilizada neste passo:Tweezers$4.99
-
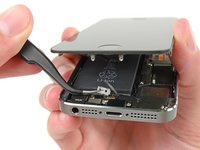
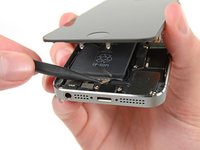
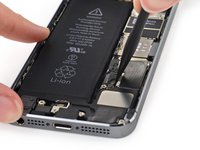
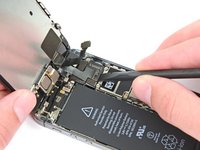
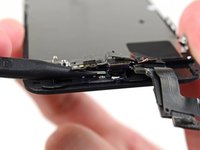
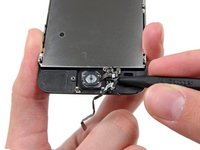
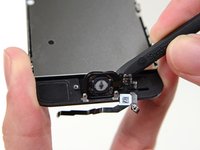
Open the phone just enough to reveal the metal bracket covering the home button cable.
-
Only the phone's original home button assembly will be capable of using the Touch ID functionality. If you rip the cable, installing a new home button will only restore ordinary home button functions, not the Touch ID features.
-
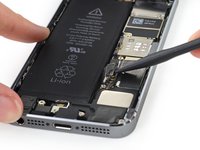
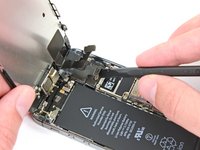
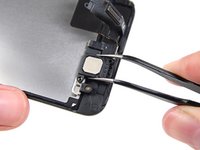
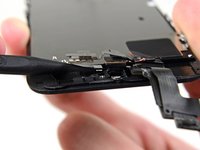
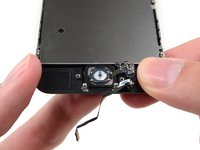
Use the tip of a spudger to push the bracket free and remove it with tweezers.
-
-
-
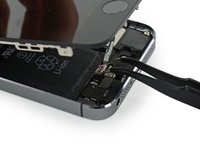
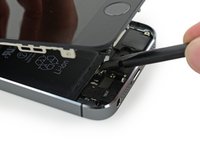
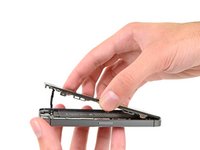
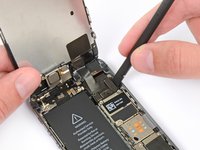
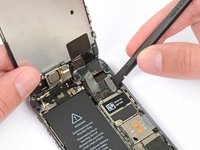
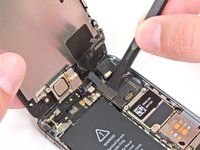
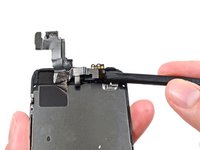
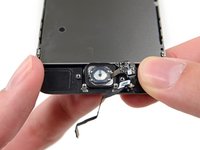
Use the tip of a spudger to pry the home button cable connector up out of its socket.
-
-
-
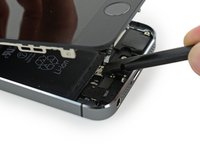
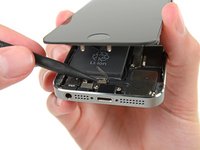
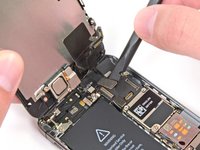
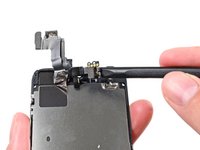
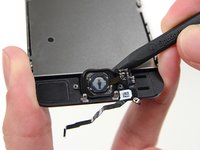
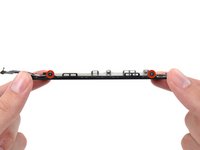
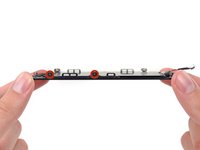
Once the connector has been released, pull the home button end of the assembly away from the rear case, using the top of the phone as a hinge.
-
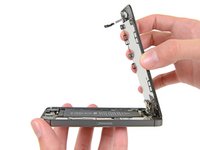
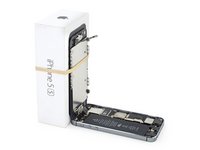
Open the display to about a 90º angle, and lean it against something to keep it propped up while you're working on the phone.
-
Add a rubber band to keep the display securely in place while you work. This prevents undue strain on the display cables.
-
-
-
-
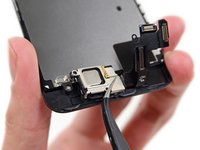
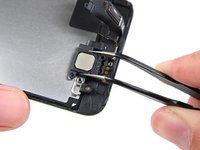
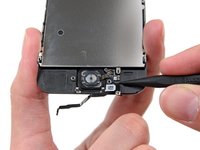
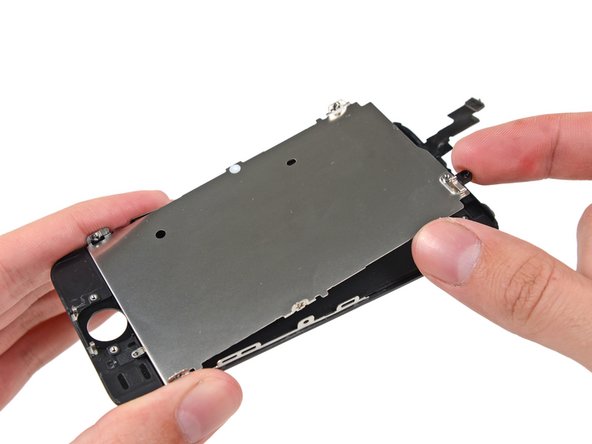
Remove the two screws securing the upper component bracket:
-
4.0 mm Phillips #000
-
2.3 mm Phillips #000
-
-
-
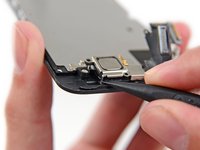
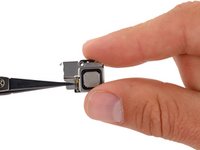
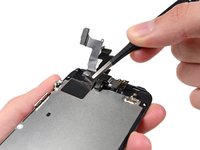
Place the earpiece speaker bracket over the speaker so that it fits snugly in its housing.
-
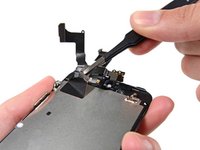
Slide the left hook of the bracket into the notch above the top left corner of the front facing camera.
-
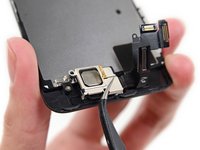
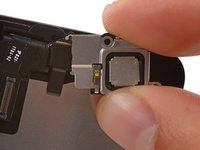
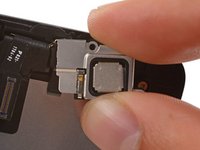
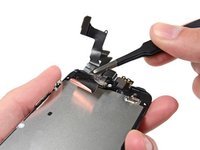
Rotate the bracket so it lays flat on the rear case, aligning the two screw holes. Press the bracket into place, ensuring the hook on the right side of the metal bracket latches onto the display.
-
-
Ferramenta utilizada neste passo:iOpener$24.99
-
Using an iOpener to soften the adhesive will help safely remove it. Follow our iOpener instructions to use it.
-
-
-
Unscrew the single captive Phillips #000 screw securing the home button cable.
-
-
-
Remove the 2.7 mm Phillips #000 screw from the back of the display assembly.
-


To reassemble your device, follow these instructions in reverse order.
Cancelar: não concluí este guia.
1151 outras pessoas executaram este guia.


94Comentários do guia
FYI Vibrate motor
Just did one of these last night, worked perfectly except that the vibrate motor stopped working, took it back apart and realized that the little prong on the ear speaker cover sometimes gets bent a little with removal. I just pushed it back in and the vibrate motor then had enough room to work again. Make sure that you push it back in all the way first time unless you want to do more work than you have to! These phones have no space to spare!
For some reason after doing this the home button seems to have sunk and requires a much much harder press for it to work. I think it's the adhesive? Any ideas?
If the rubber gasket is not seated correctly, it may have wrinkle in it, thus hindering is action.
During reassembly be very, VERY careful when pressing the display assembly into the rear frame. Many displays are damaged because the phone was dropped and the rear frame hit a hard surface. The rear frame may be slightly bent or out of shape. When pressing the new display in place it might not fit easily and applying even light pressure can BREAK the new display assembly (I know from experience). Supper lame to get literally to the very last step and crack the new display. %&*#!!!
just happened to me i also got reboot logo stuck