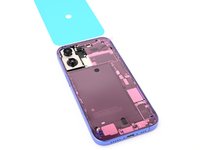
O que você precisa
-
-
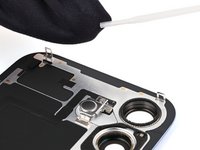
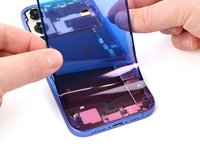
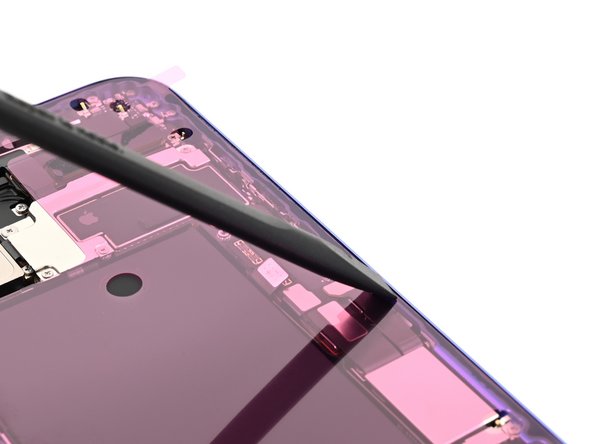
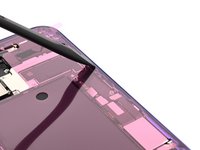
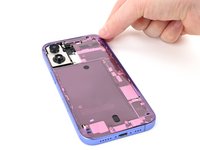
Use the pointed end of a spudger to press and roll the adhesive until you can grip it with a pair of tweezers.
-
-
Ferramenta utilizada neste passo:Microfiber Cleaning Cloths$3.99
-
Wrap a microfiber or lint-free cloth over the point of a spudger and apply a few drops of high-concentration isopropyl alcohol (over 90%) to the cloth.
-
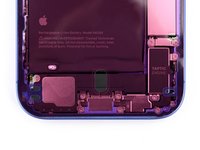
Wipe in one direction along the perimeter of the frame to clean the adhesive residue.
-
Wait a few minutes before proceeding to make sure any excess alcohol has evaporated.
-
-
-
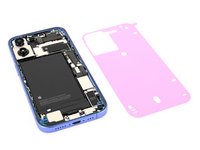
Apply a few drops of high-concentration isopropyl alcohol (over 90%) to a microfiber or lint-free cloth and wipe around the perimeter of the back glass to prepare the surface for new adhesive.
-
If any clips on the back glass are bent, gently straighten them with your fingers.
-
-
-
Orient your replacement adhesive over the frame with the larger blue liner on the underside and its pull tab in the bottom-right corner.
-
Use features such as the camera cutout and notches along the edges to visualize how the adhesive will lay in the frame.
-
-
-
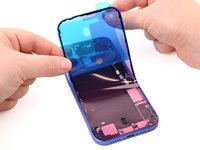
Use the pull tab to begin peeling the back liner off of the adhesive starting from the bottom, but do not remove the liner all the way.
-
-
-
Hold the blue liner out of the way and align the adhesive with the bottom edge of the iPhone.
-
Lay the bottom edge of the adhesive into its recess in the frame, making sure the iPhone's spring contacts are aligned with their cutouts in the liner.
-
-
-
-
Use the flat end of a spudger to press the adhesive into place around the perimeter of the frame.
-
Be careful not to touch the spring contacts sticking through the pink liner.
-
-
-
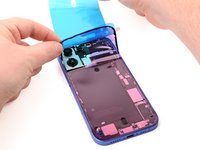
Use the small pull tab in the top-right corner to remove the pink adhesive liner.
-
-
-
Once the top liner is removed, there should be three narrow liners on top of the adhesive with pull tabs near the bottom edge.
-
If you don't see these pull tabs, you may have accidentally removed the thin liners in the previous step. If the adhesive is clean and properly aligned, you may proceed, just be careful not to touch anything to the exposed adhesive until you are ready to install the back glass.
-
-
-
Prop up the back glass along the right edge of your iPhone, using a box or similar sturdy object to support the screen.
-
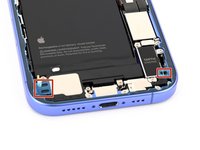
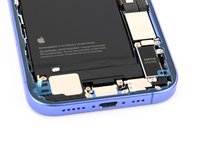
Use the flat end of a spudger or your finger to connect the charging coil press connector.
-
-
-
Use the flat end of a spudger or your finger to connect the battery.
-
-
-
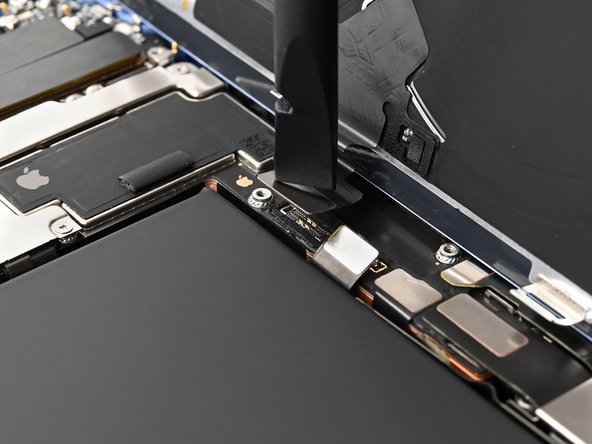
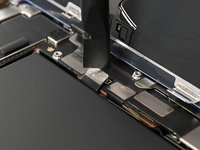
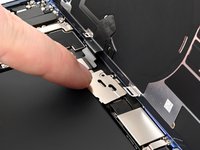
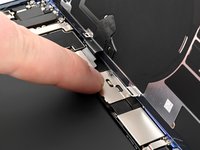
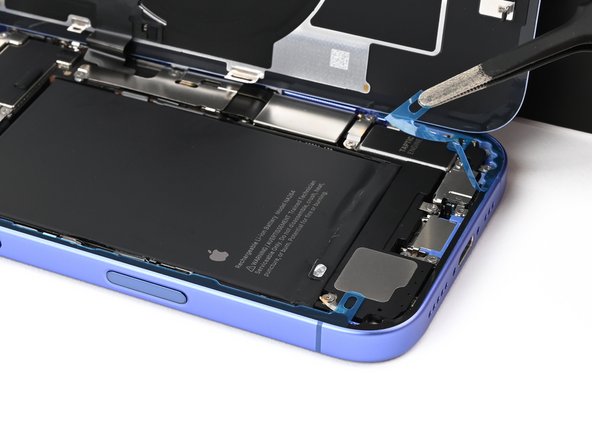
Lay the connector cover on the phone so the hooks are slightly to the left of their slots in the logic board.
-
Use your finger to press the connector cover down and to the right until both hooks slide into their slots.
-
-
-
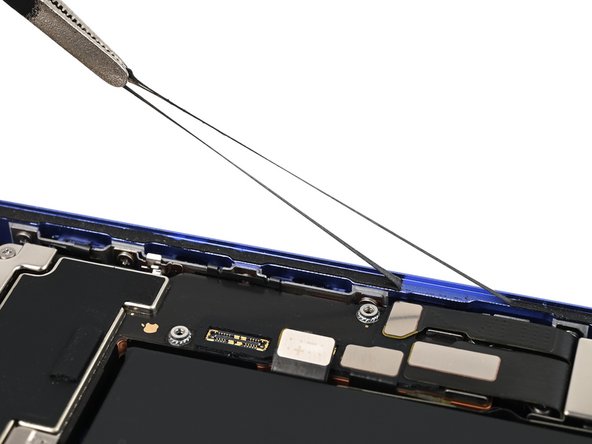
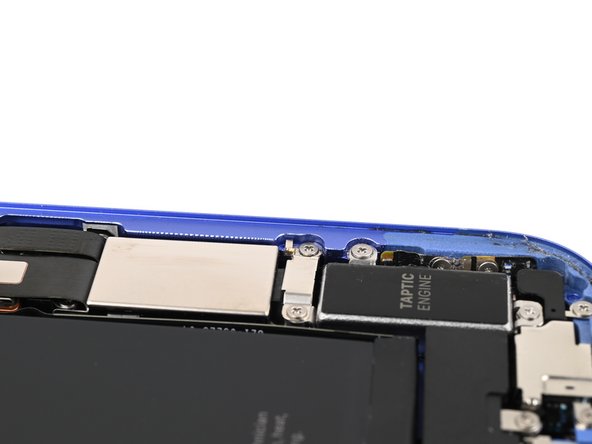
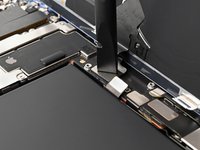
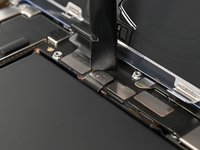
Use a tri-point Y000 driver to install the two 1 mm‑long screws securing the middle connector cover.
-
-
-
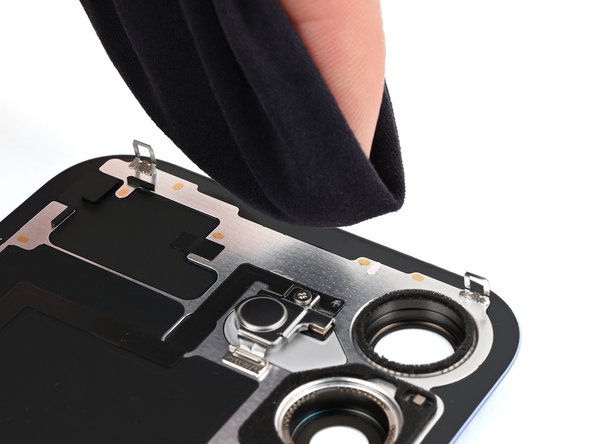
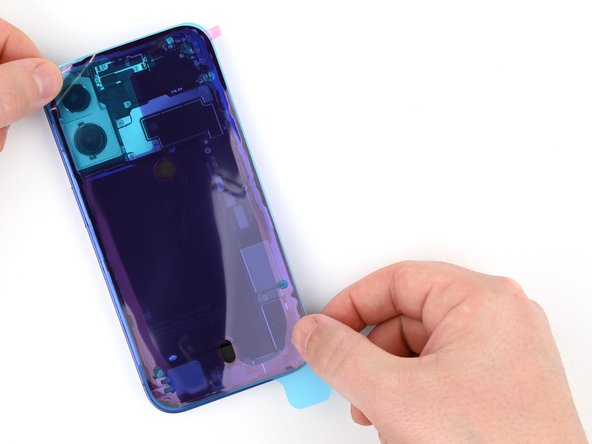
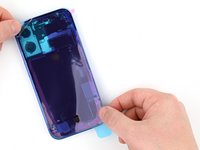
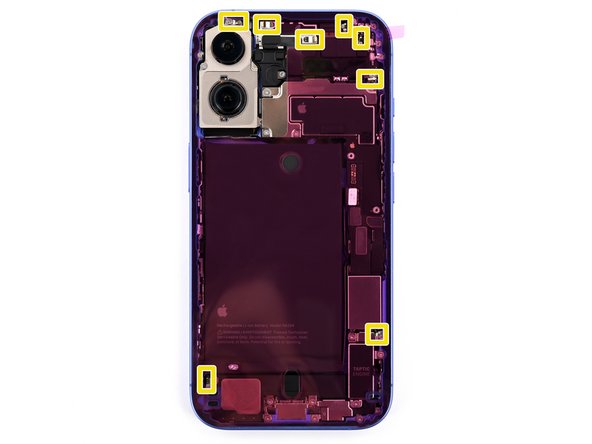
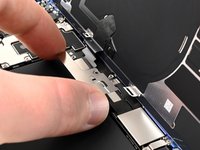
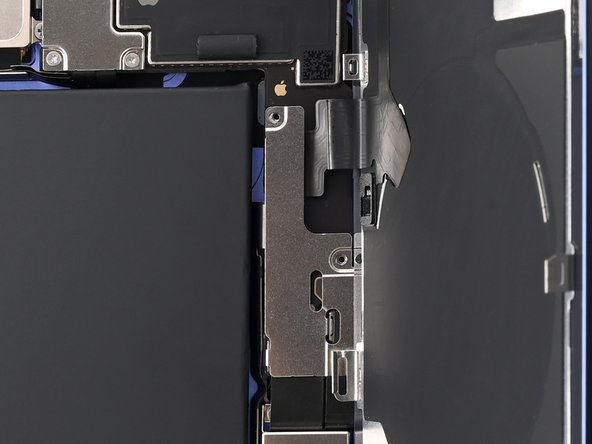
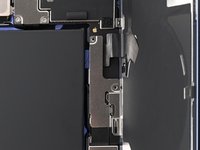
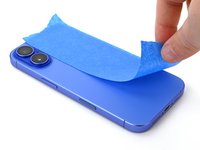
Use the blue tabs to remove the liners from the bottom, left, and top edges of your iPhone. Wait to remove the liner along the right edge.
-
-
-
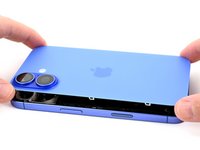
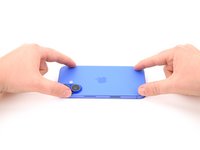
Hold the back glass above the phone and align it with the frame.
-
Lay the glass straight down onto the frame and press until the clips engage.
-
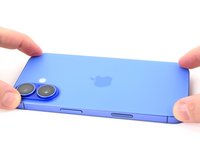
Press around the perimeter of the back glass to engage all clips.
-
-
-
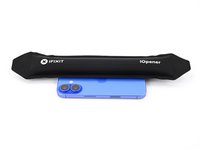
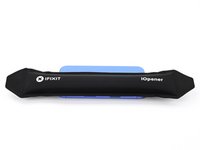
To help the adhesive bond, apply heat to the edges of the back glass using an iOpener, hair dryer, or heat gun until it's hot to the touch.
-
Firmly press around the perimeter of the back glass.
-
If you have screen vise clamps, use them to strengthen the bond of your new adhesive. If not, keep reading for more ways to secure the back glass.
-
-
-
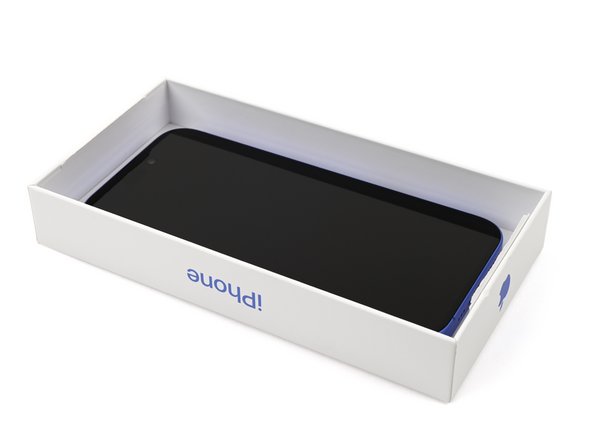
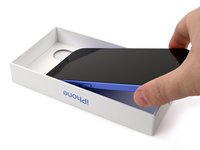
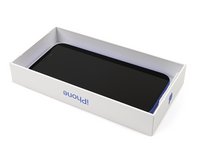
If you have the box your iPhone came in, take the lid and place it on a flat surface.
-
Place your iPhone screen-side-up in the lid of your box with the camera bump in its recess.
-
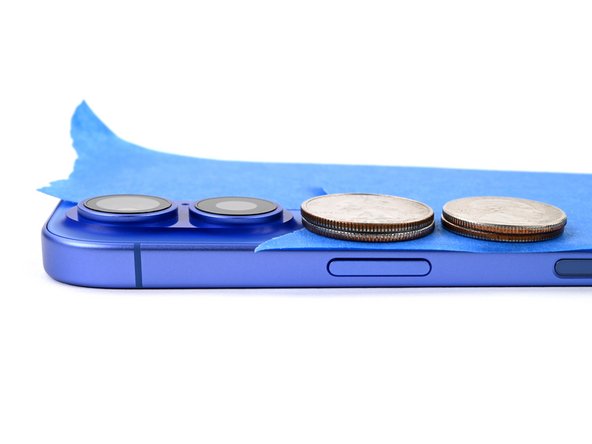
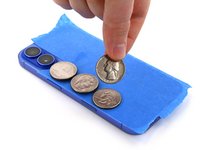
Find something close to the size of your iPhone, but taller than the sides of the box. Stack it on top of the iPhone, followed by a few heavy objects.
-
Leave the objects in place for at least thirty minutes. The lighter the objects, the longer they should be left. Ideally, leave them stacked overnight.
-