Introdução
Use this guide to replace the front glass and digitizer assembly on an iPad Air.
Be very careful when you isolate the battery using a battery blocker. The battery contacts are easily damaged, resulting in irreversible damage. If you choose to complete the guide without isolating the battery, avoid using metal tools except when completely necessary (like when removing screws) to prevent shorting the battery and damaging sensitive circuit components.
O que você precisa
-
-
Fill a pot or pan with enough water to fully submerge an iOpener.
-
Heat the water to a boil. Turn off the heat.
-
Place an iOpener into the hot water for 2-3 minutes. Make sure the iOpener is fully submerged in the water.
-
Use tongs to extract the heated iOpener from the hot water.
-
Thoroughly dry the iOpener with a towel.
-
Your iOpener is ready for use! If you need to reheat the iOpener, heat the water to a boil, turn off the heat, and place the iOpener in the water for 2-3 minutes.
-
-
-
If your display glass is cracked, keep further breakage contained and prevent bodily harm during your repair by taping the glass.
-
Lay overlapping strips of clear packing tape over the iPad's display until the whole face is covered.
-
Do your best to follow the rest of the guide as described. However, once the glass is broken, it will likely continue to crack as you work, and you may need to use a metal prying tool to scoop the glass out.
-
-
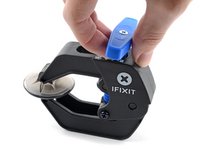
Ferramenta utilizada neste passo:Clampy - Anti-Clamp$24.95
-
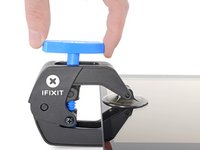
Pull the blue handle backwards to unlock the Anti-Clamp's arms.
-
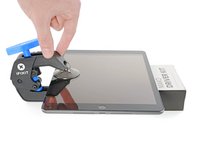
Place an object under your iPad so it rests level between the suction cups.
-
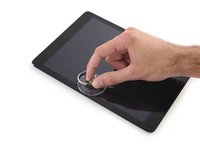
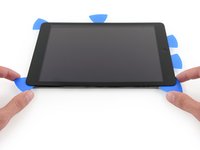
Position the suction cups near the middle of the left edge—one on the top, and one on the bottom.
-
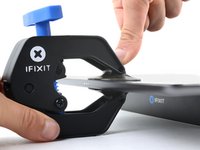
Hold the bottom of the Anti-Clamp steady and firmly press down on the top cup to apply suction.
-
-
-
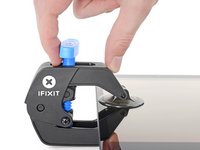
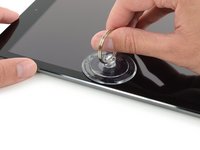
Wait one minute to give the adhesive a chance to release and present an opening gap.
-
If your screen isn't getting hot enough, you can use a hair dryer to heat along the left edge of the iPad.
-
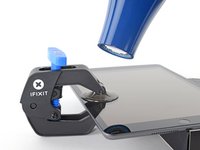
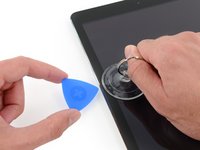
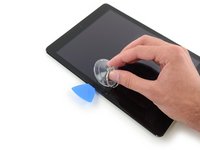
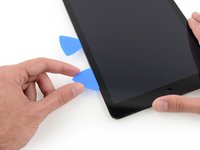
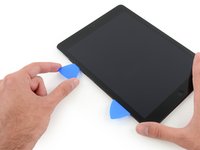
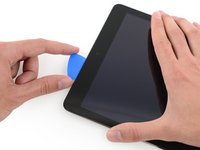
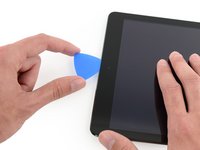
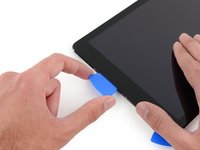
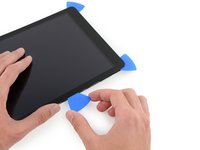
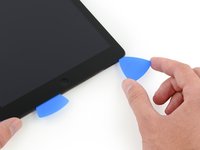
Insert an opening pick under the screen when the Anti-Clamp creates a large enough gap.
-
Skip the next two steps.
-
-
-
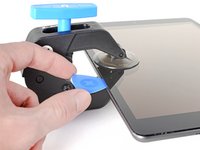
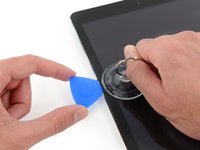
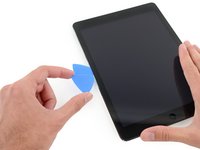
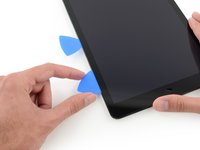
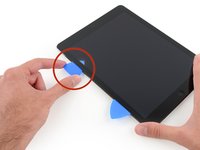
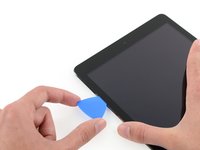
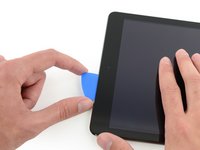
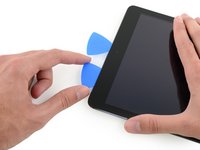
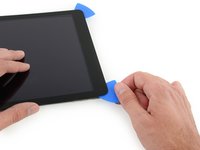
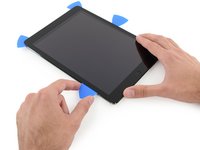
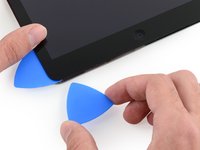
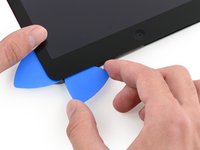
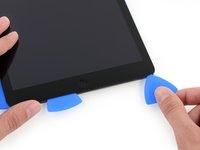
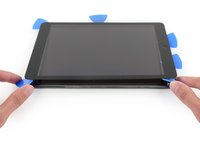
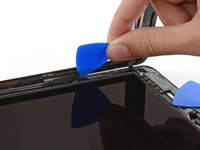
Take the first pick you inserted and slide it up toward the top corner of the iPad.
-
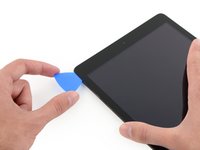
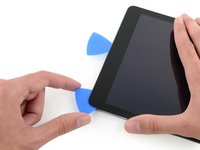
If you can see the tip of the opening pick through the front glass, don't panic—just pull the pick out just a little bit. Most likely, everything will be fine, but try to avoid this as it may deposit adhesive on the front of the LCD that is difficult to clean off.
-
-
-
-
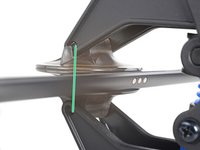
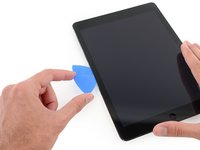
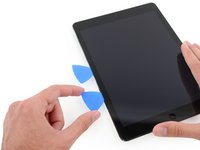
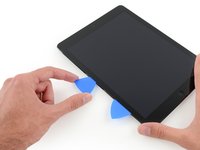
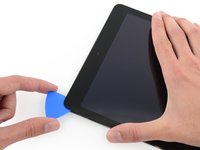
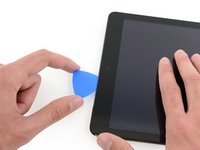
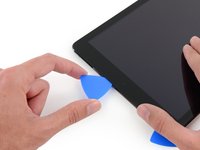
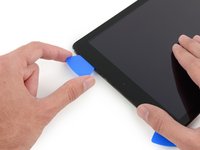
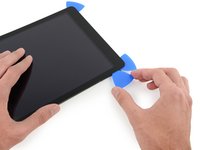
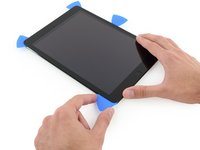
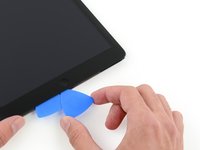
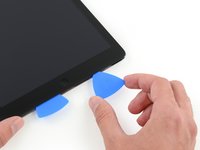
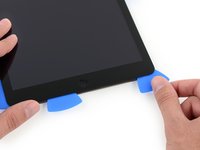
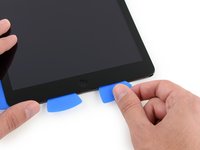
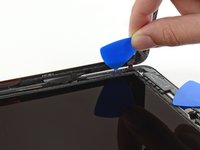
Slide the lower left pick to the lower left corner to cut the adhesive on that corner.
-
Leave the pick at the corner. Do not pry any farther, and do not remove the pick from the iPad.
-
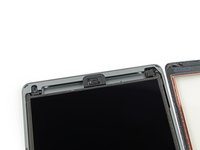
The following steps will direct you where to pry to avoid damage to these components. Only apply heat and pry where directed.
-
-
-
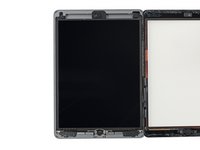
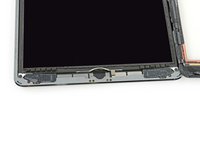
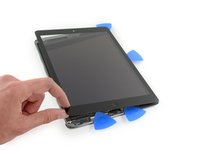
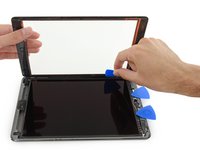
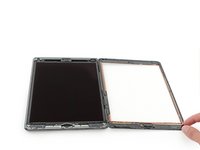
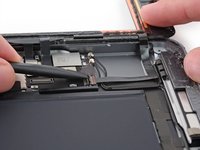
Use the flat end of a spudger to pry the LCD out of its recess just enough to grab it with your fingers.
-
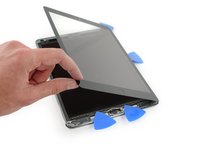
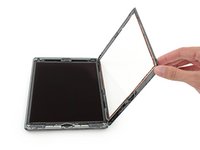
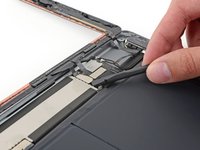
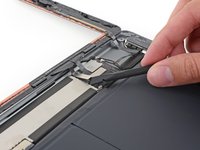
Flip the iPad LCD like a page in a book, lifting near the camera and turning it over the home button end of the rear case.
-
Lay the LCD on its face to allow access to the display cables.
-
-
-
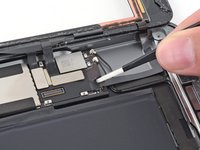
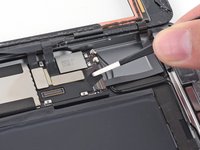
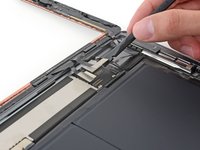
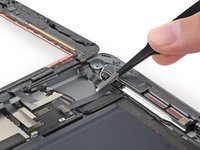
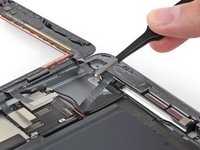
Remove any tape covering the home button ribbon cable connector.
-
-
Ferramenta utilizada neste passo:Polyimide Tape$9.99
-
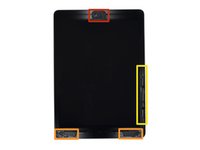
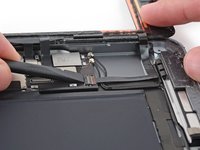
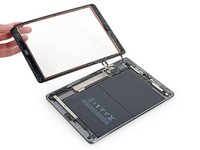
Remove the front panel assembly.
-
If you experience "ghost" or "phantom" touch input issues with your new display, this can be resolved by adding a layer of very thin insulating tape, such as Kapton (polyimide) tape, to the highlighted areas on the back of the panel. iFixit panels come with the proper insulation, and should not require the addition of any tape.
-


To reassemble your device, follow these instructions in reverse order.
To reassemble your device, follow these instructions in reverse order.
Cancelar: não concluí este guia.
632 outras pessoas executaram este guia.


89 comentários
Actually, I didnt remove the crashed front panel(the old one) as this guide. The edge of front panel didnt stick so much with the cover case, so I use force to tear off the crumbled edge. Be prepared for the "dust of glass", it will really hurt your body, if you plan to do as my way.
Additionally, there is another difficulty part of me. When I stick the new panel on. There is always some small dust between the screen and the front panel.
Great guide, a lot harder with a cracked screen due to no flat surfaces for suction cup but eventually got it off, thanks
How to put it back? LCD + digitizer do not want to "cooperate" in ribbons area
Use the spudger to gently push or pull them into the slot. That's what I did. It's charging now so I don't know if it works yet or not
Assembled back with a new digitizer. Powered on.
1. Screen keeps to be black, no image. Put on a charger, iPad makes "boing" sound very quite every 10 seconds or so. Plugged it into a Macbook Air, iPad show up in iTunes and iFoto, all data can be accessed.
2. Suddenly, after few minutes connected to the Macbook Air, iPad boot screen appears on iPad and device boots-up.
3. Now, input is very sporadic and unreliable. Device keeps selecting items on its own and starting apps on its own, doesn't react reliably to user input. Seems as if the digitizer or its connection is damaged. Hard to tell, everything went ok, only problem was the removal of the old adhesive to have a plain surface for the new one.
As is, this is a failure, device does not work as expected. Data is safe though.