Esta tradução pode não refletir as atualizações mais recentes do guia de fontes. Ajude a atualizar a tradução ou veja guia de fontes.
Introdução
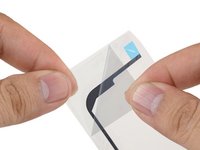
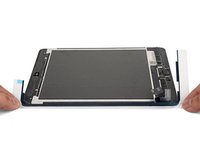
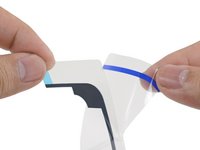
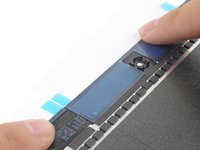
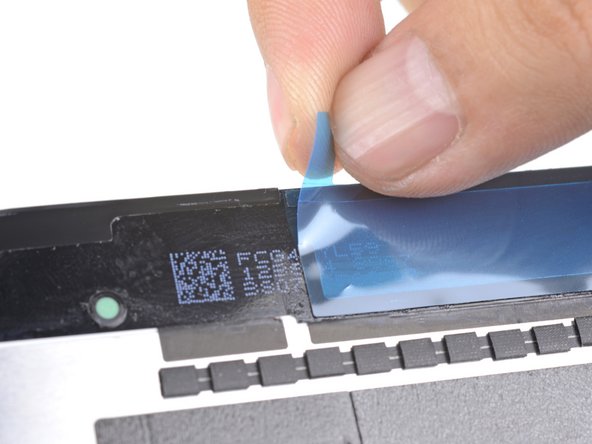
Este guia mostra como aplicar o adesivo do conjunto do display em um iPad Pro 9.7” aberto. Este é parte do procedimento do conjunto do display do iPad Pro 9.7”.
O que você precisa
-
-
Antes de instalar adesivos novos, limpe e elimine completamente os restos no conjunto do display e na estrutura.
-
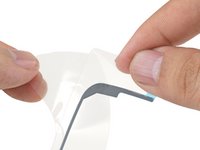
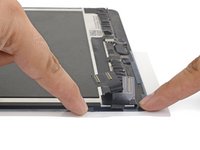
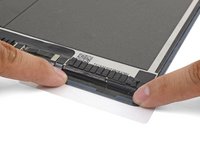
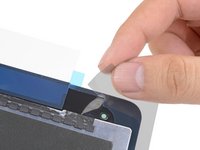
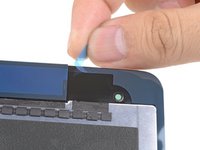
Use uma pinça para puxar segmentos de resto de fita.
-
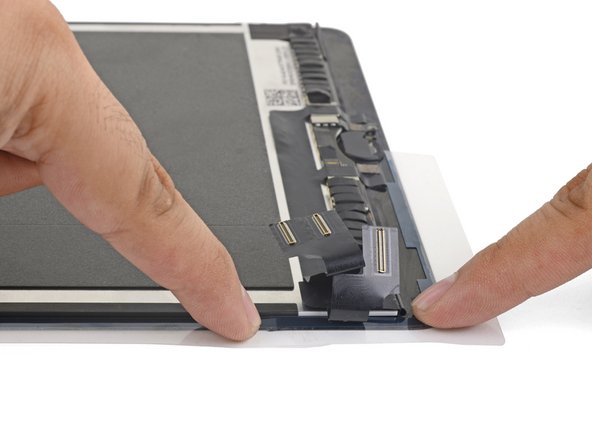
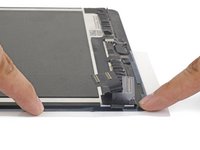
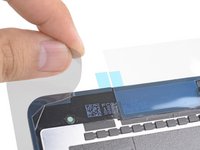
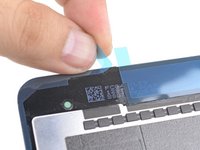
Use uma ferramenta de abertura ou uma espátula para raspar resíduos. Você pode usar álcool isopropílico altamente concentrado (acima de 90%) para amolecer o adesivo.
-
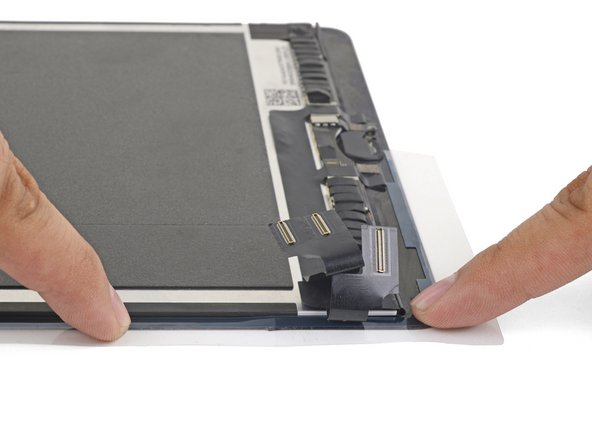
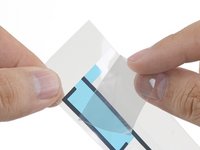
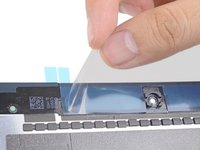
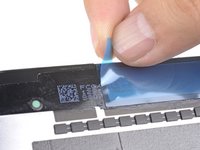
Remova o resíduo esfregando em uma direção para evitar manchas.
-
-


O reparo não correu como programado? Dê uma olhada na nossa comunidade de Respostas para o iPad Pro 9.7” para obter ajuda sobre solução de problemas.
O reparo não correu como programado? Dê uma olhada na nossa comunidade de Respostas para o iPad Pro 9.7” para obter ajuda sobre solução de problemas.
Cancelar: não concluí este guia.
58 outras pessoas executaram este guia.
Um agradecimento especial a esses tradutores:
38%

Udo Baingo está nos ajudando a consertar o mundo! Quer contribuir?
Comece a traduzir ›


11 comentários
Thanks, I was able to fix my wife’s shattered digitizer screen on the iPad 6th gen with this guide!
I managed to get it done, but this was a personal nightmare for me and more difficult than replacing the battery in my ipad. There are too many instruction that say “remove plastic” and I have no idea which layer; there was nothing on the packaging to indicate which side was up or which side was the front and I ended up guessing the wrong direction because it “looked” right, but wasn’t. A simple sticker on the packaging indicating a direction would have removed all of the frustration. I only managed to figure it out by removing all of the plastic so that the sticky side of the adhesive was exposed and then I could finally see how it was supposed to fit and how I was supposed to press down with the other side of the plastic to push the adhesive side into the frame.
Fixed a cracked iPad 4 mini screen; I agree with twizzlercraze72. Some kind of labeling would have saved so much peeling and re-sticking. I ended up with a gap next to my home button. An expensive lesson to learn.
For me, actually replacing the battery wasn’t too bad, but I ended up using too much isopropyl to clean off the old glue, and it seeped under the display and ruined it. Wish Apple didn’t use so much glue. It massively impedes repairability, which is not very environmentally sound. My iPad was perfect apart from the battery - it’s now got a perfect battery but the iPad is ruined :-(
Same here :(. $50 repair just turned into $250!