Esta versão pode conter edições incorretas. Mude para o último instantâneo verificado.
O que você precisa
-
Este passo não foi traduzido. Ajude a traduzi-lo
-
Before working on the unit, disconnect the unit from the wall. Hold the power button in for 60 seconds to drain the capacitors.
-
-
Este passo não foi traduzido. Ajude a traduzi-lo
-
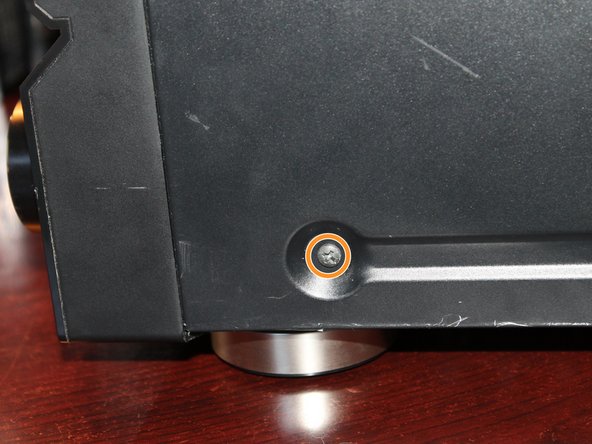
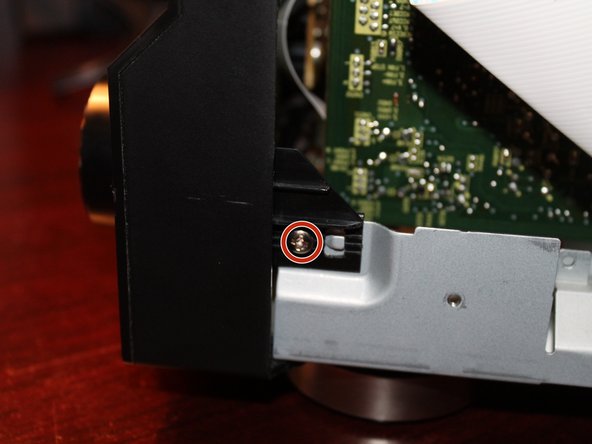
If present, remove this screw. This was not in my unit, but may be in yours.
-
Remove the two screws holding the faceplate on the receiver. Sort these individually as they are different.
-
-
Este passo não foi traduzido. Ajude a traduzi-lo
-
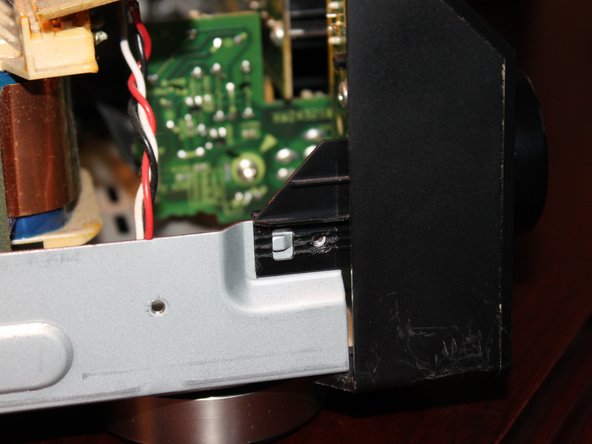
Remove the 2 screws from the left side of the receiver. They are the same length.
-
Remove the 1 screw on the right side of the receiver. While it appears to be the same, sort it separately.
-
-
Este passo não foi traduzido. Ajude a traduzi-lo
-
Remove the 3 screws from the back of the receiver. Once these are removed, the cover will come off.
-
-
Este passo não foi traduzido. Ajude a traduzi-lo
-
This pin is installed by the factory. To remove this pin, push it out from the back until it is loose. Remove the pin when it is loose.
-
-
-
Este passo não foi traduzido. Ajude a traduzi-lo
-
After the faceplate pin is removed, remove the 2 screws that hold it to the chassis. Both screws are the same length.
-
-
Este passo não foi traduzido. Ajude a traduzi-lo
-
Remove the control knob from the receiver. To do this, pull the knob off firmly. Too much pressure may result in a broken knob and potentiometer.
-
-
Este passo não foi traduzido. Ajude a traduzi-lo
-
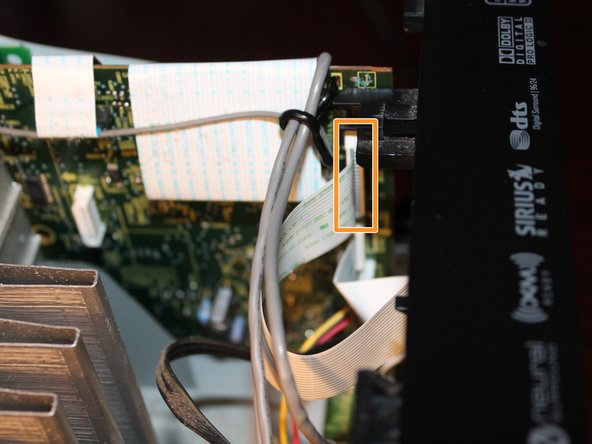
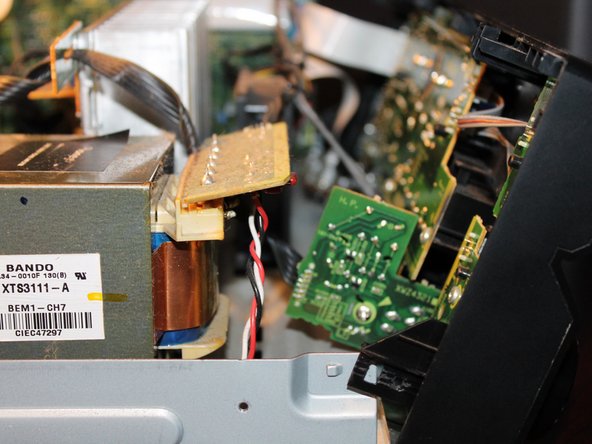
iPod Direct: Disconnect the wire that plugs into the board as shown in the 1st picture. The board will need to be removed as well.
-
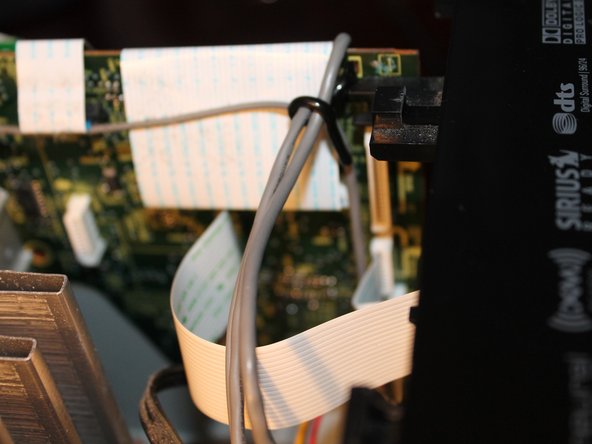
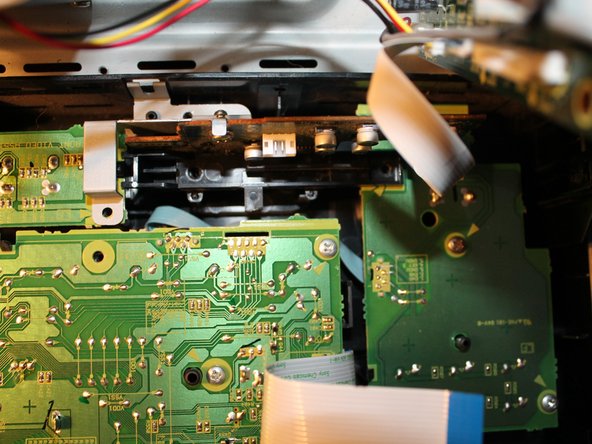
Disconnect the flatflex that connects the front panel display to the rest of the receiver.
-
-
Este passo não foi traduzido. Ajude a traduzi-lo
-
Cut the zipties that hold the front panel wires on the fan. This provides better component access.
-
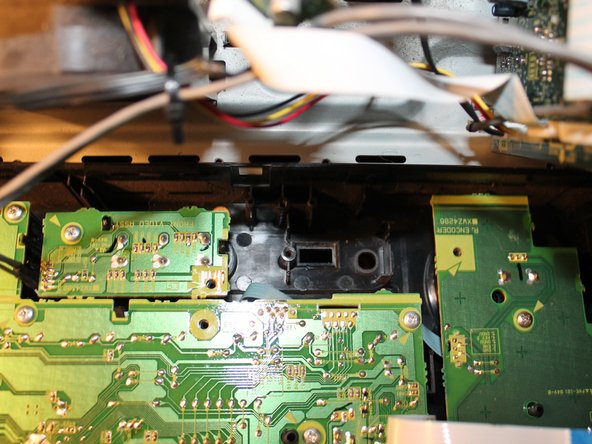
With the faceplate loose and all of the cables disconnected, unclip the faceplate one side at a time. Lay the faceplate flat on your workspace. Leave enough room to access the boards on the front panel.
-
-
Este passo não foi traduzido. Ajude a traduzi-lo
-
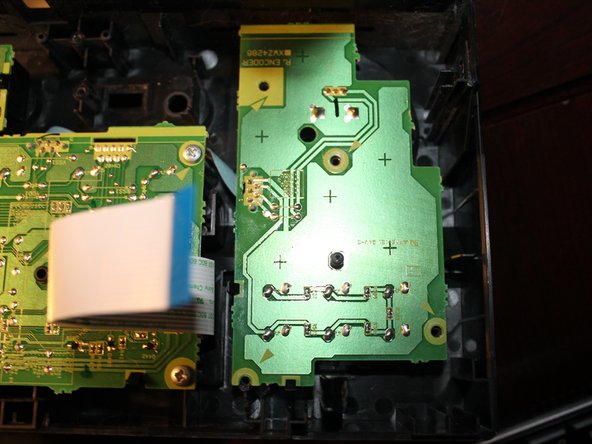
iPod Direct: Remove all 4 marked screws. Remove the support bracket and PCB.
-
Non iPod Direct: Remove the Green and Red screws. No additional screws need to be removed.
-
-
Este passo não foi traduzido. Ajude a traduzi-lo
-
WARNING: This screw is unique and. Sort it separately.
-
Remove the 3 screws that hold the volume control board in the receiver's front faceplate.
-
-
Este passo não foi traduzido. Ajude a traduzi-lo
-
With the control board loose from the front panel, spray contact cleaner into the potentiometer. Clean up any excess contact cleaner once you are done.
-
-
Este passo não foi traduzido. Ajude a traduzi-lo
-
Wipe off any excess contact cleaner on the PCB. Reinstall the board once the contact cleaner is dry.
-


Cancelar: não concluí este guia.
Uma outra pessoa concluiu este guia.

Equipe

2 comentários
Independant of this post, I went through the same procedure to fix a volume control problem on my VSX-1015. But I went one step further: knowing the volume control could not be a good old fashion "potentiometer" (analog resistor), but rather a pulse generator, I was curious what could possibly go wrong inside it. So I de-soldered the thing (need solder suction pump), and opened it by gently plying the 4 lips holding it together. The problem was... grease, having seeped in from the axis (probably injected to generate the heavy duty quality feeling when turning the knob). So I removed the grease using cooton swabs firt, then the finest paintbrush I could find from my kid, and then cleaned the contacts and copper tracks with isopropyl alcohol - ALL VERY CAREFULLY. After having put everything back together - works like a charm now :)
I certainly think I lost some of the heavy duty feeling using Deoxit to fix the problem but I'd rather lose the heavy duty feel for a more gentle knob feeling where I know the problem probably isn't coming back (I said temporary because I don't know how the unit was treated or if the unit was damaged by pushing it hard, which damaged the potentiometer.) I haven't had to mess with the other knob yet, thankfully. If there is, I clearly haven't noticed for sure so it's not enough to care about. Yeah it's now prone to slipping when you want 50 rather then 65 but I would take that over a repeat of the issue.
Nick -