Ir para o conteúdo principal
Participe da comunidade de reparos - Criar conta
Upper Ice Maker Replacement

O que você precisa

  1. Upper Ice Maker Replacement, Unplug your refrigerator: passo 1, imagem 1 %32
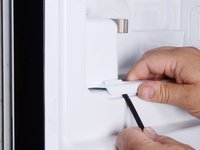
    • Unplug your refrigerator before you begin your repair.

    • If you are testing or repairing the following items, you may also need to shut off and disconnect the water supply:

    • Condenser Fan Motor

    • Compressor Motor and Thermal Overload Device

    • Water Supply Valve Assembly

    Pergunte ao FixBot

    Comentar

  2. Upper Ice Maker Replacement, Open the doors: passo 2, imagem 1 %32 Upper Ice Maker Replacement, Open the doors: passo 2, imagem 2 %32 Upper Ice Maker Replacement, Open the doors: passo 2, imagem 3 %32
    • Open both refrigerator doors fully.

    Pergunte ao FixBot

    Comentar

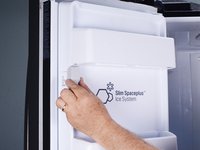
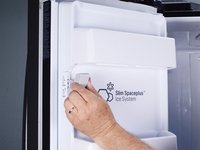
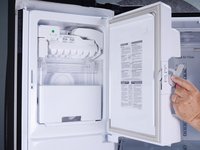
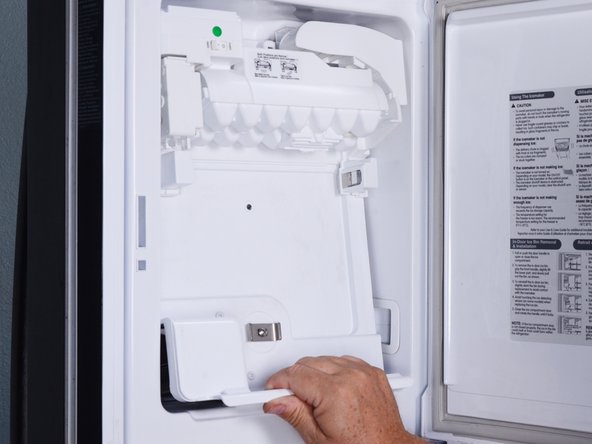
  3. Upper Ice Maker Replacement, Open the ice maker door: passo 3, imagem 1 %32 Upper Ice Maker Replacement, Open the ice maker door: passo 3, imagem 2 %32 Upper Ice Maker Replacement, Open the ice maker door: passo 3, imagem 3 %32
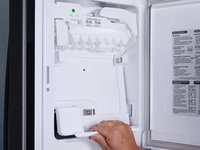
    • Pull down the latch handle to release the ice maker door.

    • Swing open the ice maker door.

    Pergunte ao FixBot

    Comentar

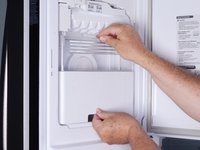
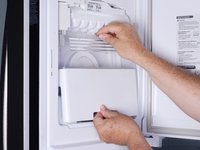
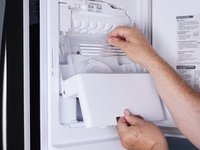
  4. Upper Ice Maker Replacement, Remove the ice bucket: passo 4, imagem 1 %32 Upper Ice Maker Replacement, Remove the ice bucket: passo 4, imagem 2 %32 Upper Ice Maker Replacement, Remove the ice bucket: passo 4, imagem 3 %32
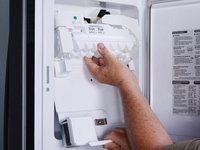
    • Using two hands, lift up the ice bucket slightly to release it.

    • Pull the bottom edge of the ice bucket toward you slightly and remove it.

    Pergunte ao FixBot

    Comentar

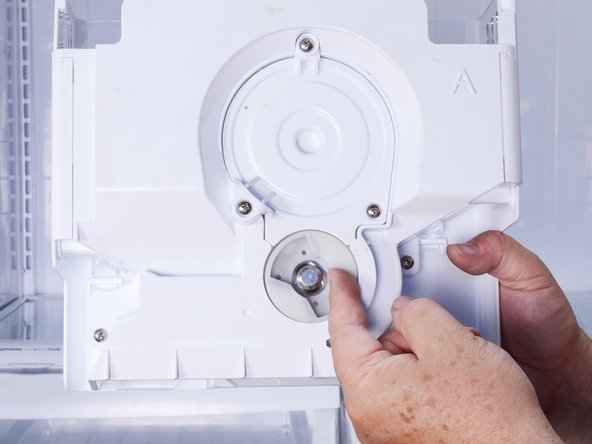
  5. Upper Ice Maker Replacement, Reassembly notes: passo 5, imagem 1 %32 Upper Ice Maker Replacement, Reassembly notes: passo 5, imagem 2 %32 Upper Ice Maker Replacement, Reassembly notes: passo 5, imagem 3 %32
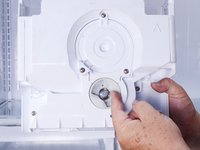
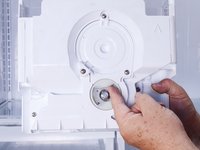
    • The drive hub notches and drive blade wings must line up before installing the ice bucket.

    • Rotate the ice bucket hub, located on the rear of the ice bucket, with your hand so that the notches will align with the auger motor drive blades.

    Pergunte ao FixBot

    Comentar

  6. Upper Ice Maker Replacement, Remove the ice maker assembly screws: passo 6, imagem 1 %32 Upper Ice Maker Replacement, Remove the ice maker assembly screws: passo 6, imagem 2 %32
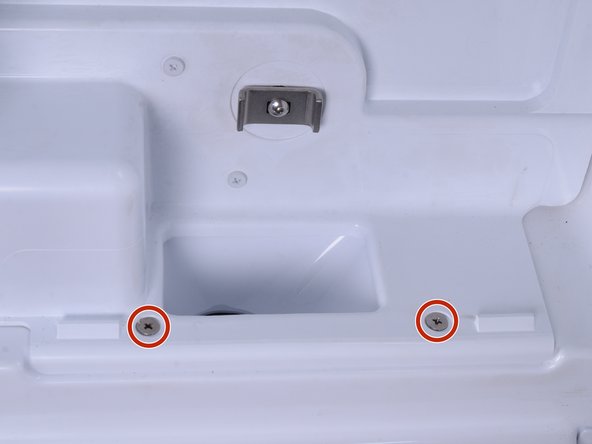
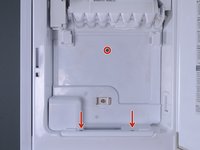
    • Use a #2 Philips driver to remove the three 15 mm‑long screws that secure the ice maker assembly to the refrigerator door.

    Pergunte ao FixBot

    Comentar

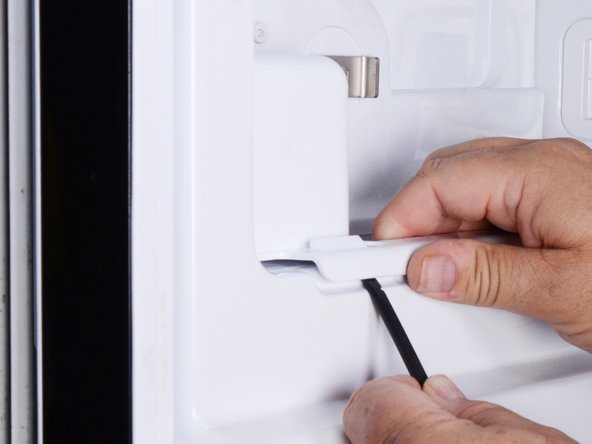
  7. Upper Ice Maker Replacement, Reposition the ice maker assembly: passo 7, imagem 1 %32 Upper Ice Maker Replacement, Reposition the ice maker assembly: passo 7, imagem 2 %32 Upper Ice Maker Replacement, Reposition the ice maker assembly: passo 7, imagem 3 %32
    • Use a spudger to lift the bottom edge of the ice maker assembly. This action will release the assembly from the refrigerator door.

    • Pull the bottom edge of the ice maker assembly toward you to free it from the door.

    Pergunte ao FixBot

    Comentar

  8. Upper Ice Maker Replacement: passo 8, imagem 1 %32 Upper Ice Maker Replacement: passo 8, imagem 2 %32 Upper Ice Maker Replacement: passo 8, imagem 3 %32
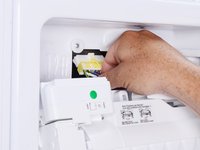
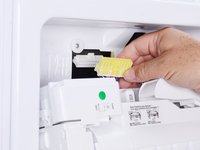
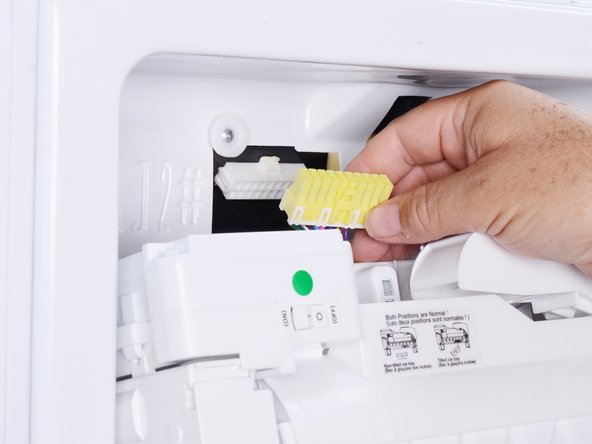
    • Lower the ice maker assembly until you can access the connector located at the top of the assembly.

    • Squeeze the connector at the top of the ice maker assembly to release it.

    • Pull the connector straight down to disconnect it.

    Pergunte ao FixBot

    Comentar

  9. Upper Ice Maker Replacement, Remove the ice maker assembly: passo 9, imagem 1 %32
    • Remove the ice maker assembly.

    Pergunte ao FixBot

    Comentar

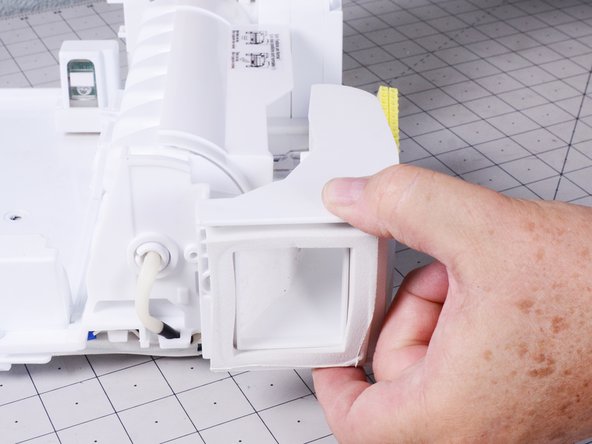
  10. Upper Ice Maker Replacement, Remove the air duct from the ice maker: passo 10, imagem 1 %32
    • Use a Phillips screwdriver to remove the 14.4 mm‑long air duct screw from the side of the ice maker assembly.

    • The air duct gasket partially covers this screw.

    Pergunte ao FixBot

    Comentar

  11. Upper Ice Maker Replacement: passo 11, imagem 1 %32 Upper Ice Maker Replacement: passo 11, imagem 2 %32
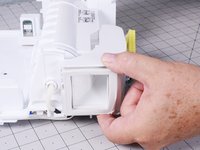
    • Remove the air duct.

    Pergunte ao FixBot

    Comentar

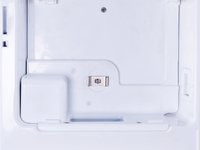
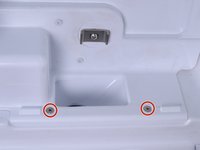
  12. Upper Ice Maker Replacement, Remove the circuit board cover: passo 12, imagem 1 %32
    • Use a Phillips screwdriver to remove the two 32.5 mm‑long screws securing the circuit board cover.

    Pergunte ao FixBot

    Comentar

  13. Upper Ice Maker Replacement: passo 13, imagem 1 %32 Upper Ice Maker Replacement: passo 13, imagem 2 %32
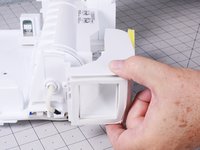
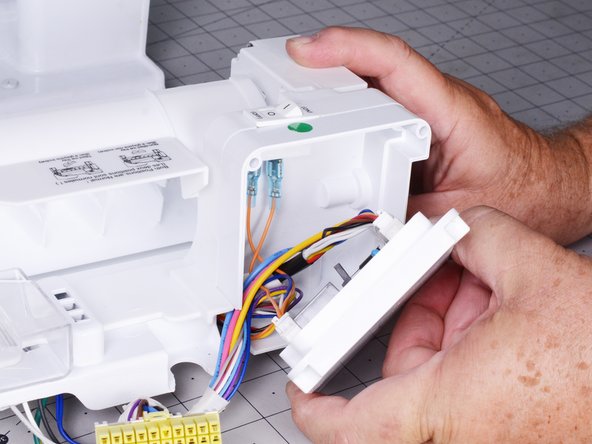
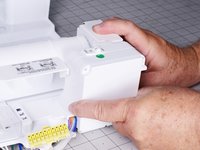
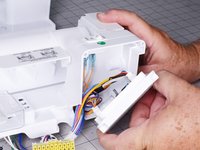
    • Open the circuit board cover.

    • The circuit board cover has wires that must be disconnected before removing the ice maker.

    Pergunte ao FixBot

    Comentar

  14. Upper Ice Maker Replacement, Disconnect the ice maker wiring harness: passo 14, imagem 1 %32 Upper Ice Maker Replacement, Disconnect the ice maker wiring harness: passo 14, imagem 2 %32
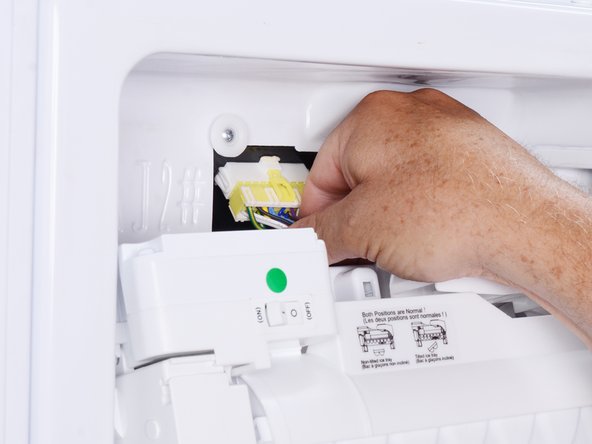
    • Squeeze the three-wire connector to release it from the circuit board.

    • Pull the three-wire connector straight out to disconnect it.

    Pergunte ao FixBot

    Comentar

  15. Upper Ice Maker Replacement: passo 15, imagem 1 %32 Upper Ice Maker Replacement: passo 15, imagem 2 %32 Upper Ice Maker Replacement: passo 15, imagem 3 %32
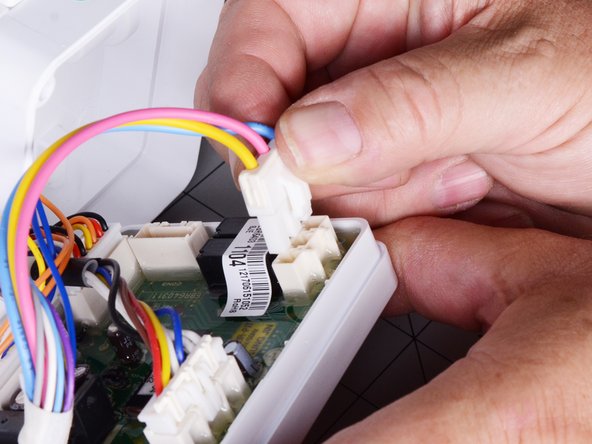
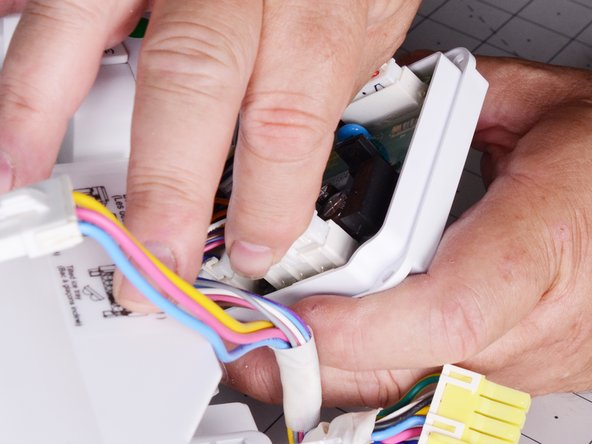
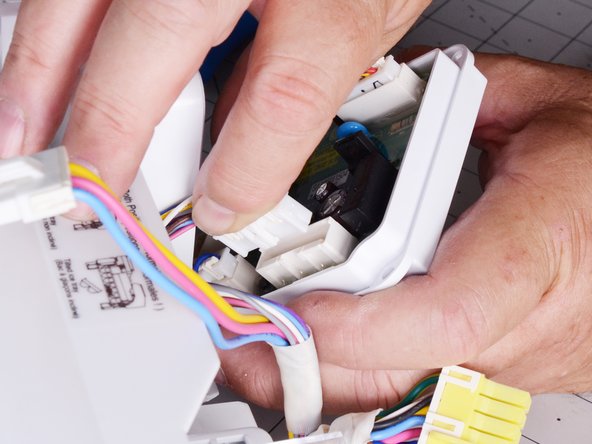
    • Squeeze the multi-wire connector with the two orange wires running to the on/off switch.

    • Pull the connector straight out to disconnect it.

    Pergunte ao FixBot

    Comentar

  16. Upper Ice Maker Replacement: passo 16, imagem 1 %32 Upper Ice Maker Replacement: passo 16, imagem 2 %32 Upper Ice Maker Replacement: passo 16, imagem 3 %32
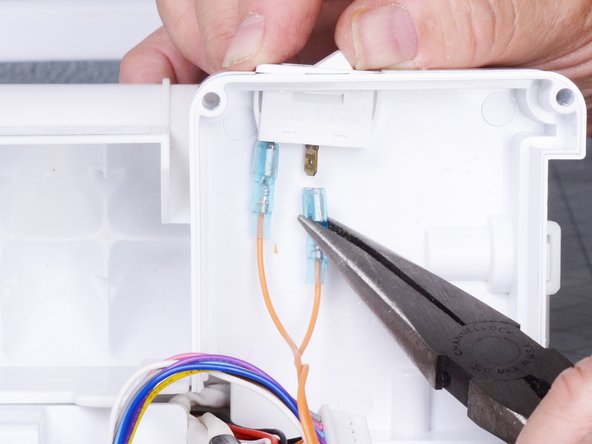
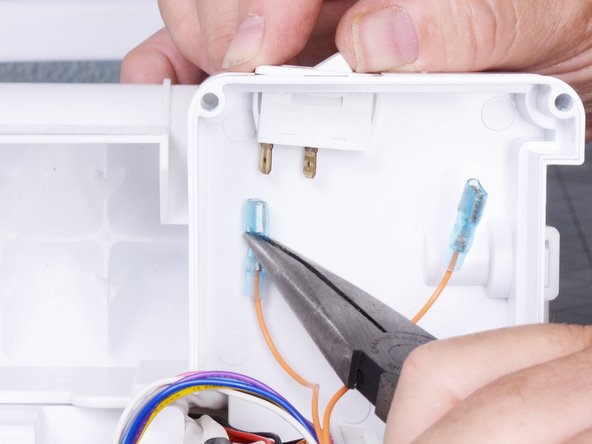
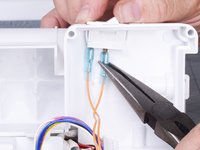
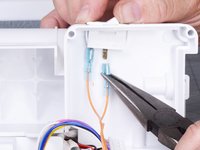
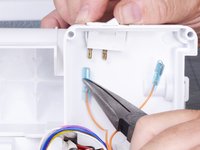
    • Use long nose pliers to pull the two spade connectors straight off the on-off switch terminals.

    Pergunte ao FixBot

    Comentar

  17. Upper Ice Maker Replacement, Unfasten the ice maker from the back plate: passo 17, imagem 1 %32
    • Use a Phillips screwdriver to remove the three 16.5 mm‑long screws securing the ice maker to the back plate.

    Pergunte ao FixBot

    Comentar

  18. Upper Ice Maker Replacement, Remove the ice maker from the back plate: passo 18, imagem 1 %32 Upper Ice Maker Replacement, Remove the ice maker from the back plate: passo 18, imagem 2 %32
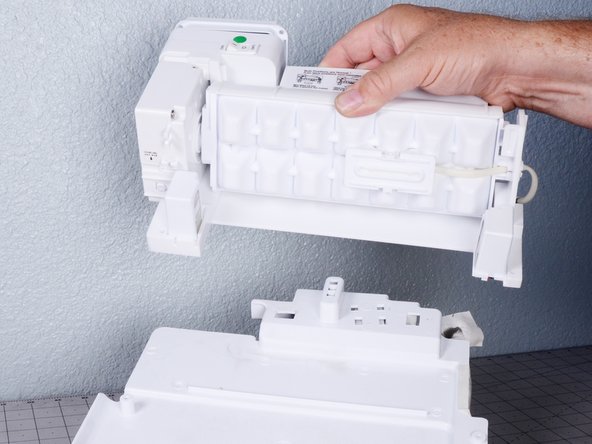
    • Lift the ice maker off the back plate and remove it.

    Pergunte ao FixBot

    Comentar

Conclusão

To reassemble your device, follow these instructions in reverse order.

Take your e-waste to an R2 or e-Stewards certified recycler.

Repair didn’t go as planned? Try some basic troubleshooting, or ask our  Answers community for help.

Cancelar: não concluí este guia.

Bill Gilbert

Membro desde: 06/30/22

39.969 Reputação

Autoria de 261 guias

Equipe

iFixit Membro de iFixit

Staff

122 Membros

Autoria de 27.484 guias

0Comentários do guia

Comentar

Visualizações:

Últimas 24 horas: 0

Últimos 7 dias: 5

Últimos 30 dias: 51

Ao todo: 398