Ir para o conteúdo principal
Participe da comunidade de reparos - Criar conta

Teddy Ruxpin Motherboard Replacement

O que você precisa

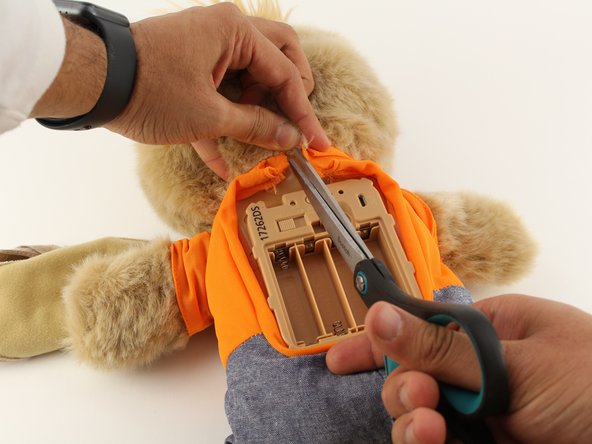
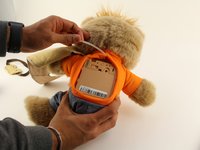
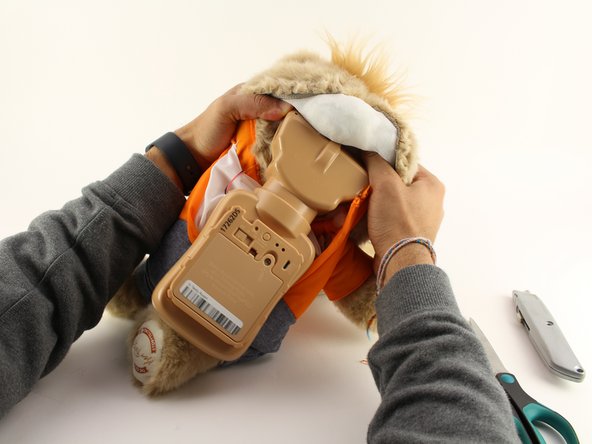
    1. Teddy Ruxpin Motherboard Replacement, Battery: passo 1, imagem 1 %32 Teddy Ruxpin Motherboard Replacement, Battery: passo 1, imagem 2 %32
      • Remove the vest covering the back of the bear.

      • Orient the bear with his back facing upwards and unscrew the single Phillips #2 screw.

      • Captured screws will stay in place, no need to worry about losing this one!

      Pergunte ao FixBot

      Comentar

    2. Teddy Ruxpin Motherboard Replacement: passo 2, imagem 1 %32
      • Pull the tab outward to remove the protective plate for the batteries.

      Pergunte ao FixBot

      Comentar

    3. Teddy Ruxpin Motherboard Replacement: passo 3, imagem 1 %32
      • Remove all four AA batteries by pushing the positive end down and pulling the battery out toward yourself.

      Pergunte ao FixBot

      Comentar

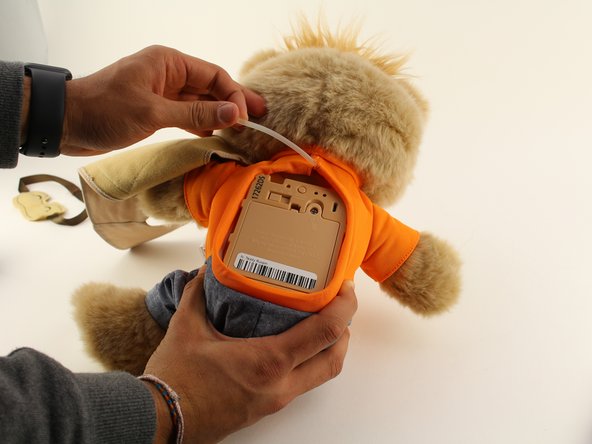
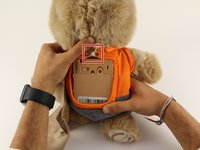
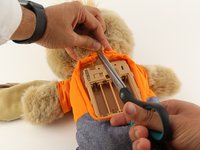
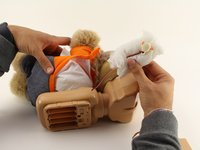
    1. Teddy Ruxpin Motherboard Replacement, Arms: passo 4, imagem 1 %32 Teddy Ruxpin Motherboard Replacement, Arms: passo 4, imagem 2 %32 Teddy Ruxpin Motherboard Replacement, Arms: passo 4, imagem 3 %32
      • Cut the orange shirt and zip tie.

      • Remove the zip tie.

      Pergunte ao FixBot

      Comentar

    2. Teddy Ruxpin Motherboard Replacement: passo 5, imagem 1 %32
      • Cut across the back seam of the head of the bear along the arrow.

      • This damages the bear's exterior and will require resewing.

      Pergunte ao FixBot

      Comentar

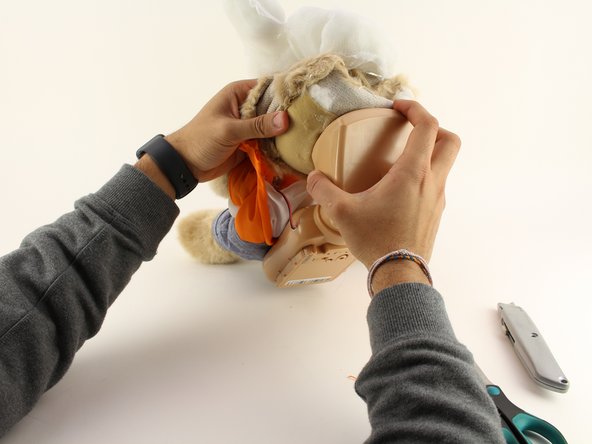
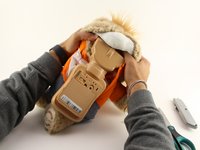
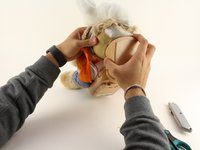
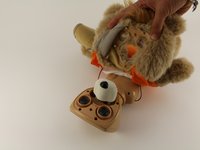
    3. Teddy Ruxpin Motherboard Replacement: passo 6, imagem 1 %32 Teddy Ruxpin Motherboard Replacement: passo 6, imagem 2 %32 Teddy Ruxpin Motherboard Replacement: passo 6, imagem 3 %32
      • Remove the interior of the doll.

      • Peel the outer layer around the head of the bear and forcefully pry off the face of the bear from the outside layer of the bear.

      • This will be difficult and require significant force, but do not fear about breaking the doll at this stage.

      Pergunte ao FixBot

      Comentar

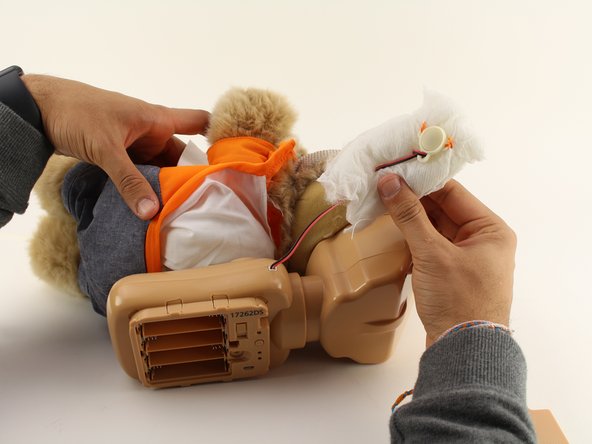
    4. Teddy Ruxpin Motherboard Replacement: passo 7, imagem 1 %32 Teddy Ruxpin Motherboard Replacement: passo 7, imagem 2 %32
      • Extract each arm button.

      • Pull on the stuffing of the bear and not the wire to remove the arm button.

      Pergunte ao FixBot

      Comentar

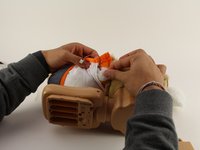
    5. Teddy Ruxpin Motherboard Replacement: passo 8, imagem 1 %32 Teddy Ruxpin Motherboard Replacement: passo 8, imagem 2 %32
      • Pull off the rest of the outside layer of the bear.

      Pergunte ao FixBot

      Comentar

    6. Teddy Ruxpin Motherboard Replacement: passo 9, imagem 1 %32
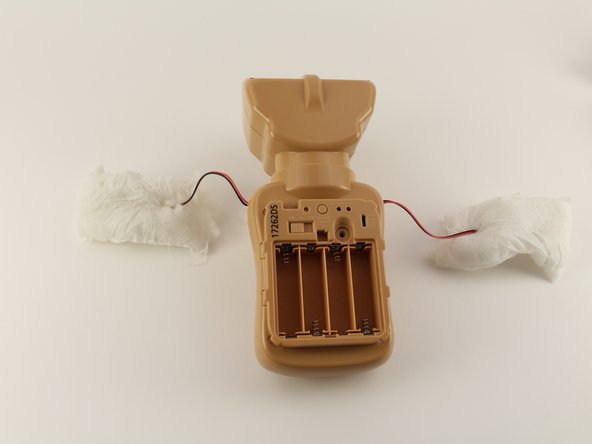
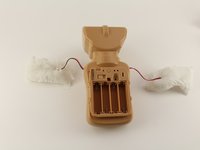
      • Unplug the arms from the main body.

      Pergunte ao FixBot

      Comentar

    1. Teddy Ruxpin Motherboard Replacement, Housing Cover: passo 10, imagem 1 %32 Teddy Ruxpin Motherboard Replacement, Housing Cover: passo 10, imagem 2 %32 Teddy Ruxpin Motherboard Replacement, Housing Cover: passo 10, imagem 3 %32
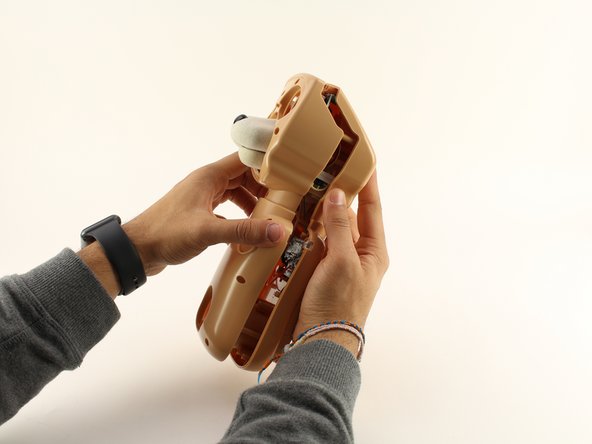
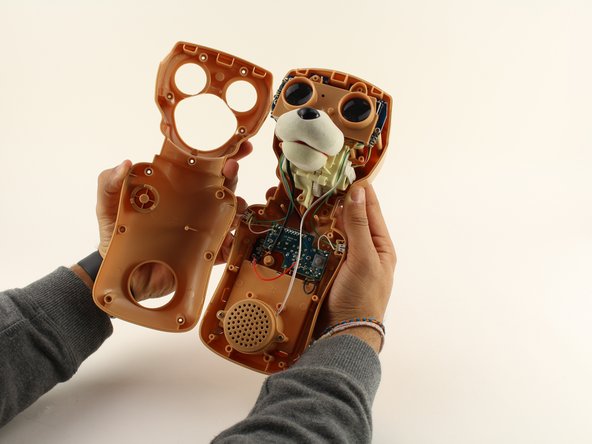
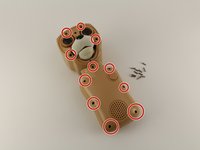
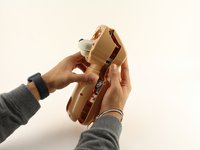
      • Unscrew the eleven circled 12.5mm Phillips #1 screws.

      • Remove the top of the housing to access the electronics inside.

      Pergunte ao FixBot

      Comentar

    1. Teddy Ruxpin Motherboard Replacement, Eyes: passo 11, imagem 1 %32
      • Using a Phillips #1 screwdriver, remove the two 12.5mm screws connecting the eyes to the rest of the mechanism.

      Pergunte ao FixBot

      Comentar

    2. Teddy Ruxpin Motherboard Replacement: passo 12, imagem 1 %32 Teddy Ruxpin Motherboard Replacement: passo 12, imagem 2 %32
      • Unplug the two sets of wires connected to the back of the eyes by using moderate to high force.

      Pergunte ao FixBot

      Comentar

    3. Teddy Ruxpin Motherboard Replacement: passo 13, imagem 1 %32
      • Once those wires are disconnected, desolder the wires connected from the eye motherboard.

      Pergunte ao FixBot

      Comentar

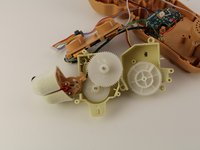
    1. Teddy Ruxpin Motherboard Replacement, Mouth: passo 14, imagem 1 %32 Teddy Ruxpin Motherboard Replacement, Mouth: passo 14, imagem 2 %32
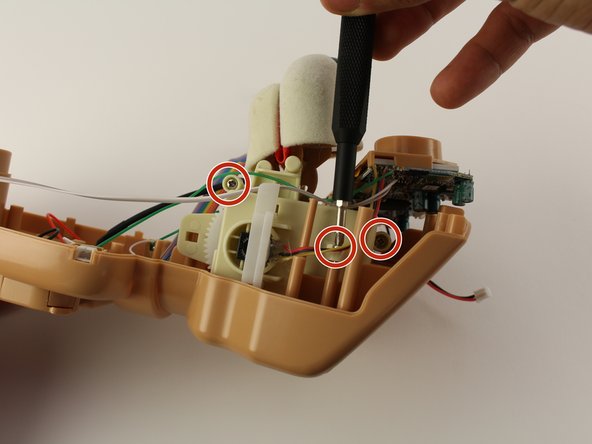
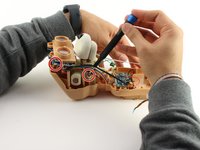
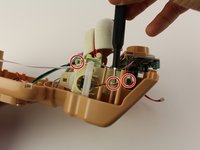
      • Remove five 12.5mm Phillips #1 screws.

      • Pull the mouth mechanism out of the shell.

      Pergunte ao FixBot

      Comentar

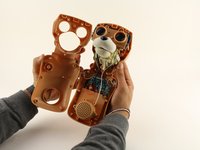
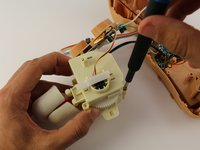
    2. Teddy Ruxpin Motherboard Replacement: passo 15, imagem 1 %32 Teddy Ruxpin Motherboard Replacement: passo 15, imagem 2 %32
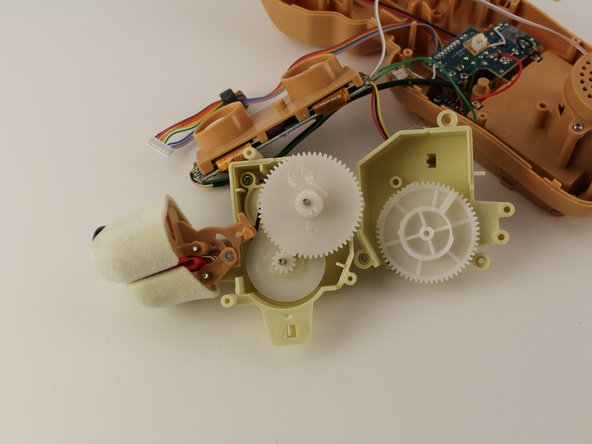
      • Unscrew the last 12.5mm Phillips #1 screw holding the mouth together

      • Open the mouth mechanism

      Pergunte ao FixBot

      Comentar

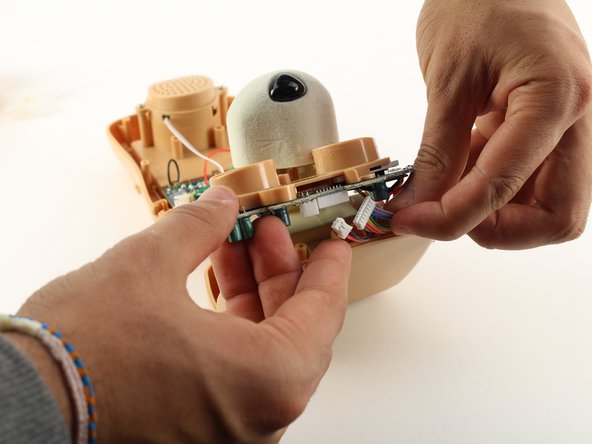
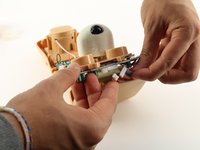
    1. Teddy Ruxpin Motherboard Replacement, Motherboard: passo 16, imagem 1 %32
      • Remove the two 12.5 MM Phillips #1 screws holding the main motherboard into place.

      Pergunte ao FixBot

      Comentar

    2. Teddy Ruxpin Motherboard Replacement: passo 17, imagem 1 %32
      • Desolder all connections.

      Pergunte ao FixBot

      Comentar

Conclusão

To reassemble your device, follow these instructions in reverse order.

Cancelar: não concluí este guia.

Jayin Patel

Membro desde: 01/23/20

406 Reputação

Autoria de 4 guias

Equipe

Cal Poly, Team S18-G5, White Winter 2020 Membro de Cal Poly, Team S18-G5, White Winter 2020

CPSU-WHITE-W20S18G5

4 Membros

Autoria de 8 guias

0Comentários do guia

Comentar

Visualizações:

Últimas 24 horas: 1

Últimos 7 dias: 4

Últimos 30 dias: 28

Ao todo: 2,223