Introdução
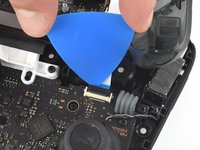
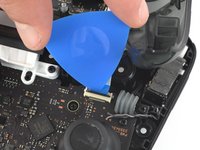
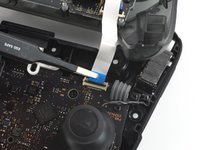
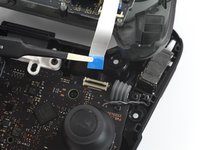
This guide is used for the replacement of the case on your Nintendo Switch Pro Controller. Take precaution when completing this guide because it involves the removal of a lithium-ion battery. If the battery is swollen, check out this resource on how to dispose of a swollen battery. To complete this guide correctly you must complete steps eight and nine with caution so as to not damage the white ribbon cable.
O que você precisa
-
-
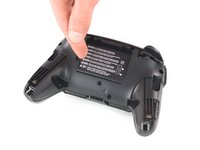
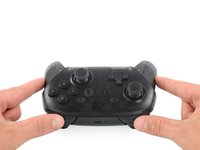
Flip the controller over so the model stickers face the ceiling.
-
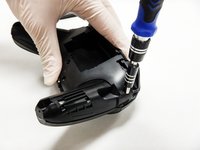
Use a JIS #00 screwdriver to remove the two black 8.4 mm screws that secure the handles, located at the ends of the handles.
 Pergunte ao FixBot
-
-
-
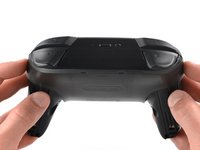
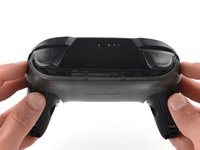
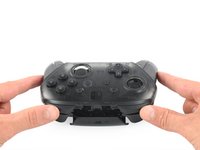
Carefully remove the handle covers by pulling them away from the main body.
-
-
-
Use a JIS #00 screwdriver to remove the four silver 6.8 mm screws that secure the clear back plastic cover.
-
-
-
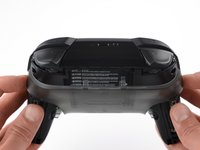
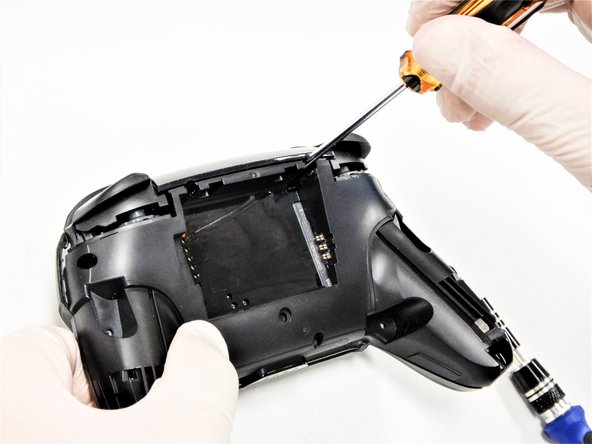
Carefully pry away the clear plastic cover using your fingernail.
-
-
-
-
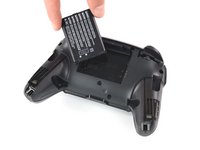
Remove the lithium-ion battery by using a fingernail or plastic opening tool to pry it up on the left side.
-
-
-
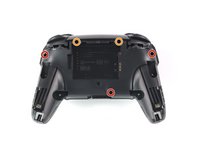
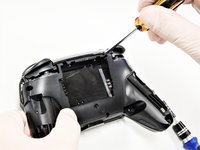
Use a Phillips #1 screwdriver to remove the five 5 mm screws from the back of the controller.
-
The two case screws above the handgrips and the single case screw below the battery bay have a shallow seat. These three screws can be easily removed.
-
The two case screws adjacent to the ZR and ZL shoulder buttons have a deep seat. Use an extension or a narrow PH1 Phillips screwdriver with a longer shaft to reach these screws.
-
-
-
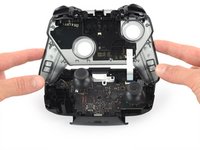
Use the tip of an opening pick to open the black flap of the ZIF connector by pushing it upwards.
-
-
Ferramenta utilizada neste passo:Tweezers$4.99
-
Use your fingers or a pair of blunt nose tweezers to disconnect the interconnect cable from its connector.
-














To reassemble your device, follow these instructions in reverse order.
Cancelar: não concluí este guia.
22 outras pessoas executaram este guia.

Equipe

The Citadel Military College of South Carolina, Team S2-G9, Eggleston Fall 2020 Membro de The Citadel Military College of South Carolina, Team S2-G9, Eggleston Fall 2020
CMCSC-EGGLESTON-F20S2G9
3 Membros
Autoria de 21 guias
3Comentários do guia
I wondered why Xbox X controllers grips were difficult to remove and also make a squeak sound when the plastic part is not closing properly but a double-sided tape should do it...
Disassembly was fine, but reassembly was a bit trickier. Removing the front casing from the chassis as in step 8 required a bit of force, since it seemed like the two were clipped together. Putting the two together, I can't seem to find where exactly that clipping connection was. I'd ignore it and move on to the screws, but it doesn't fit flush and I'm left with this narrow gap at the top that seems to be causing trouble. Any idea where I should be looking/applying pressure?
At step eight, the easiest way to separate the two halves is to use your triangle pry tool, on the sides, underneath where the handle covers are, on both sides. I thought that I had missed a screw or something but that wasn't true. Just slowly pull them apart, I used this guide to clean my pro controller, thanks!
