Ir para o conteúdo principal
Participe da comunidade de reparos - Criar conta

SuperSonic Matrix Mid SC-999 LCD Replacement

O que você precisa

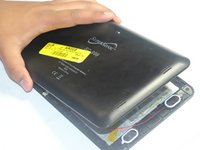
  1. SuperSonic Matrix Mid SC-999 LCD Replacement, Back Cover: passo 1, imagem 1 %32
    • Wedge the plastic opening tool between the back cover of the device and the front panel.

    • You will hear a snapping sound as the cover is separated from the body of the device.

    Pergunte ao FixBot
  2. SuperSonic Matrix Mid SC-999 LCD Replacement: passo 2, imagem 1 %32
    • Slide the opening tool along the seam between the front panel and the back cover to un-clip the remaining connections around the device.

    • Again, you will hear a snapping sound as the cover is separated from the body of the device.

    Pergunte ao FixBot
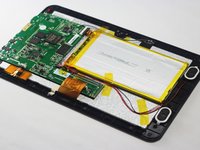
  3. SuperSonic Matrix Mid SC-999 LCD Replacement: passo 3, imagem 1 %32 SuperSonic Matrix Mid SC-999 LCD Replacement: passo 3, imagem 2 %32
    • Lift the back cover from the body of the device to expose the internal components.

    Pergunte ao FixBot
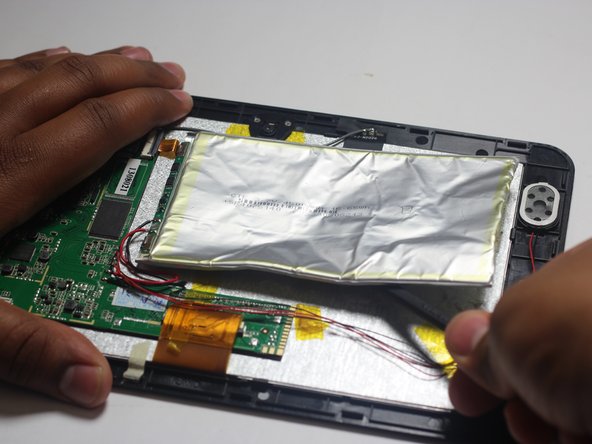
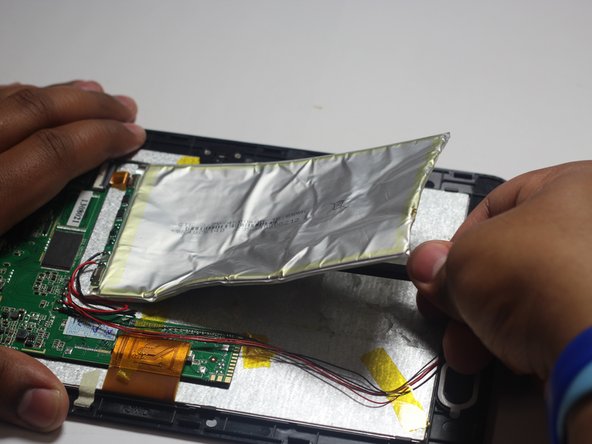
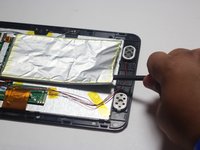
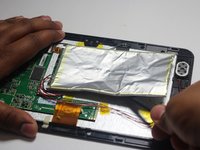
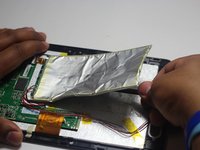
  4. SuperSonic Matrix Mid SC-999 LCD Replacement, Battery: passo 4, imagem 1 %32 SuperSonic Matrix Mid SC-999 LCD Replacement, Battery: passo 4, imagem 2 %32 SuperSonic Matrix Mid SC-999 LCD Replacement, Battery: passo 4, imagem 3 %32
    • Remove the Battery

    • The battery is secured to the back panel with tape and glue.

    • Peel back the tape around the battery and discard it.

    • Tear through the adhesive holding the battery by using the spudger tool.

    Pergunte ao FixBot
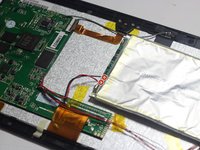
  5. SuperSonic Matrix Mid SC-999 LCD Replacement: passo 5, imagem 1 %32 SuperSonic Matrix Mid SC-999 LCD Replacement: passo 5, imagem 2 %32 SuperSonic Matrix Mid SC-999 LCD Replacement: passo 5, imagem 3 %32
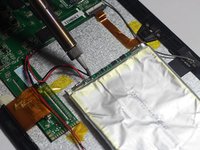
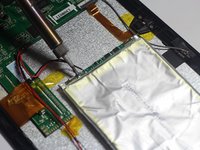
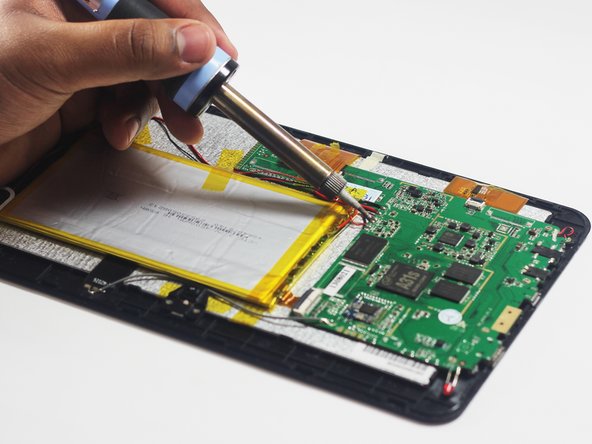
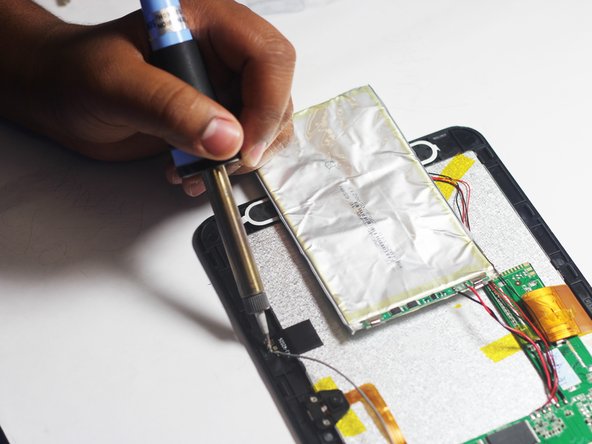
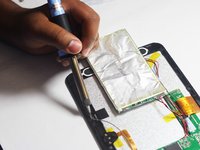
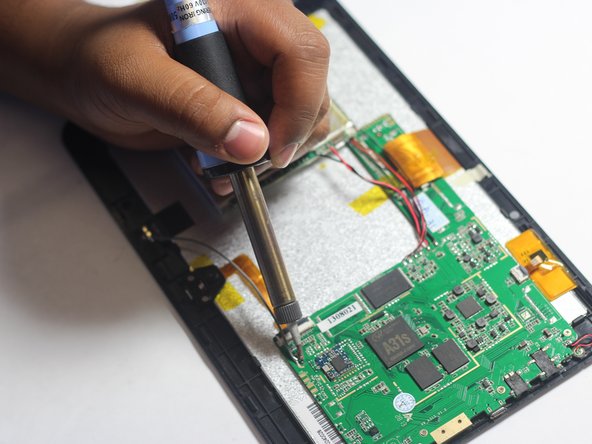
    • Desolder the 2 Battery Wires

    • The Battery has two wires connected to the motherboard (one black and one red).

    • If you're unfamiliar with soldering or desoldering check out this guide.

    • Be sure to wear protective eye wear. The soldering iron will become extremely hot and a potential danger, so make sure you are aware of your surroundings.

    Pergunte ao FixBot
  6. SuperSonic Matrix Mid SC-999 LCD Replacement, Speaker: passo 6, imagem 1 %32
    Ferramenta utilizada neste passo:
    Tweezers
    $4.99
    • Remove the Speakers

    • Use the tweezers to remove the speakers from their compartments.

    Pergunte ao FixBot
  7. SuperSonic Matrix Mid SC-999 LCD Replacement: passo 7, imagem 1 %32 SuperSonic Matrix Mid SC-999 LCD Replacement: passo 7, imagem 2 %32
    • Desolder the 4 Speaker Wires

    • These wires connect the speakers to the motherboard. They are the thinnest wires.

    • If you're unfamiliar with soldering or desoldering check out this guide.

    • Be sure to wear protective eye wear. Also, keep in mind that the soldering iron will become extremely hot.

    Pergunte ao FixBot
  8. SuperSonic Matrix Mid SC-999 LCD Replacement, Microphone: passo 8, imagem 1 %32
    • Remove the microphone from its compartment.

    • The microphone is located toward the bottom left corner of the device (assuming the speakers are located on the right side of you).

    Pergunte ao FixBot
  9. SuperSonic Matrix Mid SC-999 LCD Replacement: passo 9, imagem 1 %32 SuperSonic Matrix Mid SC-999 LCD Replacement: passo 9, imagem 2 %32
    • Use the soldering iron to remove the wires connected to the microphone.

    • If you're unfamiliar with soldering or desoldering, check out this guide.

    • Be sure to wear protective eye wear. Also, keep in mind that the soldering iron will become extremely hot.

    Pergunte ao FixBot
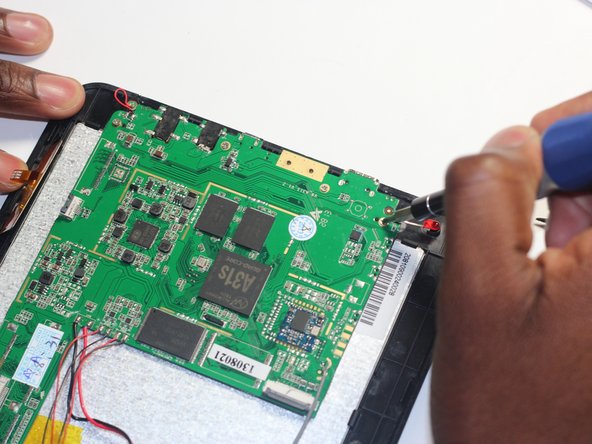
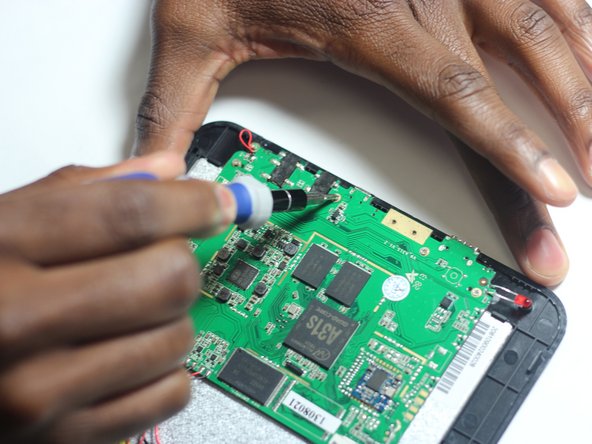
  10. SuperSonic Matrix Mid SC-999 LCD Replacement, FM Antenna: passo 10, imagem 1 %32 SuperSonic Matrix Mid SC-999 LCD Replacement, FM Antenna: passo 10, imagem 2 %32
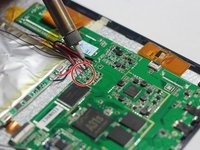
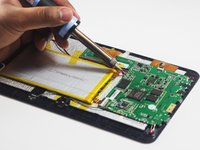
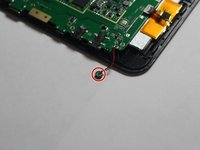
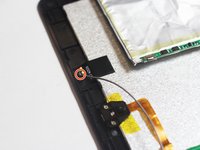
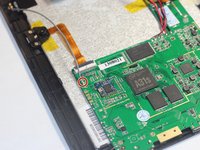
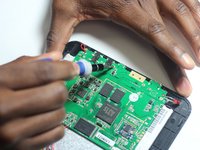
    • Use a soldering iron to desolder the region circled in red.

    • If you're unfamiliar with soldering or desoldering check out this guide.

    • Be sure to wear protective eye wear. The soldering iron will become extremely hot and a potential danger, so be aware of your surroundings.

    Pergunte ao FixBot
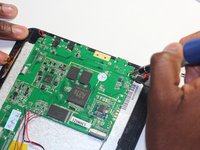
  11. SuperSonic Matrix Mid SC-999 LCD Replacement: passo 11, imagem 1 %32 SuperSonic Matrix Mid SC-999 LCD Replacement: passo 11, imagem 2 %32
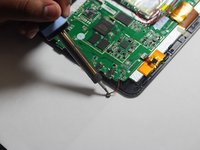
    • Desolder the FM antenna from the motherboard.

    Pergunte ao FixBot
  12. SuperSonic Matrix Mid SC-999 LCD Replacement, Motherboard: passo 12, imagem 1 %32 SuperSonic Matrix Mid SC-999 LCD Replacement, Motherboard: passo 12, imagem 2 %32
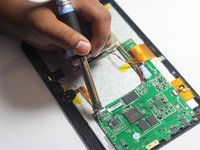
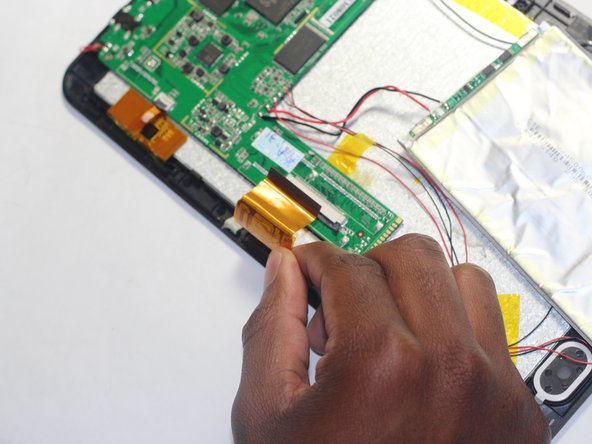
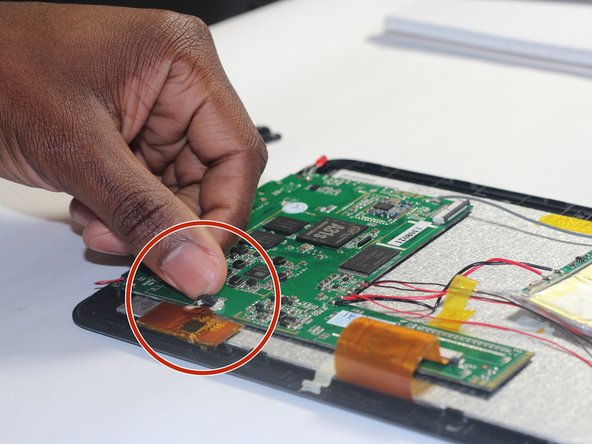
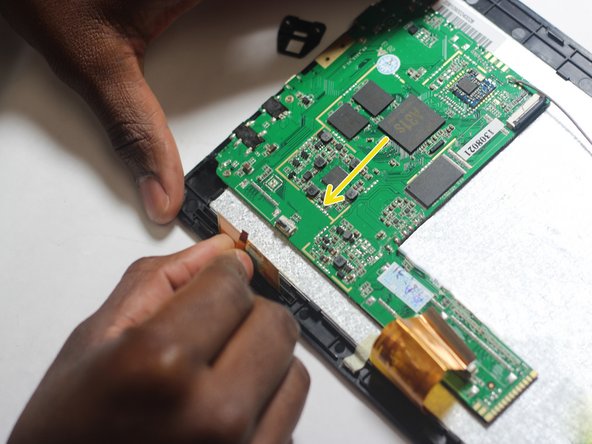
    • Remove the large ribbon cable from the socket that attaches it to the motherboard.

    • Pull down on the dark grey sliders located on both sides of the ribbon cable to release it.

    Pergunte ao FixBot
  13. SuperSonic Matrix Mid SC-999 LCD Replacement: passo 13, imagem 1 %32 SuperSonic Matrix Mid SC-999 LCD Replacement: passo 13, imagem 2 %32
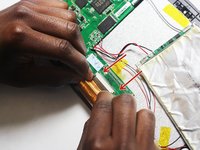
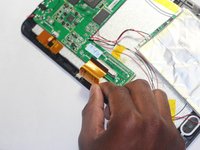
    • Remove the small ribbon cable from the socket that attaches it to the motherboard.

    • Flip the dark grey latch to release the ribbon cable from the motherboard.

    Pergunte ao FixBot
  14. SuperSonic Matrix Mid SC-999 LCD Replacement: passo 14, imagem 1 %32 SuperSonic Matrix Mid SC-999 LCD Replacement: passo 14, imagem 2 %32 SuperSonic Matrix Mid SC-999 LCD Replacement: passo 14, imagem 3 %32
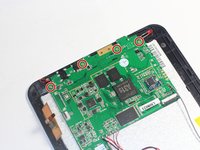
    • Remove the four Phillips #00 screws attaching the motherboard to the device.

    Pergunte ao FixBot
  15. SuperSonic Matrix Mid SC-999 LCD Replacement, LCD: passo 15, imagem 1 %32 SuperSonic Matrix Mid SC-999 LCD Replacement, LCD: passo 15, imagem 2 %32 SuperSonic Matrix Mid SC-999 LCD Replacement, LCD: passo 15, imagem 3 %32
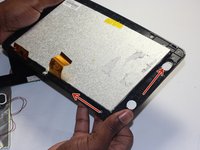
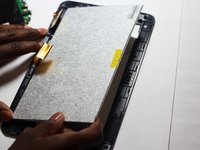
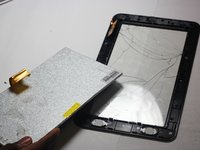
    • Ensure that the motherboard and all other items are off before continuing.

    • Separate the screen and back housing by gently pulling on it.

    Pergunte ao FixBot
Conclusão

To reassemble your device, follow these instructions in reverse order.

4 outras pessoas executaram este guia.

Harris Dagha

Membro desde: 03/26/15

866 Reputação

Autoria de 7 guias

Equipe

Dr Shaverz boyz Membro de Dr Shaverz boyz

Community

3 Membros

Autoria de 14 guias

1Comentário do guia

what is the part number & where can I get a replacement screen for the SC-8809

impaired27 - Responder Compartilhar

Comentar

Visualizações:

Últimas 24 horas: 0

Últimos 7 dias: 3

Últimos 30 dias: 45

Ao todo: 1,307