Introdução
The USB port allows you to connect other devices for charging. The replacement of the USB port requires soldering and if not done properly can damage the device. Guides for how to solder and desolder can be found on iFixit's website. Como soldar e dessoldar contatos
O que você precisa
-
-
Turn off the device by pressing on the clear power button behind the device.
 Pergunte ao FixBot
-
-
-
Using the Phillips #1 screwdriver, remove the 2mm screw located on the bottom of the device, near the hinge.
-
-
-
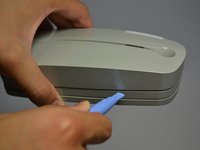
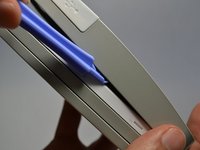
Using the plastic opening tools, gently pry open the side of the large panel.
-
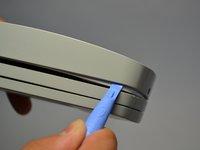
Keeping the tool in, slowly slide the tool along the side of the panel.
-
-
-
-
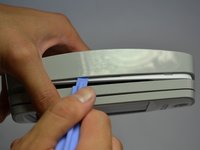
Rotate the device 180 degrees.
-
Gently slide the plastic opening tool along the side of the panel.
-
-
-
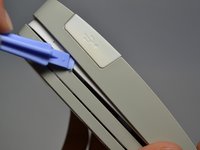
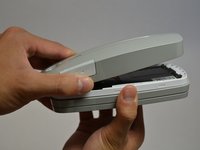
Using both hands, slowly pull apart the back panel from the rest of the device.
-
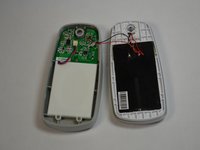
Gently flip the back panel open so the circuit board faces up and the two panels are side by side.
-
-
-
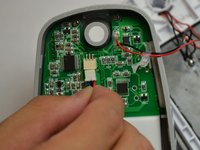
Softly pinch the red and blue wires close to the white connector.
-
To pull the wires out, wiggle them back and forth until the connector is fully out.
-
-
-
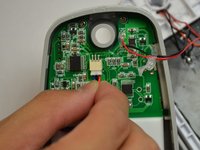
Unscrew the three 2mm screws holding the circuit board down using a Phillips #1 screwdriver.
-
-
Ferramenta utilizada neste passo:Tweezers$4.99
-
Make sure the white USB port cover on the side of the device is pulled out or you won't be able to lift the circuit board.
-
Gently lift the circuit board out of the device using tweezers.
-
-
-
Remove solder from both spots on outside of the USB port.
-
Remove solder from base of the USB port.
-


To reassemble your device, follow these instructions in reverse order.
Equipe

Cal Poly, Team 4-28, Amido Fall 2013 Membro de Cal Poly, Team 4-28, Amido Fall 2013
CPSU-AMIDO-F13S4G28
4 Membros
Autoria de 10 guias