Ir para o conteúdo principal

Skullcandy Crusher Wireless Earpiece Speaker Replacement

O que você precisa

  1. Skullcandy Crusher Wireless Earpiece Speaker Replacement, Ear Cushion: passo 1, imagem 1 %32 Skullcandy Crusher Wireless Earpiece Speaker Replacement, Ear Cushion: passo 1, imagem 2 %32
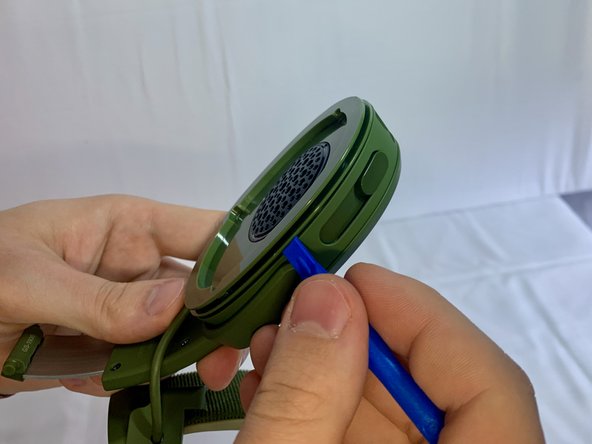
    • Take your headphones and hold them upside down for better control with your hands.

  2. Skullcandy Crusher Wireless Earpiece Speaker Replacement: passo 2, imagem 1 %32 Skullcandy Crusher Wireless Earpiece Speaker Replacement: passo 2, imagem 2 %32
    • Grab the ear cushion firmly between your thumb and forefinger with a tight grip.

    • Pull the ear cushion away from the plastic, covering the speaker, by sliding the ear cushion down to release it.

  3. Skullcandy Crusher Wireless Earpiece Speaker Replacement: passo 3, imagem 1 %32
    • Continue pulling it away from the edges of the plastic covering until the cushion is fully removed.

  4. Skullcandy Crusher Wireless Earpiece Speaker Replacement, USB Connector: passo 4, imagem 1 %32 Skullcandy Crusher Wireless Earpiece Speaker Replacement, USB Connector: passo 4, imagem 2 %32
    • Remove three 12 mm Phillips #1 screws located underneath the left ear cushion.

  5. Skullcandy Crusher Wireless Earpiece Speaker Replacement: passo 5, imagem 1 %32 Skullcandy Crusher Wireless Earpiece Speaker Replacement: passo 5, imagem 2 %32 Skullcandy Crusher Wireless Earpiece Speaker Replacement: passo 5, imagem 3 %32
    • Slide a plastic opening tool between the plastic frame and speaker assembly of the headphones.

    • Gently pry the speaker away from the frame of the headphones.

  6. Skullcandy Crusher Wireless Earpiece Speaker Replacement: passo 6, imagem 1 %32 Skullcandy Crusher Wireless Earpiece Speaker Replacement: passo 6, imagem 2 %32
    • Separate the headphone speaker assembly from headphone speaker frame.

  7. Skullcandy Crusher Wireless Earpiece Speaker Replacement: passo 7, imagem 1 %32
    • Inspect the USB port and ensure that it is connected correctly. If necessary, desolder the USB port and replace it with the new port.

    • For more information on soldering, please, use this Solder and Desolder Connections guide.

  8. Skullcandy Crusher Wireless Earpiece Speaker Replacement, Earpiece Speaker: passo 8, imagem 1 %32 Skullcandy Crusher Wireless Earpiece Speaker Replacement, Earpiece Speaker: passo 8, imagem 2 %32 Skullcandy Crusher Wireless Earpiece Speaker Replacement, Earpiece Speaker: passo 8, imagem 3 %32
    • Remove four 4 mm Phillips #1 screws that connect the motherboard with the plastic frame.

  9. Skullcandy Crusher Wireless Earpiece Speaker Replacement: passo 9, imagem 1 %32 Skullcandy Crusher Wireless Earpiece Speaker Replacement: passo 9, imagem 2 %32 Skullcandy Crusher Wireless Earpiece Speaker Replacement: passo 9, imagem 3 %32
    • Remove three 4 mm Phillips #1 screws that connect the bass speaker to the plastic frame.

  10. Skullcandy Crusher Wireless Earpiece Speaker Replacement: passo 10, imagem 1 %32 Skullcandy Crusher Wireless Earpiece Speaker Replacement: passo 10, imagem 2 %32 Skullcandy Crusher Wireless Earpiece Speaker Replacement: passo 10, imagem 3 %32
    • Move the motherboard away from the plastic frame.

    • Desolder two cables to replace the speaker and bass component.

    • For more information on soldering, please, use this Solder and Desolder Connections guide.

Conclusão

To reassemble your device, follow these instructions in reverse order.

Uma outra pessoa concluiu este guia.

Val

Membro desde: 03/31/22

1.059 Reputação

Autoria de 6 guias

Equipe

0 comentários

Adicione um comentário

Exibir estatísticas:

Últimas 24 horas: 5

Últimos 7 dias: 26

Últimos 30 dias: 115

Duração total: 2,179