Introdução
Use this guide to replace a malfunctioning or defective sensor array on your Samsung Galaxy Watch Active.
O que você precisa
-
-
Turn off the Galaxy Watch Active by pushing and holding the bottom button for approximately 3 seconds. You should feel a short vibration.
-
When the "Power off" symbol appears tap the center of the screen to make it shut down. You should feel a longer vibration for confirmation.
 Pergunte ao FixBot
-
-
-
Use a Tri-point Y00 screwdriver to remove the four 4 mm-long screws on the back of the watch.
-
-
-
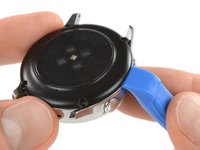
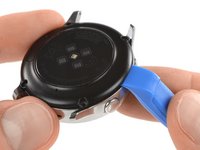
Use an opening tool and place it between the plastic back cover and the metal housing near the buttons.
-
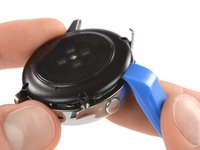
Push the tip of the opening tool into the gap to separate the back cover from the housing.
-
-
-
-
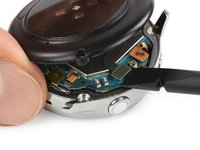
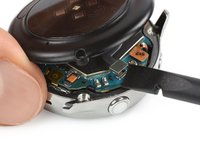
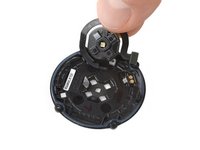
Carefully lift the back cover approximately 2 cm to access the sensor array connector near the two buttons.
-
Use a spudger to disconnect the sensor array from the motherboard.
-
-
-
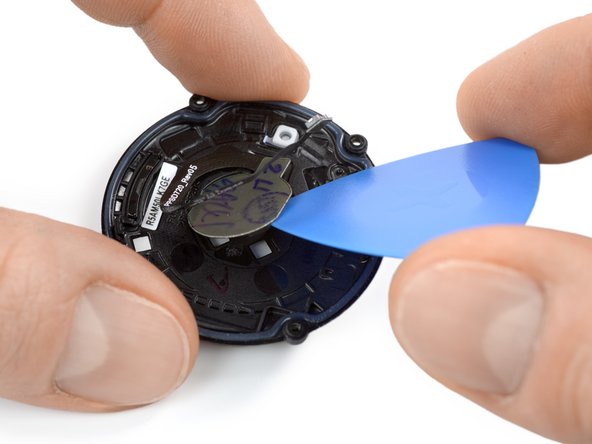
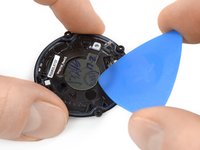
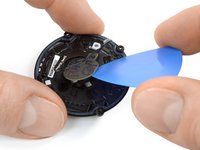
Use an opening pick and slide it underneath the sensor array which is slightly glued in place.
-
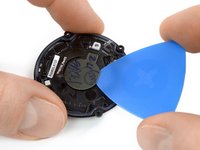
Carefully twist the opening pick to separate the sensor array from the back cover.
-
-
-
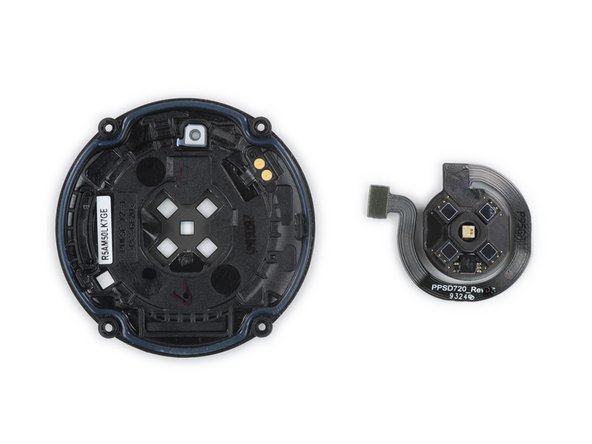
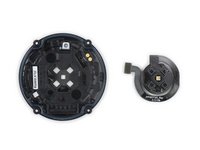
Remove the sensor array from the back cover.
-


To reassemble your device, follow these instructions in reverse order.
Take your e-waste to an R2 or e-Stewards certified recycler.
Repair didn’t go as planned? Try some basic troubleshooting, or ask our Answers community for help.
Cancelar: não concluí este guia.
Uma outra pessoa concluiu este guia.

Equipe

Tobias Isakeit - Repairability Engineer Membro de Tobias Isakeit - Repairability Engineer
Business
1 Membro
Autoria de 1.145 guias