Introdução
Prerequisite-only screen repair guide.
This guide instructs you to replace only the display while leaving the original frame, logic board, and battery in place. Note: some replacement screens for this phone come pre-installed in a new frame (a.k.a. chassis), which requires you to transplant all of your phone's internals and install a new battery. This procedure is very different, so make sure you have the correct part before starting this guide.
If the frame is damaged or bent, it's important to replace it, or else the new screen may not mount correctly and can suffer damage from uneven pressure.
The process of separating the display from the frame usually destroys the display, so don't follow this guide unless you intend to replace the display.
O que você precisa
-
-
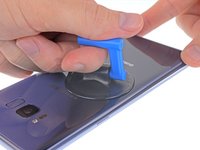
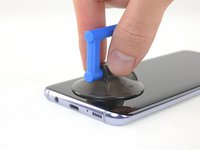
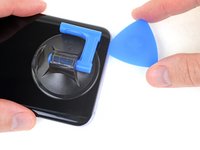
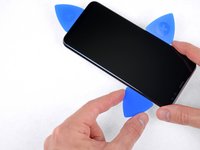
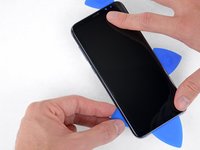
Prepare an iOpener and heat the back of the phone along its left edge for about two minutes. This will help soften the adhesive securing the back cover.
-
-
-
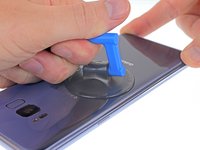
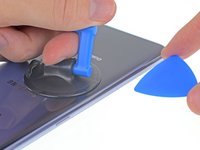
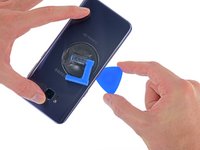
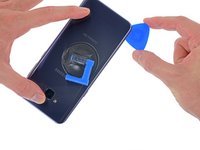
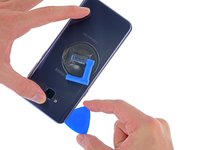
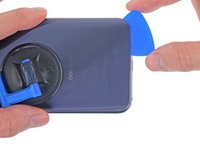
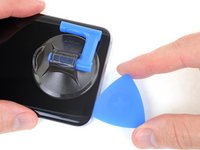
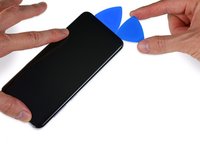
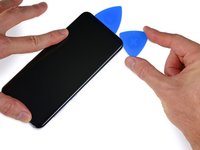
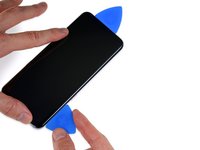
In the following steps, you'll be cutting through the adhesive securing the back cover.
-
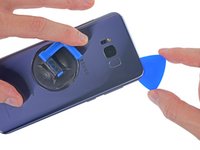
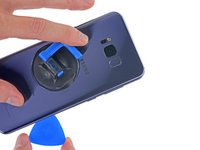
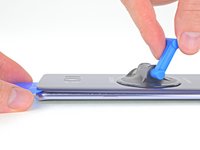
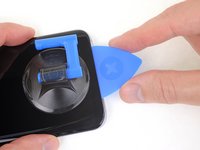
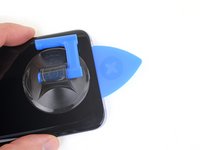
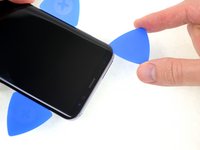
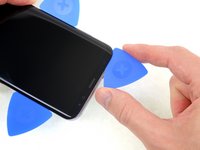
As seen from outside the phone, you'll be slicing through the adhesive in the areas shown:
-
Thick portions of adhesive
-
Thin areas of adhesive
-
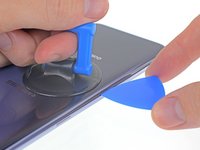
Avoid prying or slicing in this area, to protect the fingerprint sensor flex cable.
-
-
Ferramenta utilizada neste passo:Tweezers$4.99
-
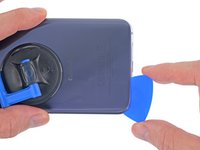
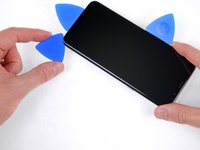
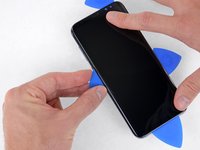
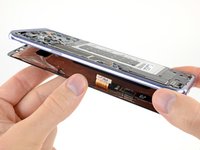
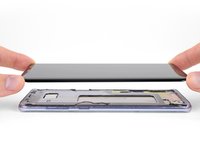
Remove the back cover.
-
Use tweezers to peel away any remaining adhesive from the phone's chassis. Then clean the adhesion areas with high concentration isopropyl alcohol (at least 90%) and a lint-free cloth to prep the surface for the new adhesive.
-
Peel the adhesive backing off of the new rear glass, carefully line up one edge of the glass against the phone chassis, and firmly press the glass onto the phone.
-
-
-
Ferramenta utilizada neste passo:Tweezers$4.99
-
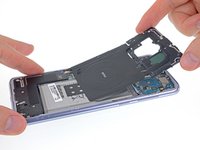
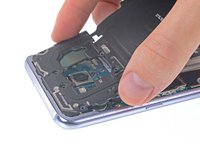
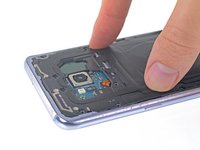
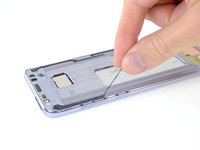
Remove the eleven 3.7 mm Phillips screws securing the wireless charging coil + antenna assembly.
-
If any screws are difficult to remove even when fully loosened, you can pull them out with tweezers.
-
-
-
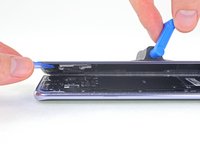
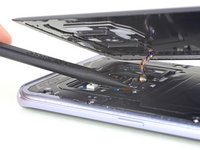
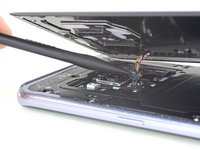
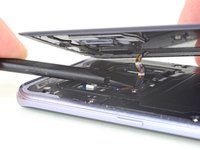
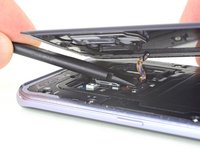
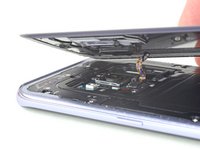
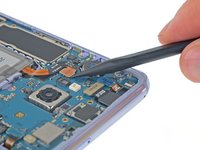
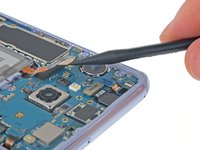
Using a spudger, disconnect the display by carefully prying up its flex cable connector from the socket on the motherboard.
-


To reassemble your device, follow these instructions in reverse order.
To reassemble your device, follow these instructions in reverse order.

