Introdução
Use this guide to replace a broken, cracked, or defective bare LCD display (without frame) on your Samsung Galaxy S4.
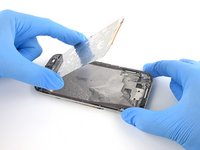
This process is difficult and there is a high chance your old screen will be completely destroyed in the removal process.
For a simpler repair, purchase a replacement part with the display pre-installed onto the frame, and follow our Samsung Galaxy S4 display assembly replacement guide.
O que você precisa
-
-
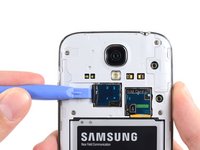
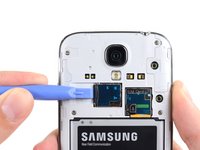
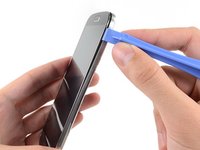
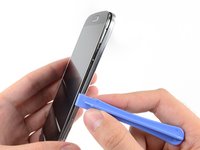
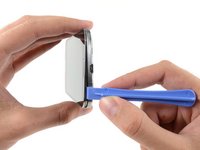
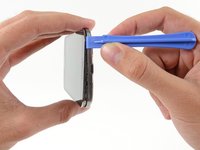
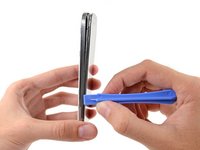
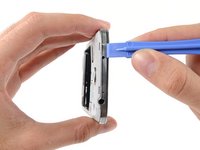
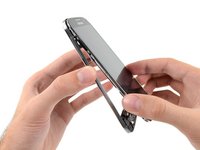
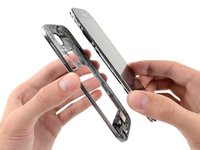
Pry with a plastic opening tool, or your fingernail, in the divot to the left of the rear-facing camera, near the power button.
-
-
-
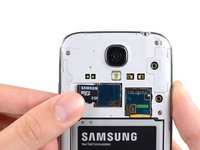
Use the flat end of a spudger, or your fingernail, to press the microSD card slightly deeper into its slot until you hear a click.
-
After the click, release the card and it will pop out of its slot.
-
Remove the microSD card.
-
-
-
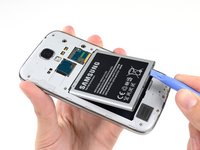
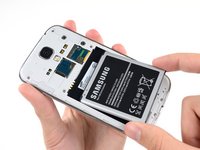
Insert a plastic opening tool, or your finger, into the notch of the battery compartment and lift the battery upward.
-
Remove the battery from your phone.
-
-
-
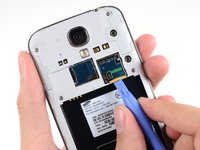
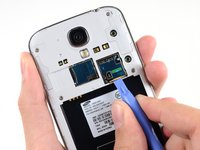
Use a plastic opening tool, or your fingernail, to press the SIM card slightly deeper into its slot until you hear a click.
-
After the click, release the card and it will pop out of its slot.
-
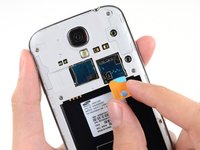
Remove the SIM card.
-
-
-
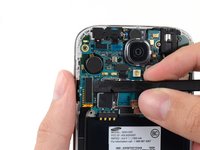
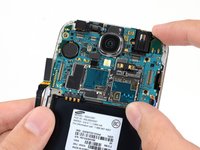
Remove the nine 4.0 mm Phillips #00 screws securing the midframe to the display assembly.
-
-
-
-
Use the flat end of a spudger to disconnect the USB board connector.
-
Disconnect the front-facing camera cable connector.
-
Disconnect the earpiece speaker assembly cable connector.
-
-
-
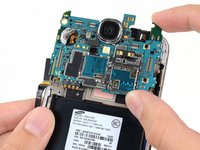
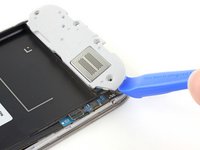
Use an opening tool to unclip the speaker assembly on the bottom of the phone.
-
Remove the speaker assembly.
-
-
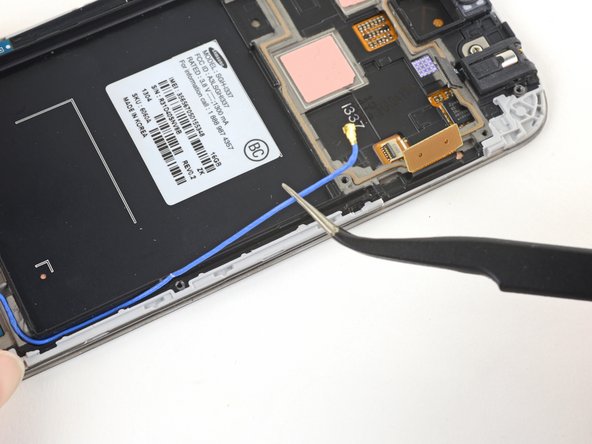
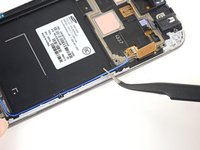
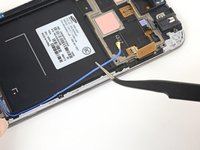
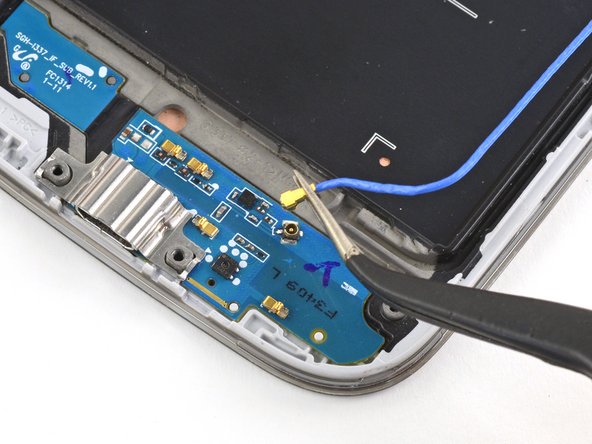
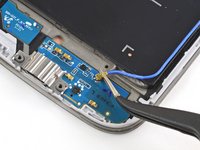
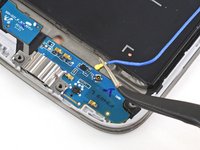
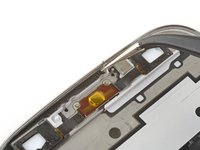
Ferramenta utilizada neste passo:Tweezers$4.99
-
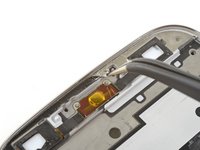
Use tweezers to lift and de-route the antenna cable from the edge of the case.
-
-
-
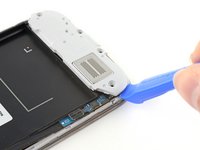
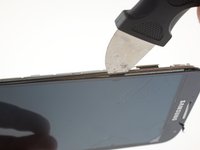
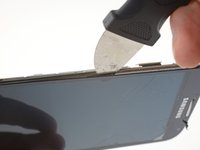
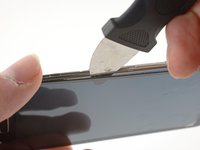
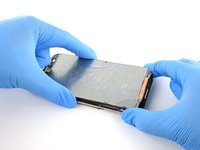
Prepare an iOpener (or use a hair dryer or heat gun) and heat the screen side of the phone to loosen the display adhesive.
-
Leave the iOpener on the phone for at least two minutes to fully heat the screen and soften the adhesive holding it to the case.
-
-
-
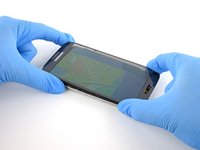
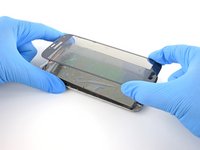
Use tweezers to remove all old adhesive from the phone case before installing the new display.
-


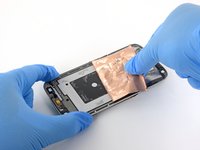


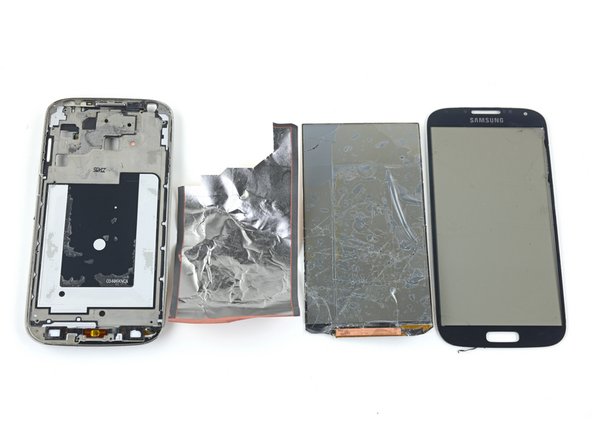
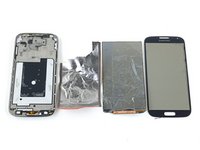
Compare your new replacement part to the original part—you may need to transfer remaining components or remove adhesive backings from the new part before installing.
To reassemble your device, follow the above steps in reverse order.
Take your e-waste to an R2 or e-Stewards certified recycler.
Repair didn’t go as planned? Try some basic troubleshooting, or ask our Samsung Galaxy S4 Answers community for help.
Cancelar: não concluí este guia.
27 outras pessoas executaram este guia.

