Ir para o conteúdo principal

Samsung Galaxy S20 Battery Replacement

O que você precisa

  1. Samsung Galaxy S20 Battery Replacement, Heat the bottom edge: passo 1, imagem 1 %32
    • Unplug and power off your phone before you begin.

    • Heat an iOpener and apply it to the back cover's bottom edge for two minutes.

    • A hair dryer, heat gun, or hot plate may also be used, but be careful not to overheat the phone—the display and internal battery are both susceptible to heat damage.

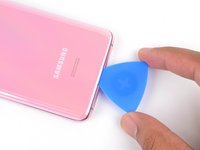
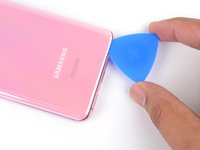
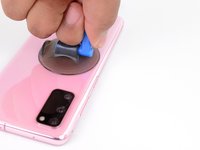
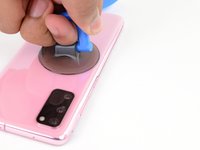
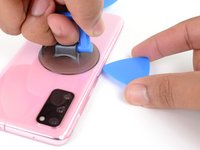
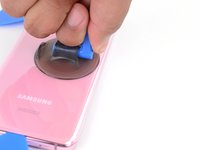
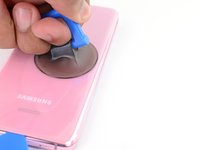
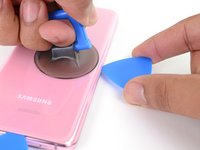
  2. Samsung Galaxy S20 Battery Replacement, Separate the bottom edge adhesive: passo 2, imagem 1 %32 Samsung Galaxy S20 Battery Replacement, Separate the bottom edge adhesive: passo 2, imagem 2 %32 Samsung Galaxy S20 Battery Replacement, Separate the bottom edge adhesive: passo 2, imagem 3 %32
    • Apply a suction cup to the back of the phone, as close to the center of the bottom edge as possible.

    • If your display is badly cracked, covering it with a layer of clear packing tape may allow the suction cup to adhere. Alternatively, very strong tape may be used instead of the suction cup. If all else fails, you can superglue the suction cup to the broken screen.

    • Pull on the suction cup with strong, steady force to create a gap between the back cover and the frame.

    • Insert the point of an opening pick into the gap.

    • Due to tight tolerances, this may take multiple attempts of reheating with the iOpener and separating with the suction cup before you get it right.

    • If you are having trouble creating a gap, apply more heat to the edge and try again.

    • Do not apply excessive force with the pick, or you risk cracking the back cover glass.

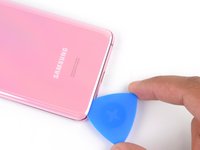
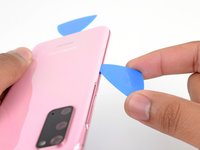
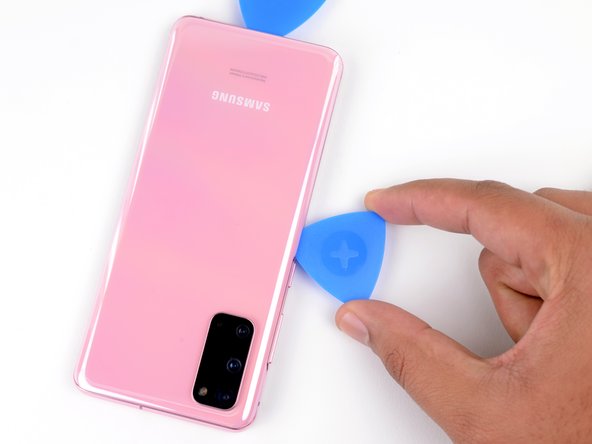
  3. Samsung Galaxy S20 Battery Replacement: passo 3, imagem 1 %32 Samsung Galaxy S20 Battery Replacement: passo 3, imagem 2 %32 Samsung Galaxy S20 Battery Replacement: passo 3, imagem 3 %32
    • Slide the pick back and forth along the bottom edge to slice through the adhesive.

    • Do not attempt to cut the adhesive near the corners of the phone where the glass is curved or you risk cracking the glass panel.

    • Leave your opening pick in the seam to prevent the adhesive from resealing.

  4. Samsung Galaxy S20 Battery Replacement, Heat the left edge: passo 4, imagem 1 %32
    • Apply a heated iOpener to the left edge of the back cover for two minutes.

  5. Samsung Galaxy S20 Battery Replacement, Separate the left edge adhesive: passo 5, imagem 1 %32 Samsung Galaxy S20 Battery Replacement, Separate the left edge adhesive: passo 5, imagem 2 %32 Samsung Galaxy S20 Battery Replacement, Separate the left edge adhesive: passo 5, imagem 3 %32
    • Apply a suction cup to the back of the phone, as close to the center of the left edge as possible.

    • Pull on the suction cup with strong, steady force to create a gap between the back cover and the frame.

    • Insert the point of an opening pick into the gap.

    • As the glass on this edge is curved, you won't be able to insert this pick very far. As long as the very tip of the pick is underneath the glass's edge, you will be able to proceed.

    • Due to tight tolerances, this may take multiple attempts.

    • If you are having trouble creating a gap, apply more heat to the edge and try again.

    • You can try also applying a few drops of high concentration (over 90%) isopropyl alcohol into the seam to help loosen the adhesive.

    • Do not apply excessive force with the pick, or you risk cracking the back cover glass.

  6. Samsung Galaxy S20 Battery Replacement: passo 6, imagem 1 %32 Samsung Galaxy S20 Battery Replacement: passo 6, imagem 2 %32
    • Once the pick is underneath the glass's edge, tilt it downward and insert it further to fully separate the back cover's adhesive.

  7. Samsung Galaxy S20 Battery Replacement: passo 7, imagem 1 %32 Samsung Galaxy S20 Battery Replacement: passo 7, imagem 2 %32 Samsung Galaxy S20 Battery Replacement: passo 7, imagem 3 %32
    • Slide the pick all along the left edge of the phone to separate the back cover's adhesive.

    • Take care when sliding across the ridge in the frame surrounding the volume and power buttons—the cutout in the glass may make it more prone to cracking.

    • Leave your pick under the left edge of the glass near the top left corner to prevent the adhesive from resealing.

  8. Samsung Galaxy S20 Battery Replacement, Heat the right edge: passo 8, imagem 1 %32
    • Apply a heated iOpener to the right edge of the back cover for two minutes.

    • A hair dryer, heat gun, or hot plate may also be used, but be careful not to overheat the phone—the display and internal battery are both susceptible to heat damage.

  9. Samsung Galaxy S20 Battery Replacement, Separate the right edge adhesive: passo 9, imagem 1 %32 Samsung Galaxy S20 Battery Replacement, Separate the right edge adhesive: passo 9, imagem 2 %32 Samsung Galaxy S20 Battery Replacement, Separate the right edge adhesive: passo 9, imagem 3 %32
    • Apply a suction cup to the back of the phone, as close to the center of the right edge as possible.

    • Pull on the suction cup with strong, steady force to create a gap between the back cover and the frame.

    • Insert the point of an opening pick into the gap.

    • Like with the previous edge, you will need to tilt the opening pick downward to fully insert it underneath the back cover.

  10. Samsung Galaxy S20 Battery Replacement: passo 10, imagem 1 %32 Samsung Galaxy S20 Battery Replacement: passo 10, imagem 2 %32 Samsung Galaxy S20 Battery Replacement: passo 10, imagem 3 %32
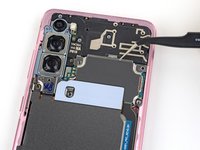
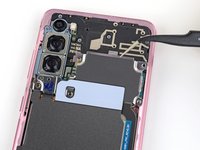
    • Slide the pick all along the right edge of the phone to separate the back cover's adhesive.

    • Leave your pick under the right edge of the glass near the top of the device to prevent the adhesive from resealing.

    • As you do this, the back cover may release one or both of the other picks and allow them to fall free. If this occurs, set the pick(s) aside as the bottom edge shouldn't reseal from this point onward.

  11. Samsung Galaxy S20 Battery Replacement, Heat the top edge: passo 11, imagem 1 %32
    • Apply a heated iOpener to the top edge of the back cover for two minutes.

  12. Samsung Galaxy S20 Battery Replacement, Separate the top edge adhesive: passo 12, imagem 1 %32 Samsung Galaxy S20 Battery Replacement, Separate the top edge adhesive: passo 12, imagem 2 %32 Samsung Galaxy S20 Battery Replacement, Separate the top edge adhesive: passo 12, imagem 3 %32
    • The glass near the corners of the back cover is curved and very susceptible to cracking. Be gentle during this step to prevent damaging your back cover.

    • Gradually slide the pick from the right edge of the device around the top right corner.

    • Continue slicing along the top edge all the way to the top left corner to fully separate the back cover adhesive.

    • If the slicing becomes difficult at any point, stop and reapply heat before continuing.

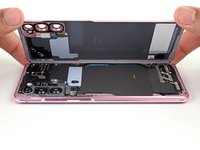
  13. Samsung Galaxy S20 Battery Replacement, Remove the back cover: passo 13, imagem 1 %32 Samsung Galaxy S20 Battery Replacement, Remove the back cover: passo 13, imagem 2 %32
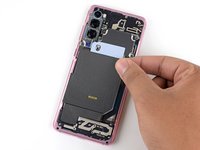
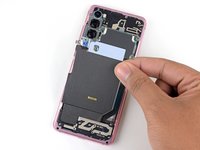
    • Lift the back cover slowly. Use opening picks to slice any remaining adhesive.

    • Remove the back cover.

    • During reassembly:

    • This is a good point to power on your phone and test all functions before sealing it up. Be sure to power your phone back down completely before you continue working.

    • Remove any adhesive chunks with a pair of tweezers or your fingers. Apply heat if you're having trouble separating the adhesive.

    • If you're using Samsung custom-cut adhesives, follow this guide.

    • If you're using double-sided tape, follow this guide.

  14. Samsung Galaxy S20 Battery Replacement, Unfasten the motherboard bracket: passo 14, imagem 1 %32
    Ferramenta utilizada nesse passo:
    Magnetic Project Mat
    $19.95
    Comprar
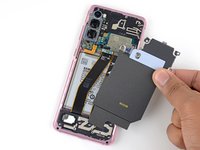
    • Use a Phillips #00 screwdriver to remove the five 4 mm-long screws securing the motherboard bracket.

    • Throughout this repair, keep track of each screw and make sure it goes back exactly where it came from.

  15. Samsung Galaxy S20 Battery Replacement, Unclip the motherboard bracket: passo 15, imagem 1 %32 Samsung Galaxy S20 Battery Replacement, Unclip the motherboard bracket: passo 15, imagem 2 %32
    • Use a pair of tweezers to gently pull up and unclip the motherboard bracket from the plastic midframe.

    • Do not completely remove the bracket yet, as its still attached to the wireless charging coil.

  16. Samsung Galaxy S20 Battery Replacement, Remove the wireless charging coil: passo 16, imagem 1 %32 Samsung Galaxy S20 Battery Replacement, Remove the wireless charging coil: passo 16, imagem 2 %32 Samsung Galaxy S20 Battery Replacement, Remove the wireless charging coil: passo 16, imagem 3 %32
    • Gently peel the wireless charging coil away from the device.

    • Remove the wireless charging coil.

    • The coil is connected to the rest of the device via spring contacts, so there is no need to disconnect any connectors.

    • During reassembly, refasten the motherboard bracket screws first to properly align the charging coil into place, then firmly press the rest of the coil down to adhere it.

  17. Samsung Galaxy S20 Battery Replacement, Disconnect the battery: passo 17, imagem 1 %32 Samsung Galaxy S20 Battery Replacement, Disconnect the battery: passo 17, imagem 2 %32
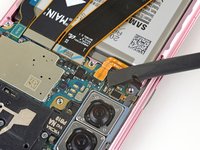
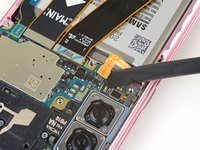
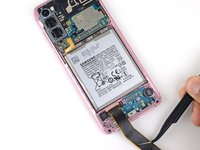
    • Use a spudger to pry up and disconnect the battery connector.

    • When you disconnect connectors like these, be careful not to dislodge the small surface-mounted components surrounding the socket.

  18. Samsung Galaxy S20 Battery Replacement, Unfasten the lower midframe: passo 18, imagem 1 %32
    • Use a Phillips #00 screwdriver to remove the five 4 mm-long screws securing the loudspeaker and lower midframe.

  19. Samsung Galaxy S20 Battery Replacement, Remove the loudspeaker: passo 19, imagem 1 %32 Samsung Galaxy S20 Battery Replacement, Remove the loudspeaker: passo 19, imagem 2 %32 Samsung Galaxy S20 Battery Replacement, Remove the loudspeaker: passo 19, imagem 3 %32
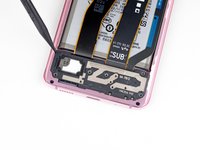
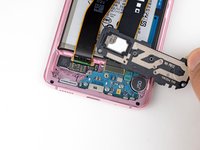
    • Insert the point of a spudger or a pair of tweezers into the notch in the top left corner of the midframe and pry up to release the clips holding it in place.

    • Remove the loudspeaker and lower midframe.

  20. Samsung Galaxy S20 Battery Replacement, Disconnect the daughterboard: passo 20, imagem 1 %32 Samsung Galaxy S20 Battery Replacement, Disconnect the daughterboard: passo 20, imagem 2 %32 Samsung Galaxy S20 Battery Replacement, Disconnect the daughterboard: passo 20, imagem 3 %32
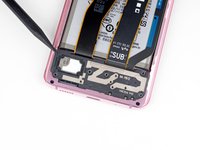
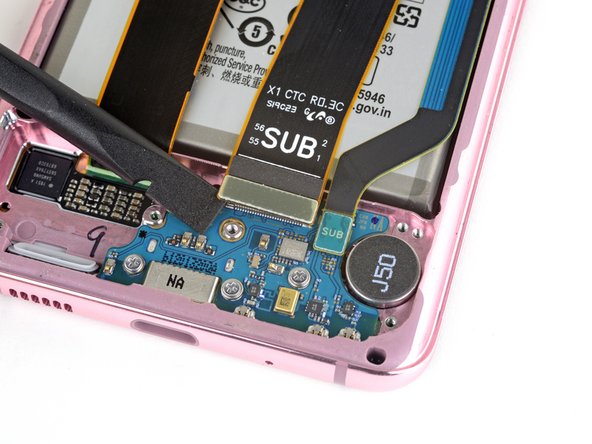
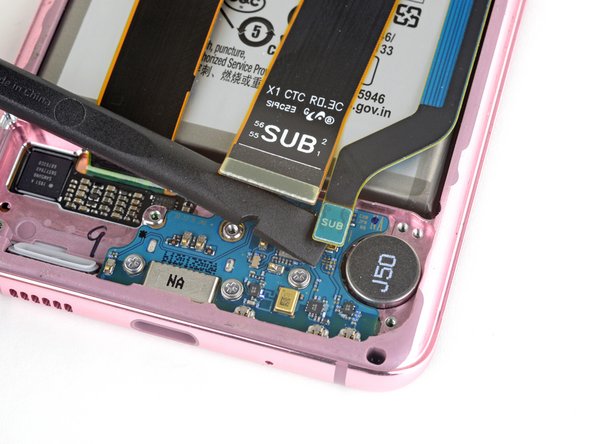
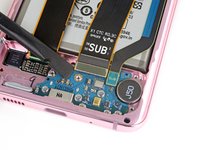
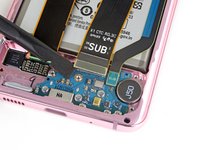
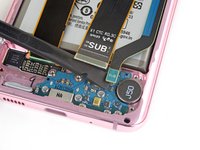
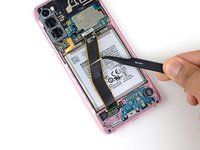
    • Use a spudger to pry up and disconnect the main and auxiliary flex cables from the daughterboard near the bottom of the device.

    • To re-attach press connectors like this one, carefully align and press down on one side until it clicks into place, then repeat on the other side. Do not press down on the middle. If the connector is misaligned, the pins can bend, causing permanent damage.

  21. Samsung Galaxy S20 Battery Replacement, Disconnect the main flex cables: passo 21, imagem 1 %32 Samsung Galaxy S20 Battery Replacement, Disconnect the main flex cables: passo 21, imagem 2 %32 Samsung Galaxy S20 Battery Replacement, Disconnect the main flex cables: passo 21, imagem 3 %32
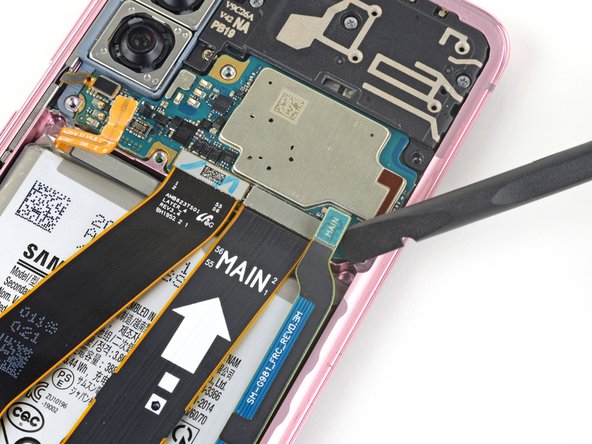
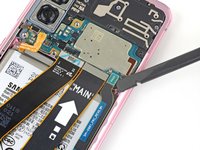
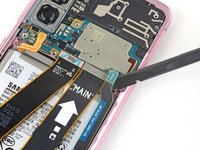
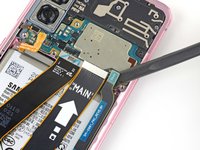
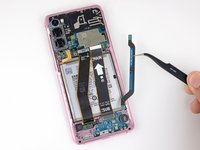
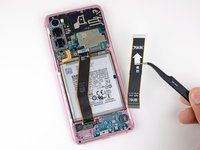
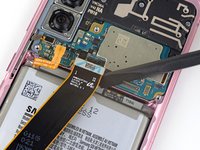
    • Use a spudger to pry up and disconnect the main and auxiliary flex cables from the motherboard.

  22. Samsung Galaxy S20 Battery Replacement, Remove the main flex cables: passo 22, imagem 1 %32 Samsung Galaxy S20 Battery Replacement, Remove the main flex cables: passo 22, imagem 2 %32 Samsung Galaxy S20 Battery Replacement, Remove the main flex cables: passo 22, imagem 3 %32
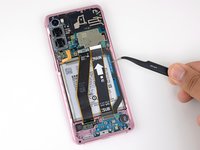
    • Gently peel up and remove the main and auxiliary flex cables.

  23. Samsung Galaxy S20 Battery Replacement, Disconnect the main display cable: passo 23, imagem 1 %32 Samsung Galaxy S20 Battery Replacement, Disconnect the main display cable: passo 23, imagem 2 %32
    • Use a spudger to pry up and disconnect the main display flex cable from the motherboard.

  24. Samsung Galaxy S20 Battery Replacement, Reposition the display cable: passo 24, imagem 1 %32 Samsung Galaxy S20 Battery Replacement, Reposition the display cable: passo 24, imagem 2 %32
    • Gently peel up and bend the display flex cable out of the way of the motherboard and battery.

  25. Samsung Galaxy S20 Battery Replacement, Apply isopropyl alcohol: passo 25, imagem 1 %32
    • Apply two drops of high concentration (over 90%) isopropyl alcohol to the top edge of the battery.

    • Wait one minute to allow the isopropyl alcohol to soften the adhesive.

  26. Samsung Galaxy S20 Battery Replacement, Lift the battery from its adhesive: passo 26, imagem 1 %32 Samsung Galaxy S20 Battery Replacement, Lift the battery from its adhesive: passo 26, imagem 2 %32
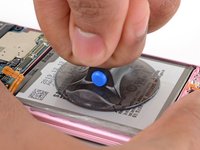
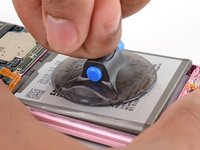
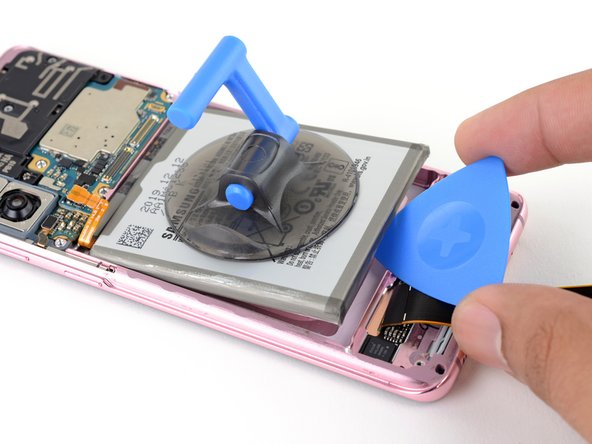
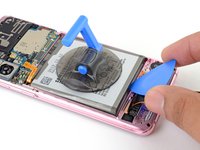
    • Apply a suction handle to the center of the battery.

    • Brace the top and bottom of the device against your work surface with one hand and firmly pull up on the suction handle with the other.

    • The adhesive takes time and repeated pulls rather than strong force to loosen. Pull on the suction cup with steady force for 15 seconds at a time.

    • If the battery doesn't loosen, apply 1-2 drops of isopropyl alcohol along the top, left, and right edges, wait a minute, and pull again.

    • When the battery begins to lift from the device, proceed to the next step.

  27. Samsung Galaxy S20 Battery Replacement, Pry up the battery: passo 27, imagem 1 %32 Samsung Galaxy S20 Battery Replacement, Pry up the battery: passo 27, imagem 2 %32
    • Caution: do not proceed with this step until the battery is lifted enough to easily insert an opening pick underneath the battery. If the battery is still firmly glued into place, you risk piercing the battery with your pick and causing a dangerous thermal event.

    • Once the battery lifts, don't apply isopropyl alcohol, or it may seep into the fingerprint sensor and damage your screen.

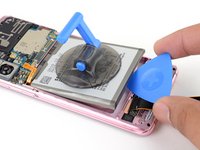
    • Insert an opening pick underneath the bottom edge of the battery and twist to loosen the battery adhesive.

  28. Samsung Galaxy S20 Battery Replacement, Remove the battery: passo 28, imagem 1 %32
    • Remove the battery.

    • Peel up and/or scrape away any remaining battery adhesive before cleaning the battery well surface with isopropyl alcohol and a lint free cloth.

    • During reassembly, if your new battery doesn't come with pre-applied adhesive, apply some to the well. Then, firmly press the new battery into place.

    • Caution: Do not reuse the battery after it has been removed, as doing so is a potential safety hazard. Replace it with a new battery.

Conclusão

Compare your new replacement part to the original part—you may need to transfer remaining components or remove adhesive backings from the new part before installing.

To reassemble your device, follow the above steps in reverse order.

Follow this guide to perform a battery cycle reset, and calibrate your newly-installed battery.

Take your e-waste to an R2 or e-Stewards certified recycler.

Repair didn’t go as planned? Check out our Answers community or S20 battery troubleshooting wiki for help.

20 outras pessoas executaram este guia.

Tarun Thiruma

Membro desde: 11/20/19

35.219 Reputação

Autoria de 134 guias

18 comentários

The guide is good, but I really don't like the "do the steps backward to reassamble" approach, that's annoying especially for people wanting to do their first repair.

allanxp4 - Responder

I had a huge amount of difficulty removing the battery during this repair. The adhesive is really strong, the suction cup doesn't stick to the battery very well and if you lever it out you run the risk of puncturing the battery. It's also really difficult to pull up on the battery while holding the phone down, especially because you want to avoid touching the circuits.

Eventually I succeeded and everything seemed to work but the next day the phone wouldn't switch on. I think maybe the adhesive remover got somewhere it shouldn't have. If I could add something to this guide, it would be "once battery is removed, allow phone to sit for 30 mins to ensure all adhesive remover has evaporated". If I was allowed a do-over I would try to heat the adhesive instead. Or use the string trick. I'm switching to an iphone now because apparently they don't glue their batteries.

HarleyD - Responder

Good point! I would suggest to use pure isopropyl alcohol and not something below 99%. The residual water might be not much but still there is a slight chance of it getting somewhere inside. Also the 99% pure alcohol evaporates much faster and leaves no traces. Apple batteries are also glued in with adhesive. What apple does right are the pull-strings to remove the sticky tape between chassis and battery.

Harry Gee -

Followed every step and managed to complete it but after a couple of minutes the phone screen stopped working and turned black.

I'm pretty sure that happened because the isopropyl alcohol went through the phone into the screen through the gap right under where the battery seats.

If you attempt this at home be aware this might happen, so disconnect the display too or look into using a different method for removing the battery.

Matteo Xhixha - Responder

I don't think this repair is worth attempting. I also killed my screen with this one, similar to the two commenters above. Whether it was isopropyl alcohol getting into the LCD or whether it was some issue with flimsy connectors I don't know. I was super careful and I've still bricked it, so I'd rate this repair as 'too risky'.
Paddy Owens - Responder

Adicione um comentário

Exibir estatísticas:

Últimas 24 horas: 147

Últimos 7 dias: 1,079

Últimos 30 dias: 4,884

Duração total: 125,574