Introdução
This guide will show you how to properly access the internals to the motor housing to your Ryobi CSB125 circular saw. If you hear a humming noise when pressing the trigger, or while operating the saw smoke forms, then most likely the motor has gone bad. This troubleshooting page will help diagnose any potential problems occurring due to a faulty motor. In the event that a new motor is needed, this guide will show the steps to properly install a new one. The only tools you will need are a #2 Phillips screwdriver, a 7”/32 allen key, and a T20 torx screwdriver.
O que você precisa
-
-
-
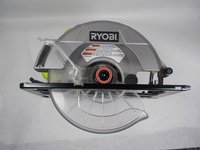
Remove the bumper by using the T20 torx screwdriver to loosen the M5 x 20mm screw.
-
-
-
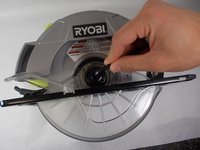
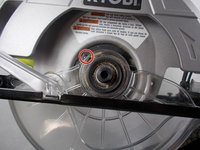
Use the 7”/32 allen key to loosen the 5/16-18 x 9/16 in. blade screw.
-
-
-
Remove the 5/16-18 x 9/16 in. blade screw, spring washer, the outer blade washer, the blade, and the inner blade washer.
-
-
-
-
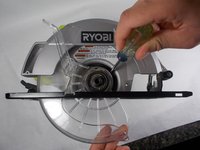
Use the #2 Phillip screwdriver to remove the four M4x16mm screws shown.
-
-
-
Remove the lower blade guard support assembly from the rest of the saw.
-
-
-
Flip the saw over and place the saw down on a flat surface with the motor facing up.
-
-
-
Use the Phillips #2 screwdriver to remove the five M4x16mm screws.
-
-
-
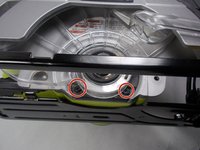
Use the Phillips #2 screwdriver to remove the two M45x35mm screws.
-
-
-
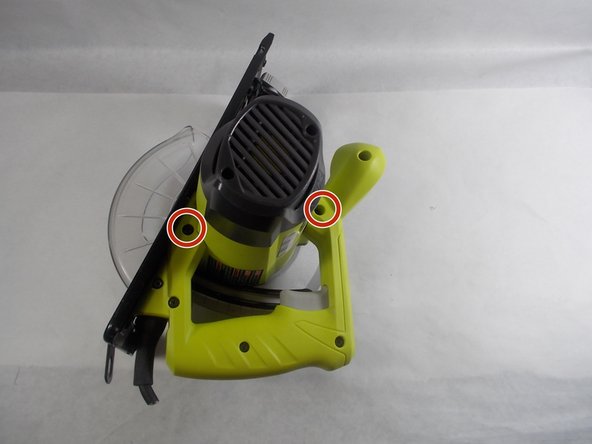
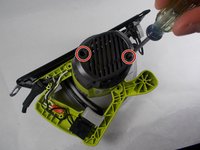
Use the Phillips #2 screwdriver to remove the two M4x16mm screws holding down the end cover.
-
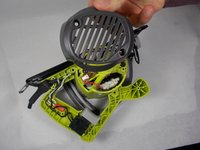
Pull off the end cover.
-
-
-
Use the Phillips #2 screwdriver to remove the M45x35mm screw holding down the motor housing.
-
-
-
Remove the motor housing for access to the internal motor components.
-

 Pergunte ao FixBot










To reassemble your device, follow these instructions in reverse order.
Cancelar: não concluí este guia.
3 outras pessoas executaram este guia.

Equipe

UMass Dartmouth, Team S2-G1, Barthe Fall 2019 Membro de UMass Dartmouth, Team S2-G1, Barthe Fall 2019
UMASSD-BARTHE-F19S2G1
3 Membros
Autoria de 5 guias
