Introdução
This guide provides a quick introduction to the parts, features, and basic operation of the FixHub Portable Soldering Station.
- Power station component overview
- Soldering iron component overview
- Charging the power station
- Turning on the power station
- Soldering iron safety and best practices
- How to remove and replace soldering iron tips
- Connecting the soldering iron's USB-C cable
- Connecting the soldering iron to the power station
- How to mount and use the cap as a stand
- How to read the Touch-Safe Indicator LED
- Free fall detection information
- Active, Idle, and Sleep modes
- How to read the Ready Screen
- Setting the temperature scale
- Setting the temperature
- How to turn on begin using the iron
O que você precisa
-
-
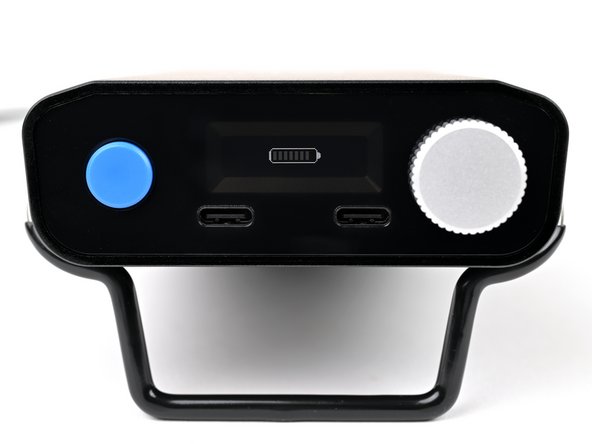
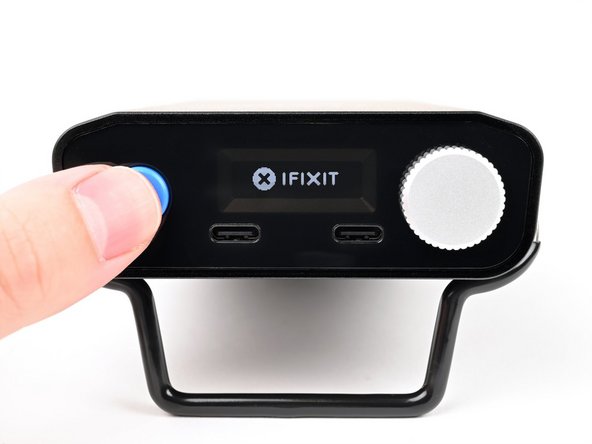
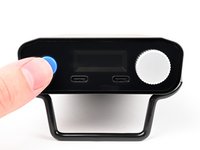
Familiarize yourself with the parts, buttons, knobs, and ports of the Portable Power Station:
-
Action button—typically used for power and back commands
-
Selector knob—rotate to scroll, or push (click) to select
-
Display
-
2x USB-C "Smart Ports" with 100W combined output
-
Kickstand
-
Tool mount (one on each side)
-
Rear USB-C port for 45W input and computer interface
-
-
-
Here's an overview of all the parts that make up the Smart Soldering Iron:
-
Quick-Swap soldering tip
-
Soldering iron grip
-
Touch-Safe Indicator LED ring
-
Power switch
-
Soldering iron cap
-
Soldering iron USB-C cable
-
-
Ferramenta utilizada neste passo:65W USB-C GaN iFixit Fast Charger$64.99
-
Connect a USB-C power cable to a USB-C charger. We recommend at least 45W for optimal performance.
-
-
-
Press and hold the blue action button for three seconds to turn on the power station.
-
-
-
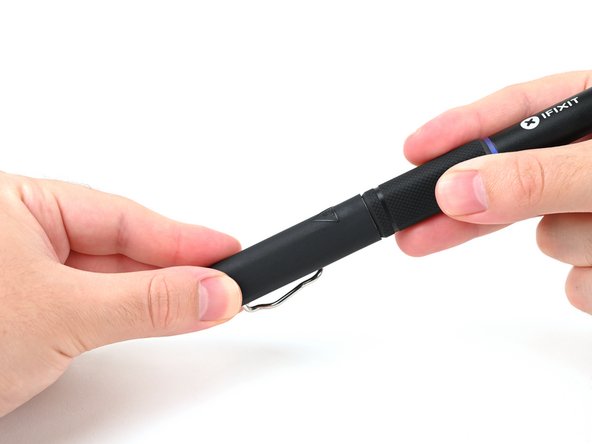
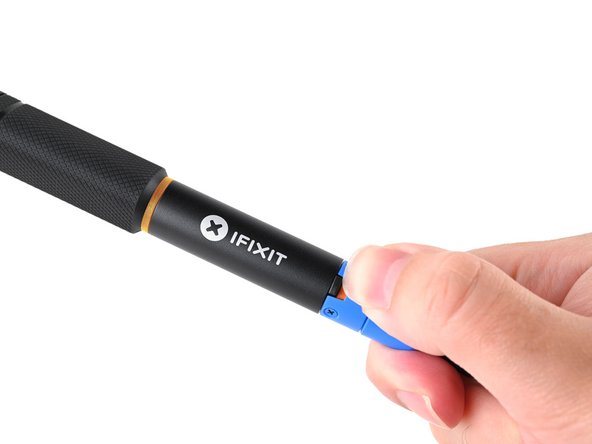
To be safe, keep the cap on your iron when not in use. The inside of the cap is heat-resistant and can be used to cover your iron, even when hot.
-
-
-
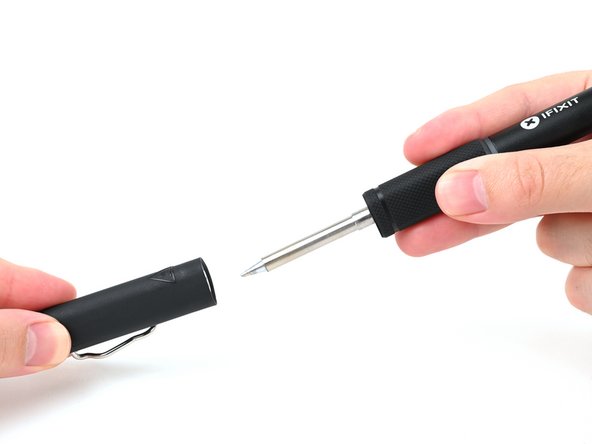
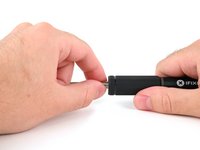
Hold the iron from both ends and pull to remove the cap.
-
-
-
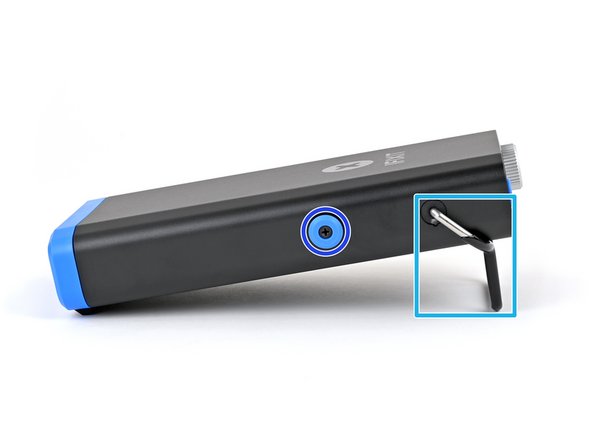
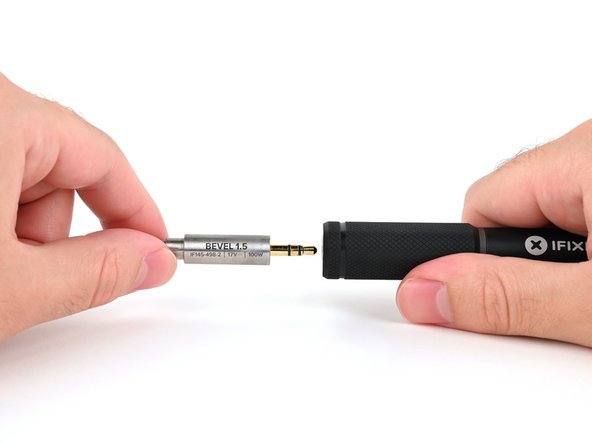
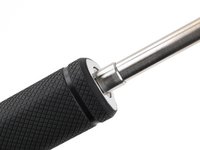
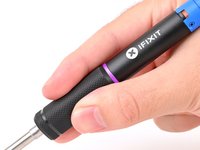
Firmly grasp the base of the tip and pull it away from the front of the iron handle to remove it.
-
-
-
-
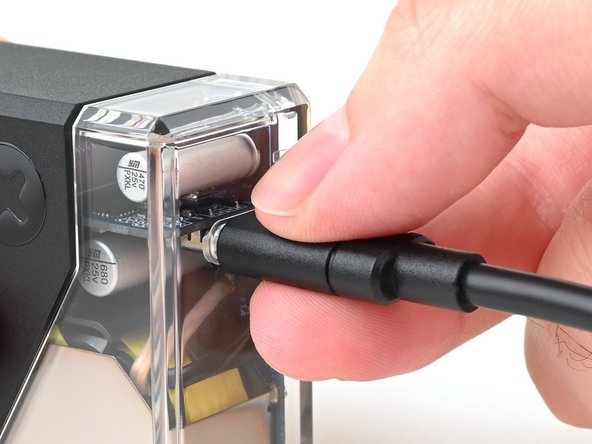
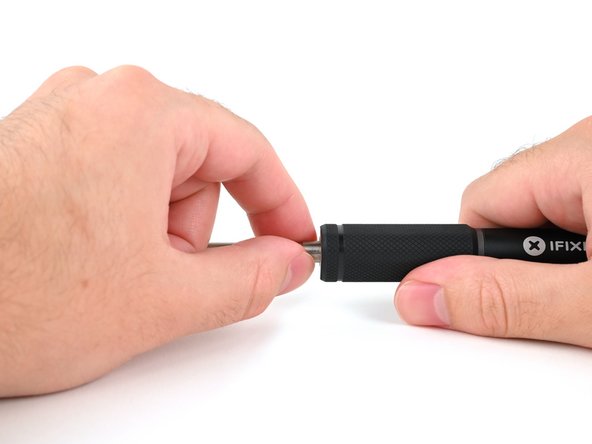
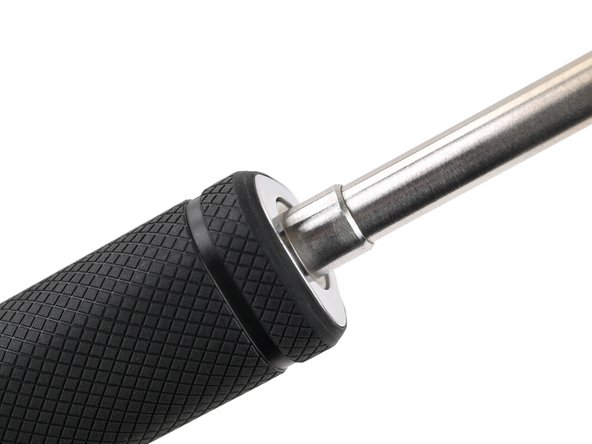
Push the tip into the iron enclosure in the handle until it clicks into place.
-
-
-
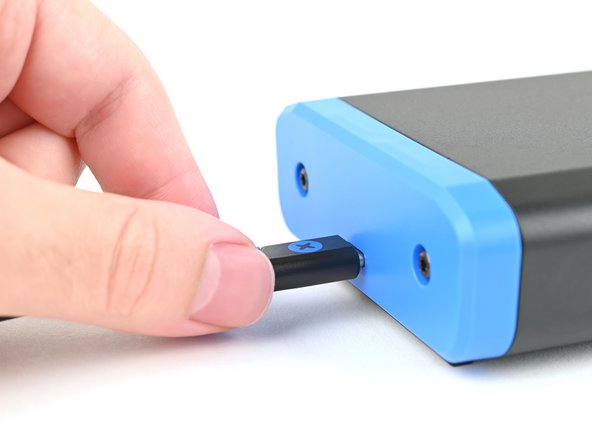
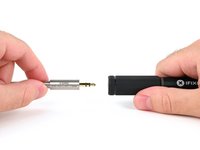
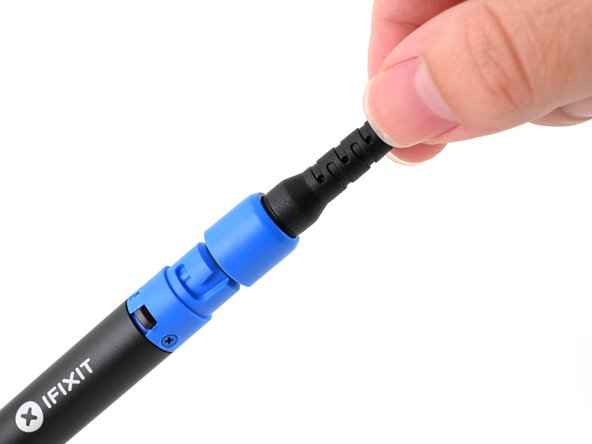
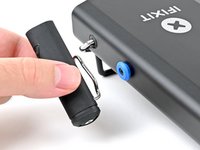
Make sure the soldering iron's power switch is in the blue OFF position.
-
Match the end of the USB-C cable with the blue locking collar to the blue USB-C port on the soldering iron, and push to connect.
-
-
-
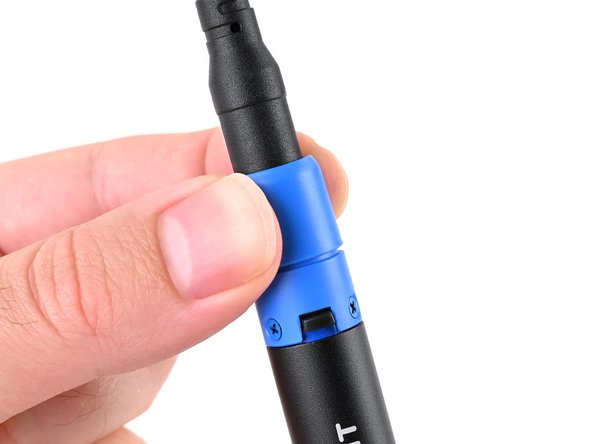
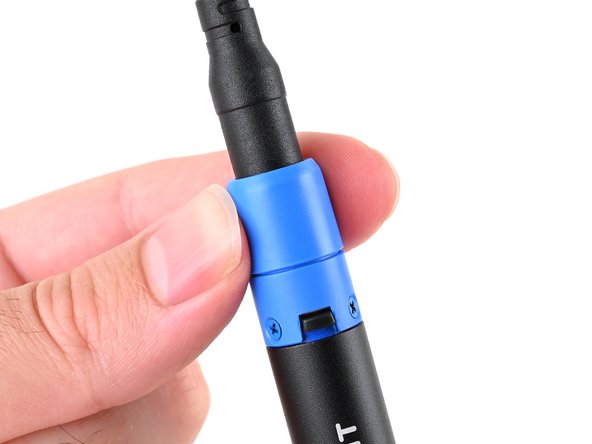
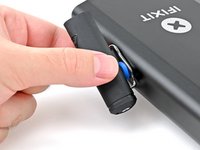
Align the nubs in the collar with the slots on the soldering iron.
-
Push the collar snug against the soldering iron, then twist clockwise to lock it in place.
-
-
-
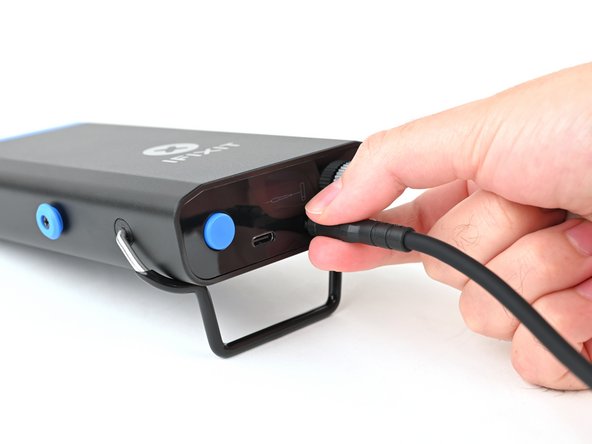
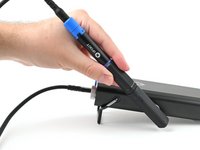
Connect the other end of the soldering iron USB-C cable to either of the USB-C ports on the front of the power station.
-
-
-
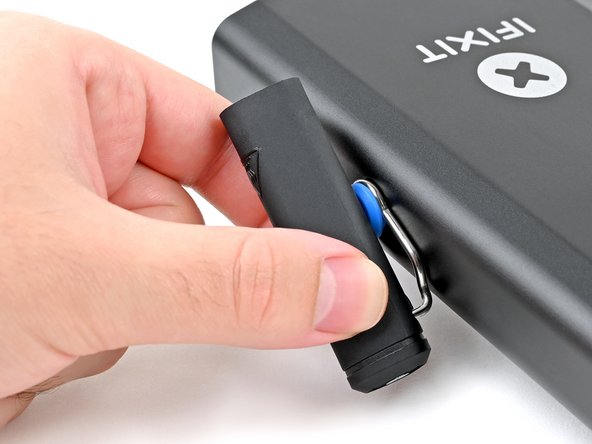
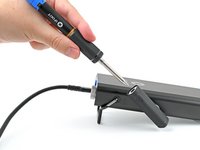
Align the widest opening of the cap's spring clip with the circular, blue tool mount on either side of the Portable Power Station.
-
Place the spring clip over the mount and slide the cap down to secure it in place.
-
-
-
Blue LED: The iron has cooled below 40 °C (100 °F), and the tip is safe to touch.
-
Purple LED: When pulsing, the iron is actively heating up or cooling down. When static, the iron is in Idle Mode. The iron tip is not safe to touch.
-
Orange LED: The iron has reached the set temperature and is ready to solder. The iron tip is not safe to touch.
-
-
-
To clear the free‑fall state and resume soldering, press the blue button on the Power Station or power cycle the iron by unplugging and replugging into a USB-C power source.
-
-
-
The Idle Mode LED is static (not pulsing) purple.
-
Picking up a resting iron wakes it from Idle Mode, and the tip will automatically heat back up to your set temperature.
-
-
-
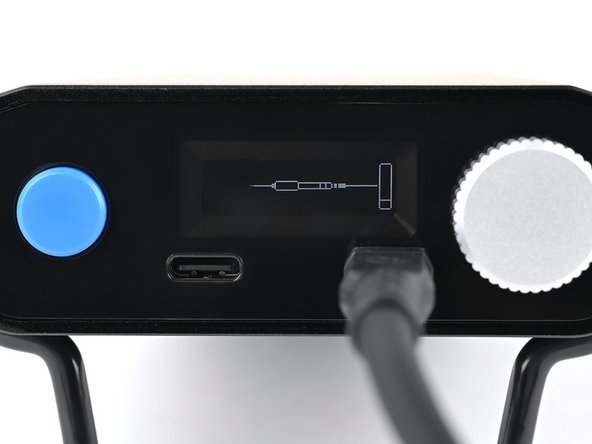
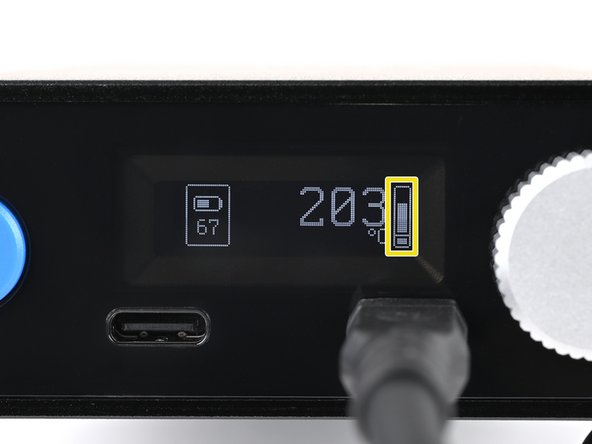
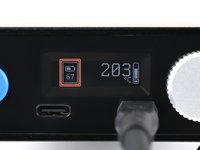
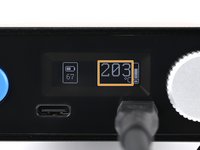
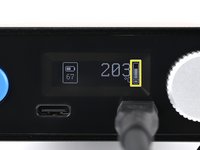
The power station's default screen is also known as the Ready Screen. It displays:
-
Battery charge level
-
Unit display, for the current measured value of a connected tool or device—in this case, the temperature of your soldering iron
-
Power indicator, showing how much power is currently being delivered (on a scale of 0–100W). The smaller square at the bottom shows if the heater is on.
-
-
-
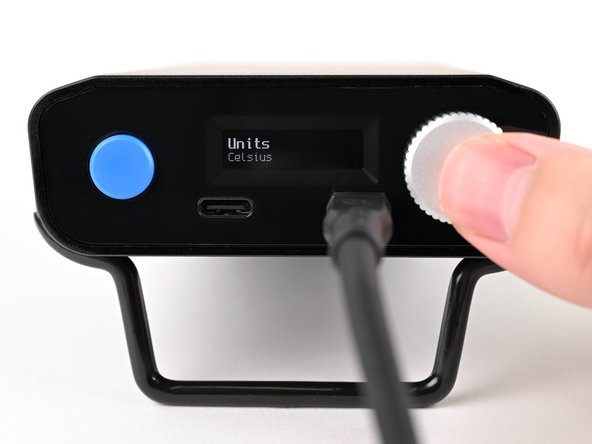
From the Ready Screen, press the selector knob to open the configuration menu.
-
Press again to open the Units sub-menu.
-
Rotate the selector knob to your desired temperature scale (ºC or ºF), and press again to set.
-
Press the blue action button to exit the Units sub-menu, and press again to exit the configuration menu. This returns you to the Ready Screen.
-
-
-
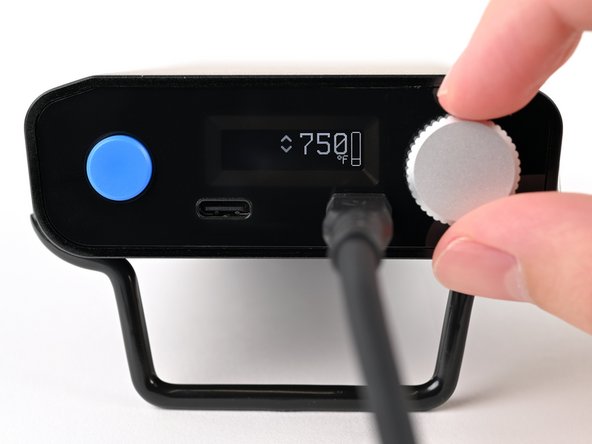
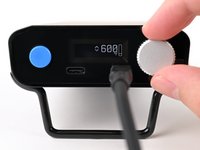
Rotate the selector knob clockwise to increase the temperature and counter-clockwise to decrease.
-
After setting the desired temperature, wait one second or press the selector knob to return to the Ready Screen.
-
-
-
The sliding power switch has a built-in color indicator for each position:
-
Orange: ON
-
Blue: OFF
-
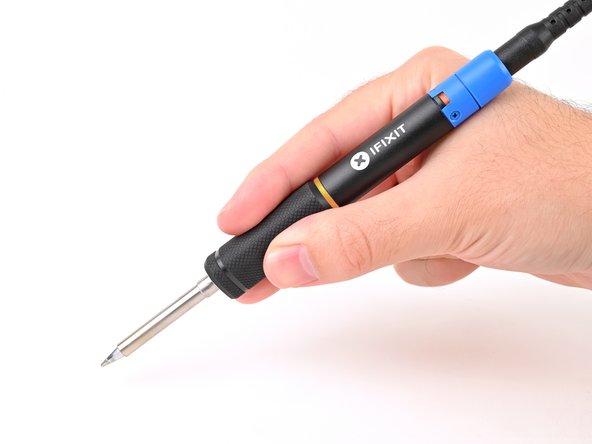
Slide the power switch to the orange ON position. You're ready to start soldering!
-
Hold the soldering iron by the base of the handle with your fingers on the knurled grip.
-


New to soldering? Follow this guide to get started.
Repair didn't go as planned? Try some basic troubleshooting, or ask our Answers community for help.
Cancelar: não concluí este guia.
5 outras pessoas executaram este guia.

