Ir para o conteúdo principal
Participe da comunidade de reparos - Criar conta

Petcube Play 2 Camera Replacement

O que você precisa

    1. Petcube Play 2 Camera Replacement, Motherboard: passo 1, imagem 1 %32 Petcube Play 2 Camera Replacement, Motherboard: passo 1, imagem 2 %32 Petcube Play 2 Camera Replacement, Motherboard: passo 1, imagem 3 %32
      • Flip over the Petcube so the rubber bottom faces you.

      • Pull up the rubber layer with an iFixit opening pick to expose the screws underneath.

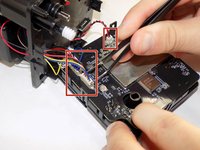
      Pergunte ao FixBot

      Comentar

    2. Petcube Play 2 Camera Replacement: passo 2, imagem 1 %32 Petcube Play 2 Camera Replacement: passo 2, imagem 2 %32
      • Remove the four 3.5mm screws from under the rubber cover using a Phillips #1 screwdriver.

      • The glue may cause slight resistance, but the screws should come out with minimal effort.

      Pergunte ao FixBot

      Comentar

    3. Petcube Play 2 Camera Replacement: passo 3, imagem 1 %32 Petcube Play 2 Camera Replacement: passo 3, imagem 2 %32
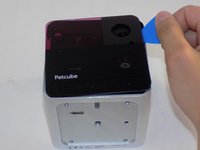
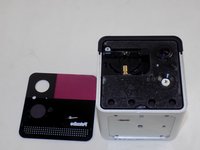
      • Carefully pry off the glass front panel using an opening pick or a spudger.

      • Do not force the front panel off, as it may crack and break.

      Pergunte ao FixBot

      Comentar

    4. Petcube Play 2 Camera Replacement: passo 4, imagem 1 %32 Petcube Play 2 Camera Replacement: passo 4, imagem 2 %32 Petcube Play 2 Camera Replacement: passo 4, imagem 3 %32
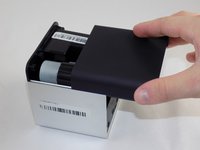
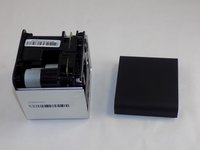
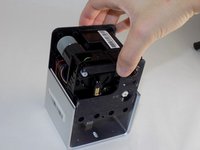
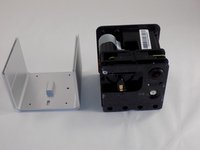
      • Slide off the two covers, starting with the top plastic cover.

      • Slide out the internal assembly from the aluminum casing.

      Pergunte ao FixBot

      Comentar

    5. Petcube Play 2 Camera Replacement: passo 5, imagem 1 %32 Petcube Play 2 Camera Replacement: passo 5, imagem 2 %32 Petcube Play 2 Camera Replacement: passo 5, imagem 3 %32
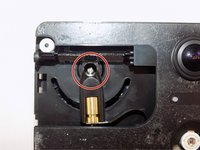
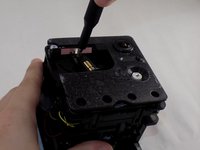
      • Once the internal assembly is removed, a brass cylinder in one corner of the cube's front face will be visible. A screw will be attached to it.

      • Remove the screw with a Phillips #1 screwdriver.

      Pergunte ao FixBot

      Comentar

    6. Petcube Play 2 Camera Replacement: passo 6, imagem 1 %32 Petcube Play 2 Camera Replacement: passo 6, imagem 2 %32 Petcube Play 2 Camera Replacement: passo 6, imagem 3 %32
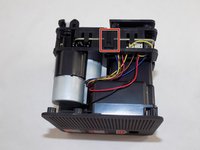
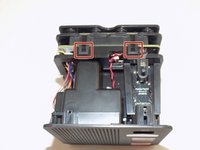
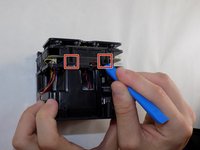
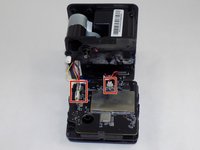
      • Flip the cube onto its side to locate the pull tabs.

      • Using an opening tool, lift each of the five tabs to separate the two halves of the Petcube 2.

      Pergunte ao FixBot

      Comentar

    7. Petcube Play 2 Camera Replacement: passo 7, imagem 1 %32 Petcube Play 2 Camera Replacement: passo 7, imagem 2 %32 Petcube Play 2 Camera Replacement: passo 7, imagem 3 %32
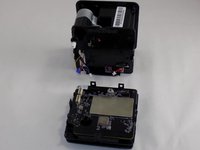
      • Gently disconnect the cable connectors to separate the two halves of the device.

      • Avoid pulling on the wires to prevent damage to the connectors.

      Pergunte ao FixBot

      Comentar

    8. Petcube Play 2 Camera Replacement: passo 8, imagem 1 %32 Petcube Play 2 Camera Replacement: passo 8, imagem 2 %32 Petcube Play 2 Camera Replacement: passo 8, imagem 3 %32
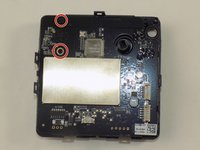
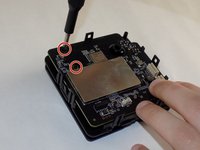
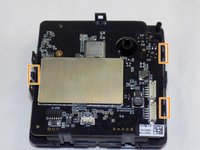
      • Use a Phillips #1 screwdriver to remove the two 1mm screws.

      • Carefully release each of the tabs on the sides of the cube and remove the motherboard.

      • Be gentle with the tabs. They will break under too much pressure.

      Pergunte ao FixBot

      Comentar

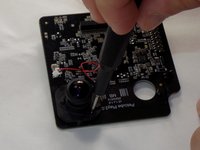
    1. Petcube Play 2 Camera Replacement, Camera: passo 9, imagem 1 %32 Petcube Play 2 Camera Replacement, Camera: passo 9, imagem 2 %32
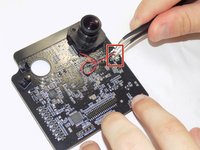
      • Use a pair of tweezers to firmly grip the sides of the connector and pull straight away from the socket. Hold the tweezers closer to the connector to get a better grip.

      • If you're having trouble, try rocking the connector side-to-side to loosen it.

      • You can insert the arms of a pair of sharp tweezers into the cutouts and gently push the connector out of its socket.

      • To reconnect the cable, insert the connector into its socket and push on the edges until it's fully seated.

      Pergunte ao FixBot

      Comentar

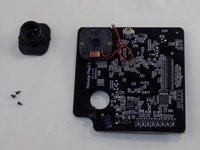
    2. Petcube Play 2 Camera Replacement: passo 10, imagem 1 %32 Petcube Play 2 Camera Replacement: passo 10, imagem 2 %32 Petcube Play 2 Camera Replacement: passo 10, imagem 3 %32
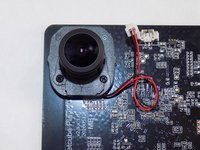
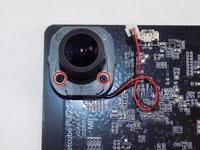
      • Use the Phillips #00 screwdriver to remove the three 1 mm screws securing the camera to the motherboard.

      • Remove the camera from the motherboard.

      Pergunte ao FixBot

      Comentar

Conclusão

To reassemble your device, follow these instructions in reverse order. Take your e-waste to an R2 or e-Stewards certified recycler.

Cancelar: não concluí este guia.

JoshBerm

Membro desde: 03/18/24

135 Reputação

Autoria de 1 guia

Equipe

0Comentários do guia

Comentar

Visualizações:

Últimas 24 horas: 1

Últimos 7 dias: 7

Últimos 30 dias: 23

Ao todo: 493