Introdução
Use this guide to open your Apple Watch Series 7 for repairs.
Note: The opening procedure for the 41 mm and the 45 mm Apple Watch series 7 is the same. You can use this guide for both models.
This guide shows the procedure on the cellular/LTE version of the watch, but the GPS-only version is similar.
You’ll need replacement adhesive to reattach components when reassembling the device.
O que você precisa
-
-
Before starting repairs, take your watch off the charger and power it down.
 Pergunte ao FixBot
-
-
-
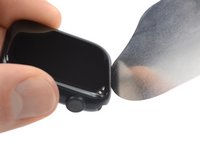
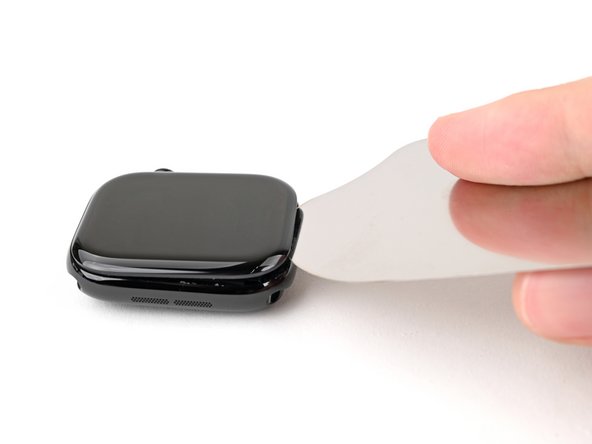
Because the gap between the screen and watch body is so thin, an iFlex is needed to separate the two.
-
-
-
Prepare an iOpener and apply it to the screen for at least two minutes to loosen the adhesive underneath.
-
-
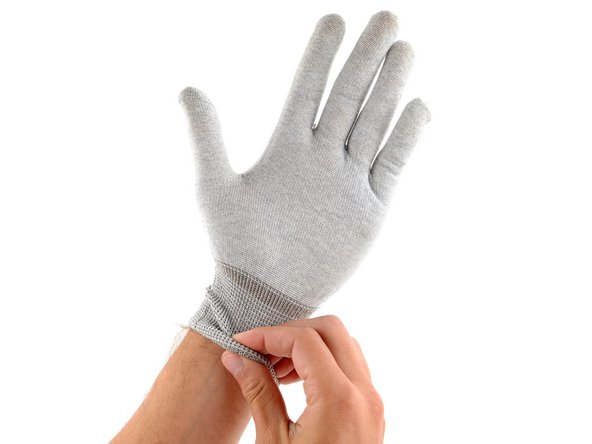
Ferramenta utilizada neste passo:Cut-Resistant ESD Gloves$19.99
-
Insert the iFlex at a downward angle between the bottom edge of the screen and frame.
-
-
-
-
With one hand, push down firmly on the watch's frame to secure it in place.
-
With your free hand, hold the iFlex and push the edges up to make it more rigid.
-
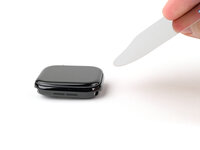
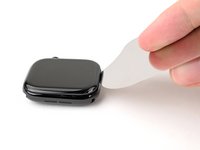
Pry up the screen enough for the iFlex to lay flat on its own.
-
Leave the iFlex inserted under the screen.
-
-
-
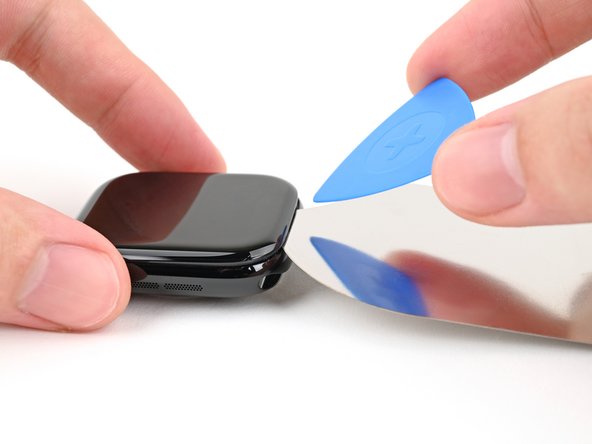
Keep the iFlex flat to maintain a gap between the screen and frame while inserting an opening pick.
-
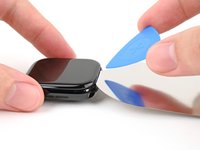
Insert an opening pick between the screen and iFlex.
-
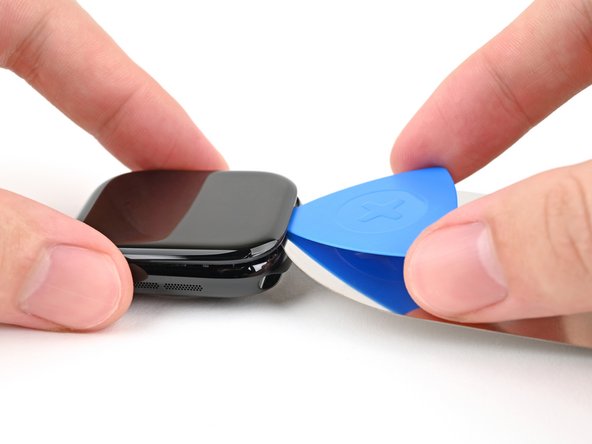
Remove the iFlex.
-
-
-
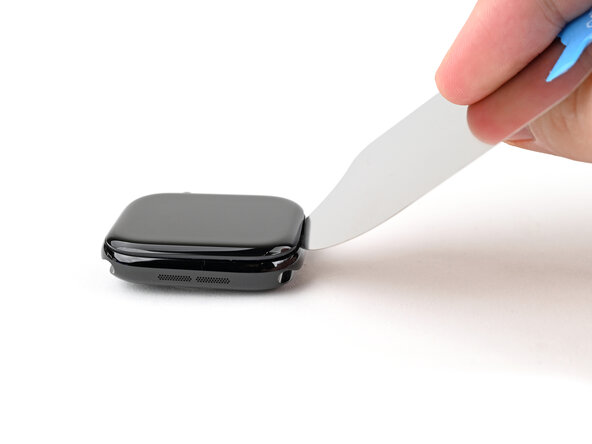
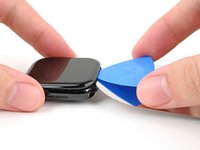
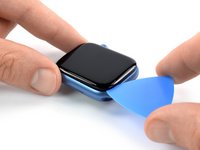
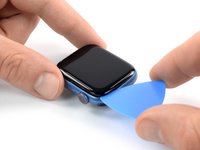
Slide the opening pick around the bottom left corner and up the left edge.
-
-
-
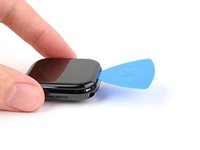
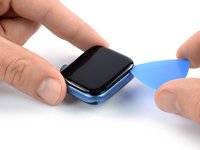
Slide the opening pick around the corner and along the long edge on the opposite side of the watch crown to slice the display adhesive.
-
-
-
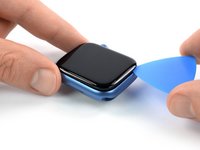
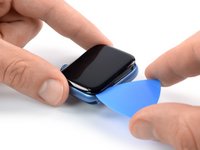
Slide the opening pick around the corner to slice the remaining adhesive on the short edge of the watch next to the watch crown.
-
-
-
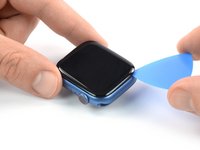
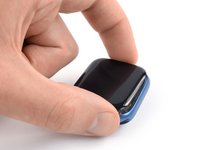
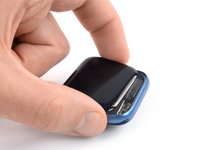
Lift the display and carefully pull it towards the watch crown.
-
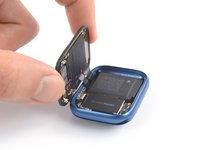
Swing the display open to an upward position.
-


If possible, turn on your device and test your repair before installing new adhesive and resealing.
To reassemble your device, follow these instructions in reverse order.
During reassembly apply new adhesive where necessary after cleaning the relevant areas with isopropyl alcohol (>90%).
Take your e-waste to an R2 or e-Stewards certified recycler.
Opening didn’t go as planned? Check out our Answers community for troubleshooting help.
Cancelar: não concluí este guia.
Uma outra pessoa concluiu este guia.

