Introdução
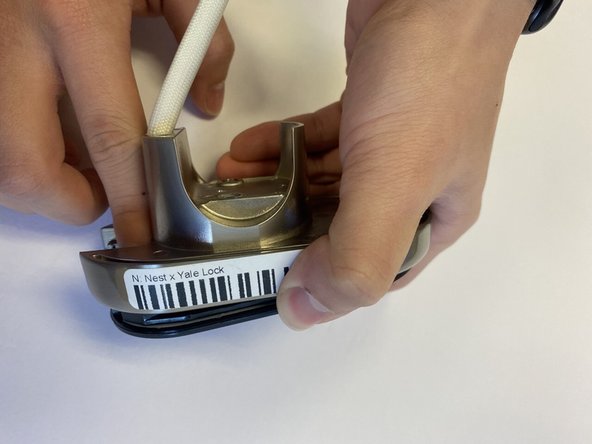
If your Nest x Yale lock is related to any of the issues on the unresponsive section of your troubleshooting page, you may need to replace the touchpad. Use this guide to replace the keypad properly.
The touchpad is located inside the keypad. This touchpad is responsible for being able to input your code to unlock the door lock.
Before beginning this process, be sure that the device is off and not plugged into the lock.
O que você precisa
-
-
-
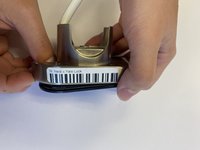
Unscrew all available screws that you can see from the back.
 Pergunte ao FixBot
-
-
-
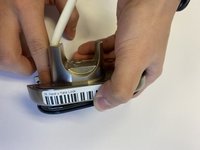
Once you have unscrewed all the screws carefully remove the metal covering.
-
-
-
-
Once all screws are unscrewed proceed to tap the screen out of the metal casing.
-
-


To reassemble your device, follow these instructions in reverse order.
Equipe

CSU Los Angeles, Team 5-3, Adachi Fall 2022 Membro de CSU Los Angeles, Team 5-3, Adachi Fall 2022
CSULA-ADACHI-F22S5G3
5 Membros
Autoria de 5 guias