Ir para o conteúdo principal
Participe da comunidade de reparos - Criar conta

Mr. Coffee TF6 Power Cord Replacement

O que você precisa

    1. Mr. Coffee TF6 Power Cord Replacement, Bottom Cover: passo 1, imagem 1 %32
      • Facing the bottom of the TF6, carefully pull the two rubber feet out with your hands.

      Pergunte ao FixBot

      Comentar

    2. Mr. Coffee TF6 Power Cord Replacement: passo 2, imagem 1 %32 Mr. Coffee TF6 Power Cord Replacement: passo 2, imagem 2 %32
      • Using a Phillips #1 screwdriver, remove the six 11mm Phillips screws that are holding the bottom cover in place.

      Pergunte ao FixBot

      Comentar

    3. Mr. Coffee TF6 Power Cord Replacement: passo 3, imagem 1 %32
      • Gently lift the bottom cover, detaching it from the main body of the TF6.

      Pergunte ao FixBot

      Comentar

    1. Mr. Coffee TF6 Power Cord Replacement, Power Cord: passo 4, imagem 1 %32
      • Using a Phillips #1 screwdriver, remove the two 13mm Phillips screws that are securing the wire harness.

      Pergunte ao FixBot

      Comentar

    2. Mr. Coffee TF6 Power Cord Replacement: passo 5, imagem 1 %32
      • Carefully lift the wire harness from the base of the TF6, detaching it completely.

      • The power cord wiring is now completely accessible.

      Pergunte ao FixBot

      Comentar

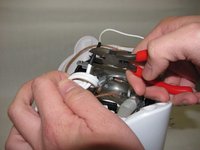
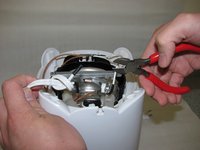
    3. Mr. Coffee TF6 Power Cord Replacement: passo 6, imagem 1 %32 Mr. Coffee TF6 Power Cord Replacement: passo 6, imagem 2 %32
      • Using a set of wire cutters, cut both leads of the power cord at the heatshrinked area where the leads split.

      Pergunte ao FixBot

      Comentar

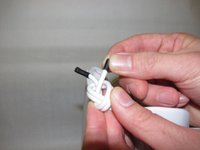
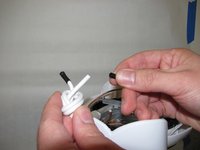
    4. Mr. Coffee TF6 Power Cord Replacement: passo 7, imagem 1 %32 Mr. Coffee TF6 Power Cord Replacement: passo 7, imagem 2 %32
      • Using your fingers, pry the heatshrink off from the power cord leads.

      Pergunte ao FixBot

      Comentar

    5. Mr. Coffee TF6 Power Cord Replacement: passo 8, imagem 1 %32
      • Using a 14-16 AWG wire stripper, strip the leads on the replacement power cord.

      Pergunte ao FixBot

      Comentar

    6. Mr. Coffee TF6 Power Cord Replacement: passo 9, imagem 1 %32
      • Solder the power cord's positive lead to the white nylon wire.

      • Solder the power cord's ground lead to the bronze nylon wire.

      • Ensure the correct leads are being soldered together (power to power, ground to ground). Soldering the incorrect leads together will result in hazardous conditions for both the TF6 and the user when the unit is powered on.

      • Consult the replacement power cord's user manual, packaging, or manufacturer in order to verify the power and ground leads.

      Pergunte ao FixBot

      Comentar

Conclusão

To reassemble your device, follow these instructions in reverse order.

Cancelar: não concluí este guia.

Andrew

Membro desde: 01/24/14

116 Reputação

Autoria de 1 guia

Equipe

Cal Poly, Team 13-18, Regan Winter 2014 Membro de Cal Poly, Team 13-18, Regan Winter 2014

CPSU-REGAN-W14S13G18

4 Membros

Autoria de 15 guias

1Comentário do guia

Excellent! very helpful...

NP Designs 123 - Responder Compartilhar

Comentar

Visualizações:

Últimas 24 horas: 0

Últimos 7 dias: 13

Últimos 30 dias: 44

Ao todo: 1,079