Ir para o conteúdo principal

Motorola Moto Z3 Screen Replacement

O que você precisa

  1. Motorola Moto Z3 Screen Replacement, Heat the display: passo 1, imagem 1 %32
    • Power your phone off before you begin.

    • If possible, drain the battery before disassembly. When the battery is charged, there's increased risk of a dangerous thermal event if the battery is overheated or damaged during repairs.

    • If your display is cracked, completely cover it with packing tape to contain the glass shards and avoid injury.

    • Prepare an iOpener and heat the front of the phone along its right edge for about two minutes, or until it's slightly too hot to touch. This will help soften the adhesive securing the display.

    • You may need to reheat and reapply the iOpener several times to get the phone warm enough. Follow the iOpener instructions to avoid overheating.

    • A hair dryer, heat gun, or hot plate may also be used, but be careful not to overheat the phone—the display and internal battery are both susceptible to heat damage.

  2. Motorola Moto Z3 Screen Replacement, Display adhesive and cutting reference: passo 2, imagem 1 %32 Motorola Moto Z3 Screen Replacement, Display adhesive and cutting reference: passo 2, imagem 2 %32
    • In the following steps, you will separate the display assembly from the Moto Z3's chassis.

    • The first image shows the back of the display assembly after it has been removed from the phone. The second image shows the front of the phone to reference where the display cable lies.

    • If you plan to re-use the display assembly, pay particular attention to the side edges. When slicing through the glue in this area, you must be careful to insert your tool less than 2 mm, or your tool will come in contact with the LCD and damage it.

    • Take special care when cutting near the display cable. If you pry too deep or too forcefully, it is very easy to damage the cable. If you encounter extra resistance around this area, do not try to force the pick forward. Pull it out and reinsert it on the other side of the display cable before you continue cutting.

    • Playing cards are a safer, but much slower, prying tool. The soft paper cards are less likely to damage the LCD, which is good news if you plan to reuse it.

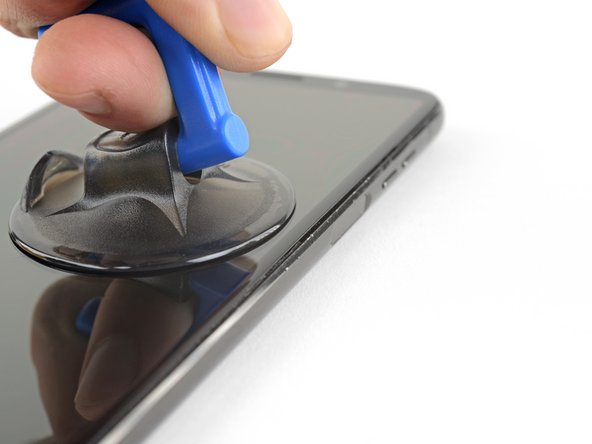
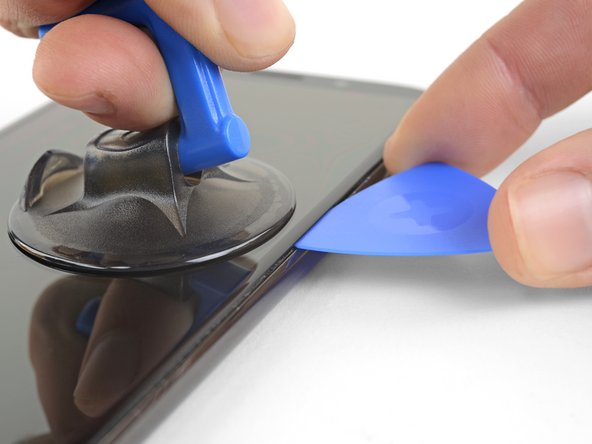
  3. Motorola Moto Z3 Screen Replacement, Cut the display adhesive: passo 3, imagem 1 %32 Motorola Moto Z3 Screen Replacement, Cut the display adhesive: passo 3, imagem 2 %32 Motorola Moto Z3 Screen Replacement, Cut the display adhesive: passo 3, imagem 3 %32
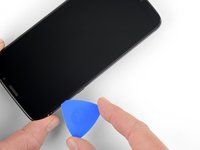
    • Apply a suction cup to the display, near the middle of the right edge.

    • Pull up on the suction cup with firm, constant pressure to create a slight gap between the display and rear case.

    • If the screen is cracked, the suction cup may not stick. Try lifting it with strong tape, or superglue the suction cup in place and allow it to cure so you can proceed.

    • This may require a significant amount of force, but you only need to open a very slight gap with the suction cup to insert your tool.

    • If you have trouble, apply more heat to further soften the adhesive, and try again. The adhesive cools quickly, so you may need to heat it repeatedly.

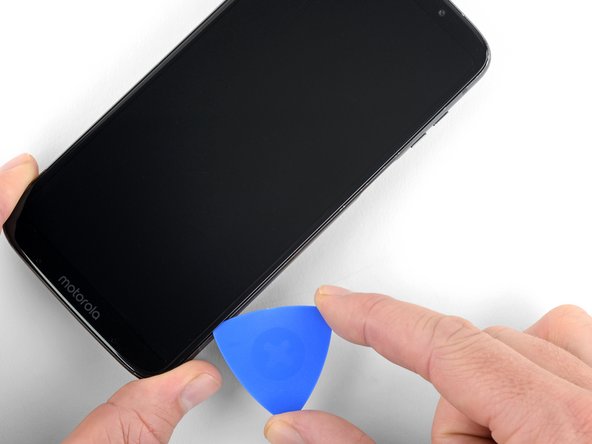
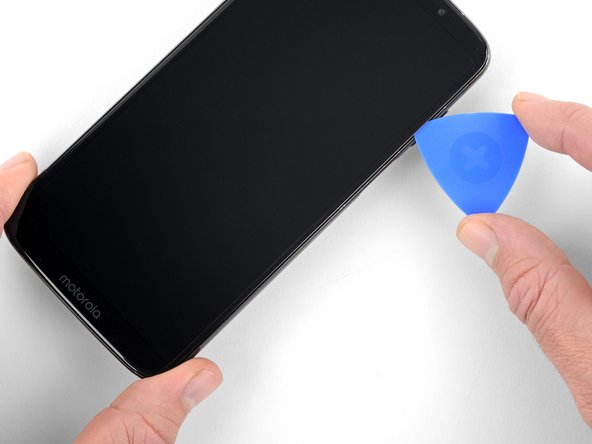
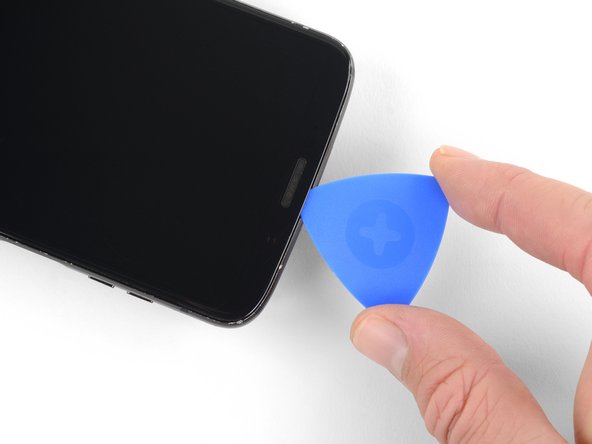
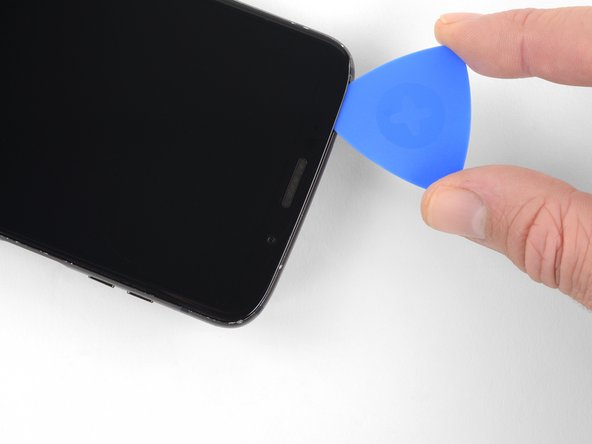
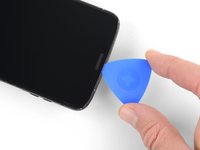
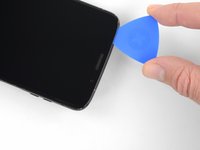
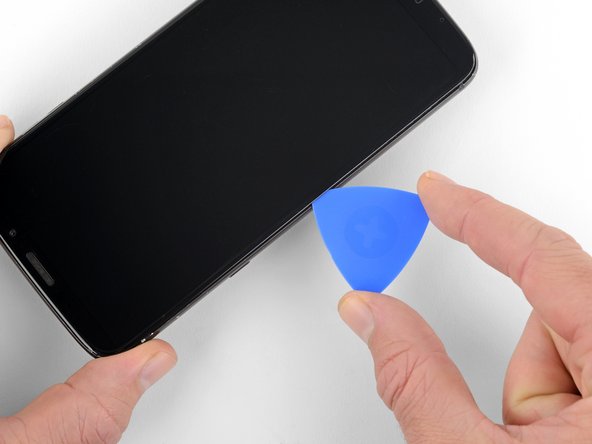
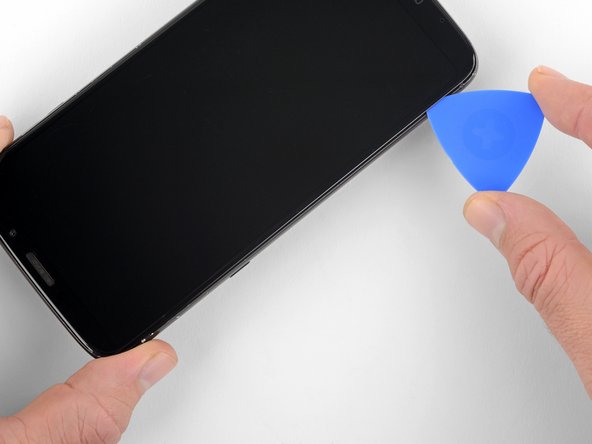
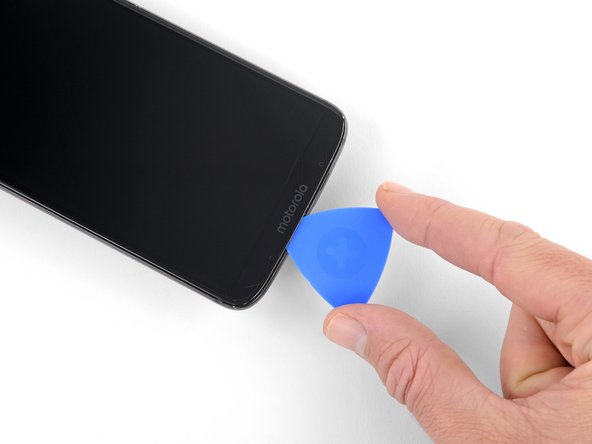
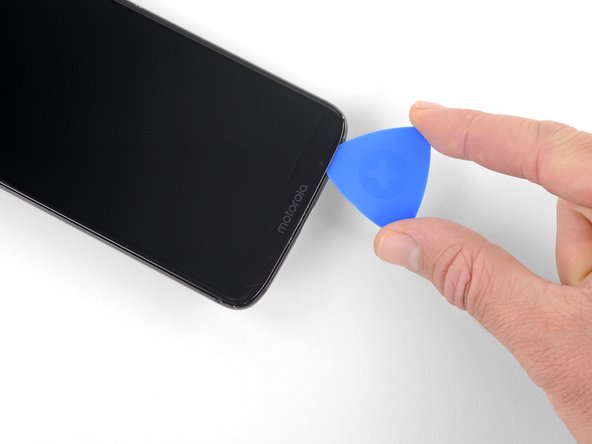
    • Insert an opening pick (or playing card) into the gap you opened behind the display.

    • Do not insert the tool more than 1.5 mm past the edge of the display.

  4. Motorola Moto Z3 Screen Replacement: passo 4, imagem 1 %32 Motorola Moto Z3 Screen Replacement: passo 4, imagem 2 %32 Motorola Moto Z3 Screen Replacement: passo 4, imagem 3 %32
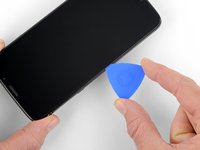
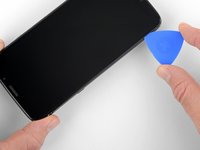
    • Slide the tool all along the right edge of the phone to slice through the adhesive securing the display.

    • If you plan to reuse the display, continue moving the tool in a straight line as you approach the corners of the phone—do not round the corners with the tool. The corners of the LCD come very close to the edge of the digitizer and are easy to damage.

  5. Motorola Moto Z3 Screen Replacement: passo 5, imagem 1 %32
    • Heat the upper edge of the display to soften the adhesive underneath.

  6. Motorola Moto Z3 Screen Replacement: passo 6, imagem 1 %32 Motorola Moto Z3 Screen Replacement: passo 6, imagem 2 %32 Motorola Moto Z3 Screen Replacement: passo 6, imagem 3 %32
    • Slide your tool underneath the top bezel to separate the glue.

    • You can insert the pick slightly deeper here, but if you want to re-use the display, don't insert the tool more than 5.5 mm past the edge of the display.

  7. Motorola Moto Z3 Screen Replacement: passo 7, imagem 1 %32
    • Heat the left edge of the phone to soften the adhesive securing the left edge of the display.

  8. Motorola Moto Z3 Screen Replacement: passo 8, imagem 1 %32 Motorola Moto Z3 Screen Replacement: passo 8, imagem 2 %32 Motorola Moto Z3 Screen Replacement: passo 8, imagem 3 %32
    • Slide your tool along the left edge of the phone to separate the glue securing the display.

    • Be very careful when slicing near the bottom of the phone to avoid damaging the display cable. Refer to step two for help identifying and avoiding the display cable.

  9. Motorola Moto Z3 Screen Replacement: passo 9, imagem 1 %32
    • Heat the bottom edge of the phone to soften the adhesive securing the bottom of the display.

  10. Motorola Moto Z3 Screen Replacement: passo 10, imagem 1 %32 Motorola Moto Z3 Screen Replacement: passo 10, imagem 2 %32 Motorola Moto Z3 Screen Replacement: passo 10, imagem 3 %32
    • Slice through the glue under the lower bezel.

    • You can insert the pick slightly deeper here, but if you want to re-use the display, don't insert the tool more than 4 mm past the edge of the display.

  11. Motorola Moto Z3 Screen Replacement, Remove the display: passo 11, imagem 1 %32
    • If the display remains stuck, re-heat and slice the adhesive repeatedly as needed.

    • Lift the display from the right edge and swing it open, away from the phone. The display is still attached to the phone chassis at the lower left edge, so do not fully remove it yet.

    • When you lift the display, two small plastic gaskets—one for the front-facing camera, and one for the front-facing sensors—may fall out of the phone. Keep track of these gaskets and make sure to reinstall them before sealing the phone.

  12. Motorola Moto Z3 Screen Replacement: passo 12, imagem 1 %32 Motorola Moto Z3 Screen Replacement: passo 12, imagem 2 %32 Motorola Moto Z3 Screen Replacement: passo 12, imagem 3 %32
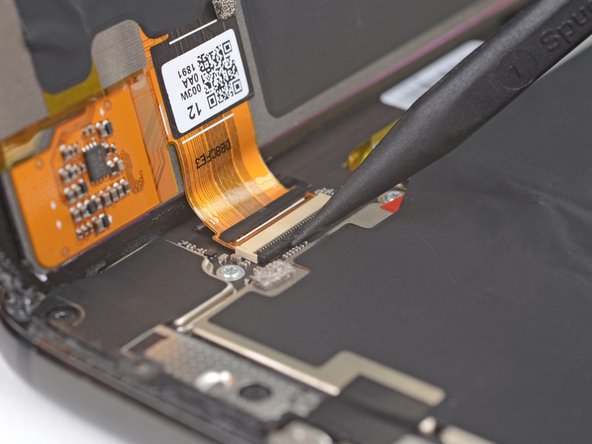
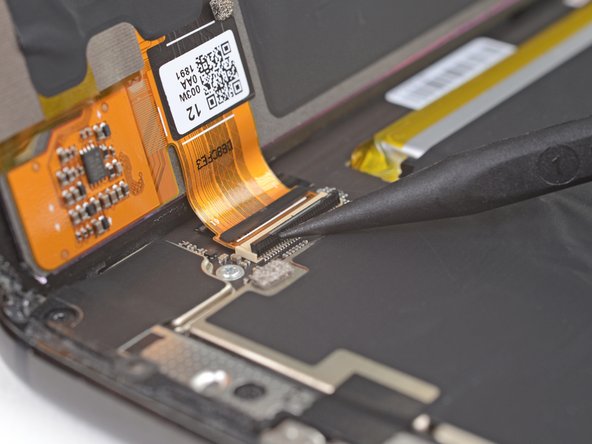
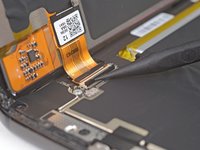
    • While holding the display open, use tweezers to remove the tape over the display cable connector.

    • Use the point of a spudger to pry up the locking tab on the display cable's ZIF connector.

  13. Motorola Moto Z3 Screen Replacement: passo 13, imagem 1 %32
Conclusão

Compare your new replacement part to the original part—you may need to transfer remaining components or remove adhesive backings from the new part before installing.

To reassemble your device, follow the above steps in reverse order.

Take your e-waste to an R2 or e-Stewards certified recycler.

Repair didn’t go as planned? Check out our Answers community for troubleshooting help.

25 outras pessoas executaram este guia.

Adam O'Camb

Membro desde: 04/11/15

195.345 Reputação

Autoria de 416 guias

6 comentários

Repair went smoothly…except screen doesn't react to touch.

John Ferrero - Responder

I Have Same Problem. Anybody Know A Fix For This?

J.D. -

same problem here…

KhaoticFuture -

I just had the same problem, I forced a restart and it's fine now. Hold down the power and volume down buttons for about 15 seconds.

RenoHim -

Repair was easier than I thought. Didn’t need to reuse screen so I just heated up one side and went to town slicing all the way around. Took me 5 mins tops.

William DeCandia - Responder

Adicione um comentário

Exibir estatísticas:

Últimas 24 horas: 1

Últimos 7 dias: 12

Últimos 30 dias: 71

Duração total: 11,913