Ir para o conteúdo principal

Microsoft Surface Pro 5 Power, Volume Button, and Left Speaker Assembly Replacement

Guia arquivado
Este guia é mantido exclusivamente para fins históricos. Use a versão atualizada do guia para executar o reparo.

O que você precisa

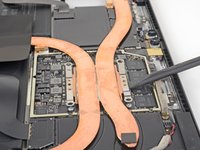
  1. Microsoft Surface Pro 5 Power, Volume Button, and Left Speaker Assembly Replacement, Disconnect the display board: passo 1, imagem 1 %32 Microsoft Surface Pro 5 Power, Volume Button, and Left Speaker Assembly Replacement, Disconnect the display board: passo 1, imagem 2 %32 Microsoft Surface Pro 5 Power, Volume Button, and Left Speaker Assembly Replacement, Disconnect the display board: passo 1, imagem 3 %32
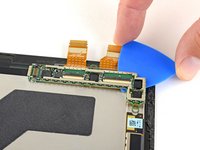
    • Use a spudger to flip up the small locking flaps on the display cable ZIF connectors.

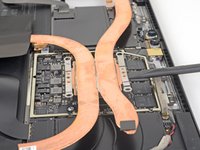
  2. Microsoft Surface Pro 5 Power, Volume Button, and Left Speaker Assembly Replacement: passo 2, imagem 1 %32 Microsoft Surface Pro 5 Power, Volume Button, and Left Speaker Assembly Replacement: passo 2, imagem 2 %32 Microsoft Surface Pro 5 Power, Volume Button, and Left Speaker Assembly Replacement: passo 2, imagem 3 %32
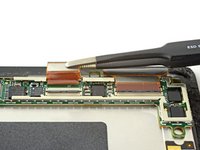
    • Use tweezers to slide the display cables straight out of their sockets on the display board.

  3. Microsoft Surface Pro 5 Power, Volume Button, and Left Speaker Assembly Replacement, Remove the display board: passo 3, imagem 1 %32 Microsoft Surface Pro 5 Power, Volume Button, and Left Speaker Assembly Replacement, Remove the display board: passo 3, imagem 2 %32 Microsoft Surface Pro 5 Power, Volume Button, and Left Speaker Assembly Replacement, Remove the display board: passo 3, imagem 3 %32
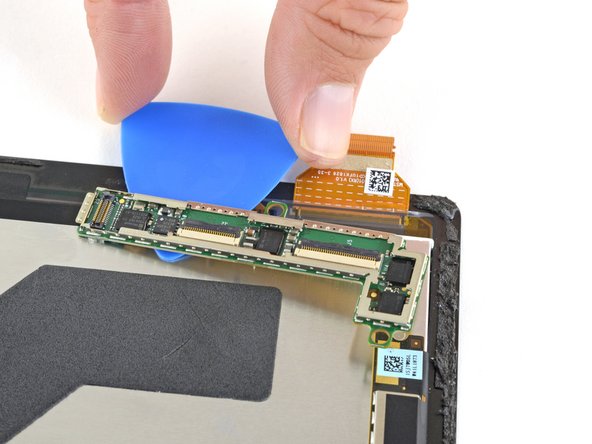
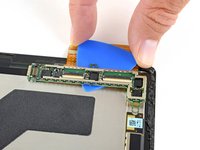
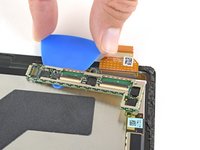
    • Slide an opening pick under the display board to separate the adhesive holding it onto the back of the screen.

  4. Microsoft Surface Pro 5 Power, Volume Button, and Left Speaker Assembly Replacement: passo 4, imagem 1 %32
    Ferramenta utilizada nesse passo:
    Tesa 61395 Tape
    $5.99
    Comprar
    • Remove the display board.

    • During reassembly, use a strong double-sided tape or a precut adhesive card to secure the display board. Clean off the old adhesive before applying new adhesive.

    • To ensure correct positioning, plug in both display connectors before adhering the board to the display.

  5. Microsoft Surface Pro 5 Power, Volume Button, and Left Speaker Assembly Replacement: passo 5, imagem 1 %32
    • Only the screen remains.

  6. Microsoft Surface Pro 5 Power, Volume Button, and Left Speaker Assembly Replacement, Remove the heat sink shield: passo 6, imagem 1 %32 Microsoft Surface Pro 5 Power, Volume Button, and Left Speaker Assembly Replacement, Remove the heat sink shield: passo 6, imagem 2 %32
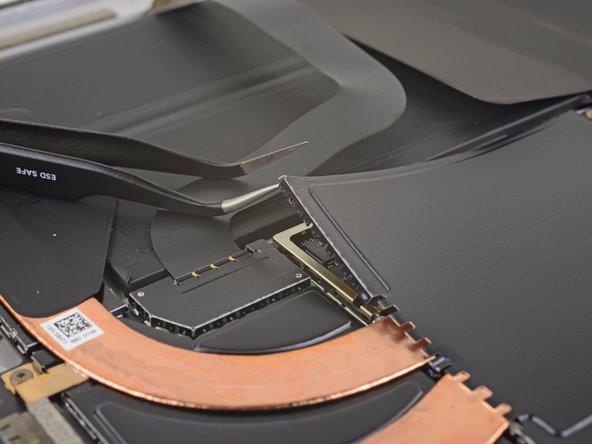
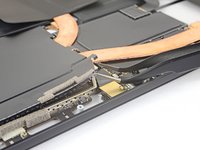
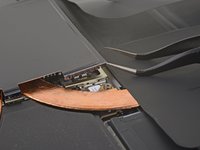
    • Insert one point of a pair of pointed tweezers into a gap in the corner of the EMI shield covering the heat sink.

    • Use the tweezers to pry the EMI shield away from the motherboard as much as you can without bending it. Do not remove it yet.

    • Try not to deform the shield too much—you will need to reinstall it during reassembly.

    • Take care not to puncture the battery with the tweezers while working on this shield.

  7. Microsoft Surface Pro 5 Power, Volume Button, and Left Speaker Assembly Replacement: passo 7, imagem 1 %32 Microsoft Surface Pro 5 Power, Volume Button, and Left Speaker Assembly Replacement: passo 7, imagem 2 %32 Microsoft Surface Pro 5 Power, Volume Button, and Left Speaker Assembly Replacement: passo 7, imagem 3 %32
    • Repeat the last step for each corner of the EMI shield covering the heat sink.

  8. Microsoft Surface Pro 5 Power, Volume Button, and Left Speaker Assembly Replacement: passo 8, imagem 1 %32
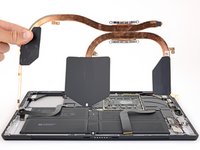
    • Remove the heat sink shield.

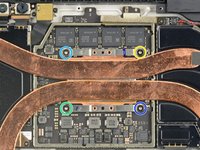
  9. Microsoft Surface Pro 5 Power, Volume Button, and Left Speaker Assembly Replacement, Remove the heat sink: passo 9, imagem 1 %32 Microsoft Surface Pro 5 Power, Volume Button, and Left Speaker Assembly Replacement, Remove the heat sink: passo 9, imagem 2 %32
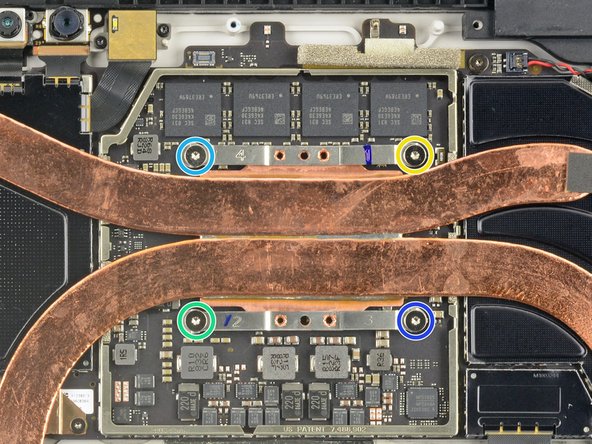
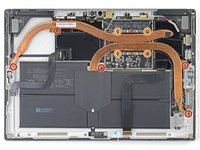
    • Remove the ten Torx screws securing the heat sink:

    • Five 2.6 mm-long T3 screws

    • Four 3.3 mm-long T5 screws

    • During reassembly, tighten the heat sink screws in the following criss-cross pattern, one turn at a time, until they're tight:

    • Screw 1

    • Screw 2

    • Screw 3

    • Screw 4

  10. Microsoft Surface Pro 5 Power, Volume Button, and Left Speaker Assembly Replacement: passo 10, imagem 1 %32 Microsoft Surface Pro 5 Power, Volume Button, and Left Speaker Assembly Replacement: passo 10, imagem 2 %32 Microsoft Surface Pro 5 Power, Volume Button, and Left Speaker Assembly Replacement: passo 10, imagem 3 %32
  11. Microsoft Surface Pro 5 Power, Volume Button, and Left Speaker Assembly Replacement, Camera Tie Bar: passo 11, imagem 1 %32
    • Remove the Torx T5 x 6mm screw connecting the black tie bar to the power button/volume control/speaker assembly.

  12. Microsoft Surface Pro 5 Power, Volume Button, and Left Speaker Assembly Replacement: passo 12, imagem 1 %32
    • Remove the remaining three Torx T5 x 4.5mm screws holding down the camera tie bar.

  13. Microsoft Surface Pro 5 Power, Volume Button, and Left Speaker Assembly Replacement: passo 13, imagem 1 %32
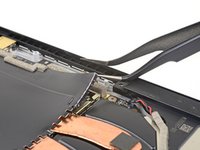
    • Disconnect the small ribbon cable connecting the camera tie bar to the motherboard by pulling up with tweezers.

  14. Microsoft Surface Pro 5 Power, Volume Button, and Left Speaker Assembly Replacement: passo 14, imagem 1 %32
    • Lift the camera tie bar off of the device.

  15. Microsoft Surface Pro 5 Power, Volume Button, and Left Speaker Assembly Replacement, Power Button, Volume Buttons, and Left Speaker Assembly: passo 15, imagem 1 %32
    • Use a Torx T5 to remove the two 4.5mm silver screws on the power button/volume control/speaker assembly.

  16. Microsoft Surface Pro 5 Power, Volume Button, and Left Speaker Assembly Replacement: passo 16, imagem 1 %32 Microsoft Surface Pro 5 Power, Volume Button, and Left Speaker Assembly Replacement: passo 16, imagem 2 %32
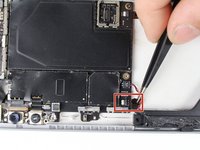
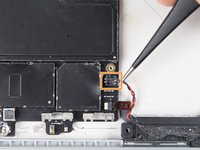
    • Disconnect the small ribbon attaching the assembly to the motherboard by lifting up with tweezers.

    • Disconnect the black and red cable connector by lifting up with tweezers.

  17. Microsoft Surface Pro 5 Power, Volume Button, and Left Speaker Assembly Replacement: passo 17, imagem 1 %32
    • Pull the assembly to the left with hands and lift up to remove.

Conclusão

To reassemble your device, follow these instructions in reverse order.

Uma outra pessoa concluiu este guia.

Kaden Foster

Membro desde: 10/02/17

885 Reputação

Autoria de 3 guias

Equipe

Cal Poly, Team S15-G3, Livingston Fall 2017 Membro de Cal Poly, Team S15-G3, Livingston Fall 2017

CPSU-LIVINGSTON-F17S15G3

Membros da 3

Autoria de 17 guias

Um comentário

Hi,

Where can I purchase the power button assembly in the UK?

junaidpatel - Responder

Adicione um comentário

Exibir estatísticas:

Últimas 24 horas: 2

Últimos 7 dias: 5

Últimos 30 dias: 10

Duração total: 2,786