Ir para o conteúdo principal
Participe da comunidade de reparos - Criar conta

Microsoft Surface Pro 5 Front and Rear Camera Replacement

Guia arquivado
Este guia é mantido exclusivamente para fins históricos. Use a versão atualizada do guia para executar o reparo.

O que você precisa

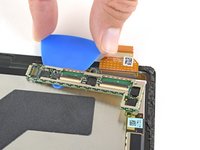
    1. Microsoft Surface Pro 5 Front and Rear Camera Replacement, Disconnect the display board: passo 1, imagem 1 %32 Microsoft Surface Pro 5 Front and Rear Camera Replacement, Disconnect the display board: passo 1, imagem 2 %32 Microsoft Surface Pro 5 Front and Rear Camera Replacement, Disconnect the display board: passo 1, imagem 3 %32
      • Use a spudger to flip up the small locking flaps on the display cable ZIF connectors.

      Pergunte ao FixBot

      Comentar

    2. Microsoft Surface Pro 5 Front and Rear Camera Replacement: passo 2, imagem 1 %32 Microsoft Surface Pro 5 Front and Rear Camera Replacement: passo 2, imagem 2 %32 Microsoft Surface Pro 5 Front and Rear Camera Replacement: passo 2, imagem 3 %32
      Ferramenta utilizada neste passo:
      Tweezers
      $4.99
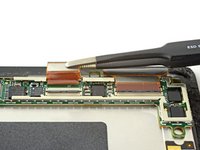
      • Use tweezers to slide the display cables straight out of their sockets on the display board.

      Pergunte ao FixBot

      Comentar

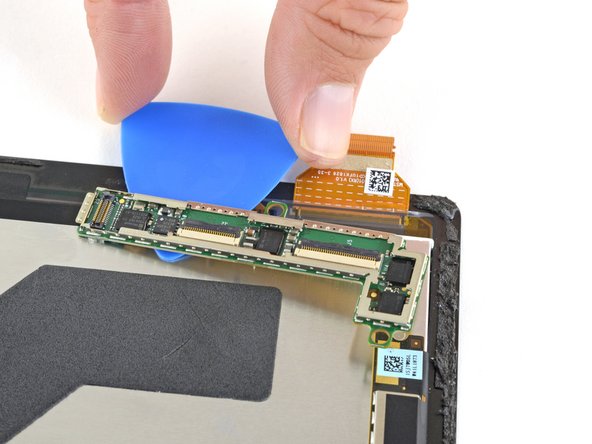
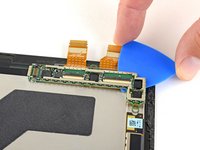
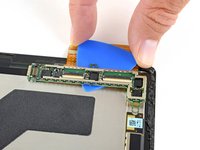
    3. Microsoft Surface Pro 5 Front and Rear Camera Replacement, Remove the display board: passo 3, imagem 1 %32 Microsoft Surface Pro 5 Front and Rear Camera Replacement, Remove the display board: passo 3, imagem 2 %32 Microsoft Surface Pro 5 Front and Rear Camera Replacement, Remove the display board: passo 3, imagem 3 %32
      • Slide an opening pick under the display board to separate the adhesive holding it onto the back of the screen.

      Pergunte ao FixBot

      Comentar

    4. Microsoft Surface Pro 5 Front and Rear Camera Replacement: passo 4, imagem 1 %32
      Ferramenta utilizada neste passo:
      Tesa 61395 Tape
      $8.95
      • Remove the display board.

      • During reassembly, use a strong double-sided tape or a precut adhesive card to secure the display board. Clean off the old adhesive before applying new adhesive.

      • To ensure correct positioning, plug in both display connectors before adhering the board to the display.

      Pergunte ao FixBot

      Comentar

    5. Microsoft Surface Pro 5 Front and Rear Camera Replacement: passo 5, imagem 1 %32
      • Only the screen remains.

      Pergunte ao FixBot

      Comentar

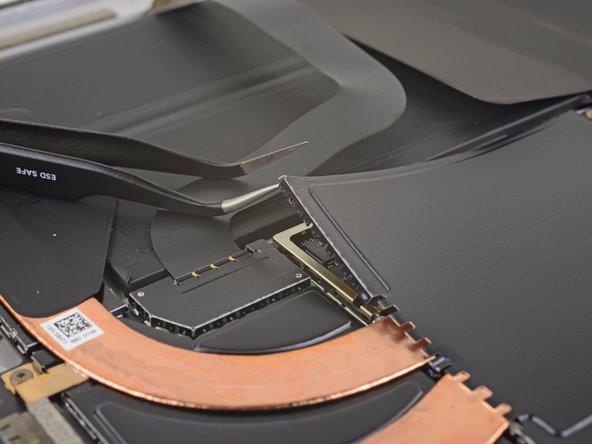
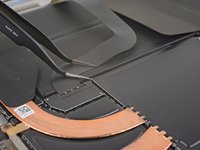
    1. Microsoft Surface Pro 5 Front and Rear Camera Replacement, Remove the heat sink shield: passo 6, imagem 1 %32 Microsoft Surface Pro 5 Front and Rear Camera Replacement, Remove the heat sink shield: passo 6, imagem 2 %32
      Ferramenta utilizada neste passo:
      Tweezers
      $4.99
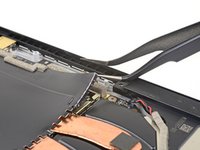
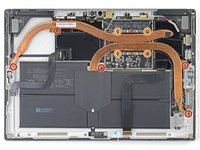
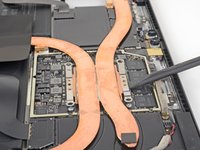
      • Insert one point of a pair of pointed tweezers into a gap in the corner of the EMI shield covering the heat sink.

      • Use the tweezers to pry the EMI shield away from the motherboard as much as you can without bending it. Do not remove it yet.

      • Try not to deform the shield too much—you will need to reinstall it during reassembly.

      • Take care not to puncture the battery with the tweezers while working on this shield.

      Pergunte ao FixBot

      Comentar

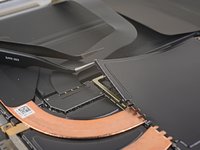
    2. Microsoft Surface Pro 5 Front and Rear Camera Replacement: passo 7, imagem 1 %32 Microsoft Surface Pro 5 Front and Rear Camera Replacement: passo 7, imagem 2 %32 Microsoft Surface Pro 5 Front and Rear Camera Replacement: passo 7, imagem 3 %32
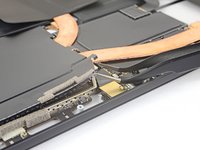
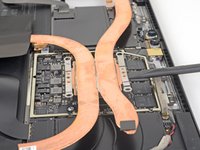
      • Repeat the last step for each corner of the EMI shield covering the heat sink.

      Pergunte ao FixBot

      Comentar

    3. Microsoft Surface Pro 5 Front and Rear Camera Replacement: passo 8, imagem 1 %32
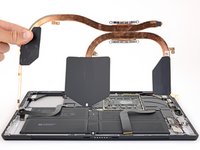
      • Remove the heat sink shield.

      Pergunte ao FixBot

      Comentar

    4. Microsoft Surface Pro 5 Front and Rear Camera Replacement, Remove the heat sink: passo 9, imagem 1 %32 Microsoft Surface Pro 5 Front and Rear Camera Replacement, Remove the heat sink: passo 9, imagem 2 %32
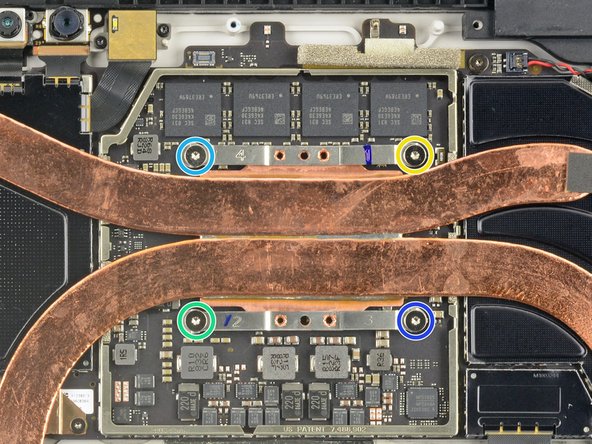
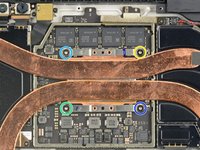
      • Remove the nine Torx screws securing the heat sink:

      • Five 2.6 mm-long T3 screws

      • Four 3.3 mm-long T5 screws

      • During reassembly, tighten the heat sink screws in the following criss-cross pattern, one turn at a time, until they're tight:

      • Screw 1

      • Screw 2

      • Screw 3

      • Screw 4

      Pergunte ao FixBot

      Comentar

    5. Microsoft Surface Pro 5 Front and Rear Camera Replacement: passo 10, imagem 1 %32 Microsoft Surface Pro 5 Front and Rear Camera Replacement: passo 10, imagem 2 %32 Microsoft Surface Pro 5 Front and Rear Camera Replacement: passo 10, imagem 3 %32
      Pergunte ao FixBot

      Comentar

    1. Microsoft Surface Pro 5 Front and Rear Camera Replacement, Camera Tie Bar: passo 11, imagem 1 %32
      • Remove the Torx T5 x 6mm screw connecting the black tie bar to the power button/volume control/speaker assembly.

      Pergunte ao FixBot

      Comentar

    2. Microsoft Surface Pro 5 Front and Rear Camera Replacement: passo 12, imagem 1 %32
      • Remove the remaining three Torx T5 x 4.5mm screws holding down the camera tie bar.

      Pergunte ao FixBot

      Comentar

    3. Microsoft Surface Pro 5 Front and Rear Camera Replacement: passo 13, imagem 1 %32
      Ferramenta utilizada neste passo:
      Tweezers
      $4.99
      • Disconnect the small ribbon cable connecting the camera tie bar to the motherboard by pulling up with tweezers.

      Pergunte ao FixBot

      Comentar

    4. Microsoft Surface Pro 5 Front and Rear Camera Replacement: passo 14, imagem 1 %32
      • Lift the camera tie bar off of the device.

      Pergunte ao FixBot

      Comentar

    1. Microsoft Surface Pro 5 Front and Rear Camera Replacement, Front and Rear Camera: passo 15, imagem 1 %32
      • Pry off the metal cover covering the front and rear camera ribbon cable motherboard connections using a nylon spudger.

      Pergunte ao FixBot

      Comentar

    2. Microsoft Surface Pro 5 Front and Rear Camera Replacement: passo 16, imagem 1 %32
      • Lift the front camera ribbon cable off the motherboard using the nylon spudger.

      Pergunte ao FixBot

      Comentar

    3. Microsoft Surface Pro 5 Front and Rear Camera Replacement: passo 17, imagem 1 %32
      • Remove the front camera.

      Pergunte ao FixBot

      Comentar

    4. Microsoft Surface Pro 5 Front and Rear Camera Replacement: passo 18, imagem 1 %32
      • Remove the two Torx T3 x 2.5mm screws holding down the rear camera.

      Pergunte ao FixBot

      Comentar

    5. Microsoft Surface Pro 5 Front and Rear Camera Replacement: passo 19, imagem 1 %32
      • Lift the rear camera ribbon cable off the motherboard using the nylon spudger.

      Pergunte ao FixBot

      Comentar

    6. Microsoft Surface Pro 5 Front and Rear Camera Replacement: passo 20, imagem 1 %32
      • Remove the rear camera.

      Pergunte ao FixBot

      Comentar

Conclusão

To reassemble your device, follow these instructions in reverse order.

Cancelar: não concluí este guia.

Uma outra pessoa concluiu este guia.

Paul Manzer

Membro desde: 10/02/17

762 Reputação

Autoria de 4 guias

Equipe

Cal Poly, Team S15-G3, Livingston Fall 2017 Membro de Cal Poly, Team S15-G3, Livingston Fall 2017

CPSU-LIVINGSTON-F17S15G3

3 Membros

Autoria de 81 guias

1Comentário do guia

In step 19, there is a loose, clear plastic piece next to the front camera. In my disassembly, that piece managed to get lost. Can anyone tell me what the name of that part is, and where I can get one?

Charley Ballmer - Responder Compartilhar
Comentar

Visualizações:

Últimas 24 horas: 1

Últimos 7 dias: 9

Últimos 30 dias: 45

Ao todo: 2,050