Introdução
Faça um upgrade no seu disco rígido para aumentar a capacidade de armazenamento.
O que você precisa
Vídeo de Apresentação
-
-
Desligue o Mac mini, desconecte todos os cabos e vire-o.
-
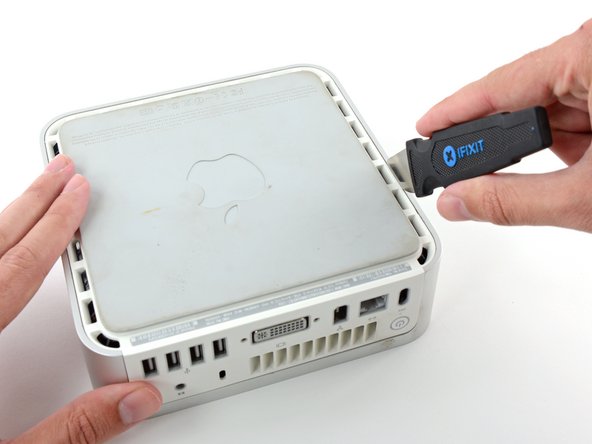
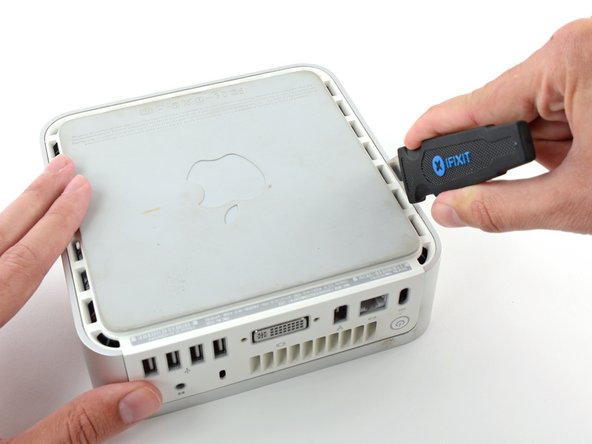
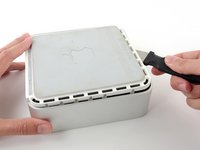
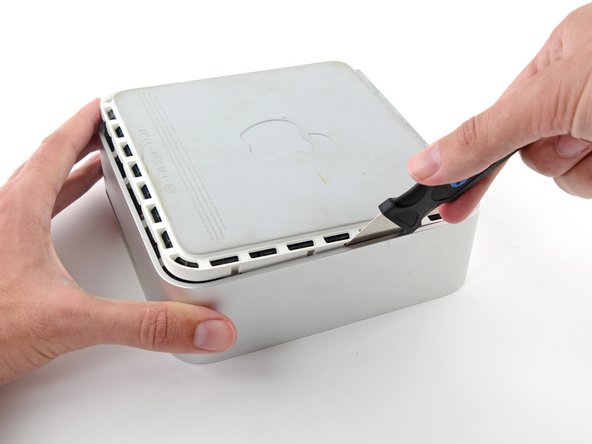
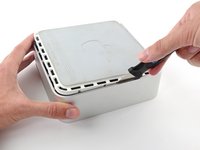
Insira o Jimmy na fresta entre a carcaça superior de alumínio e a carcaça inferior de plástico.
-
O Jimmy deve atingir um limite a cerca de 10 mm de profundidade.
 Pergunte ao FixBot
-
-
-
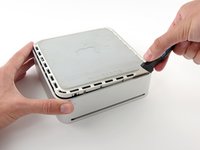
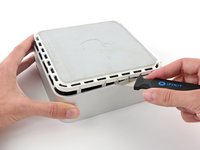
Dobre suavemente a Jimmy para fora para abrir um pouco mais a fenda e levantar levemente a carcaça inferior.
-
-
-
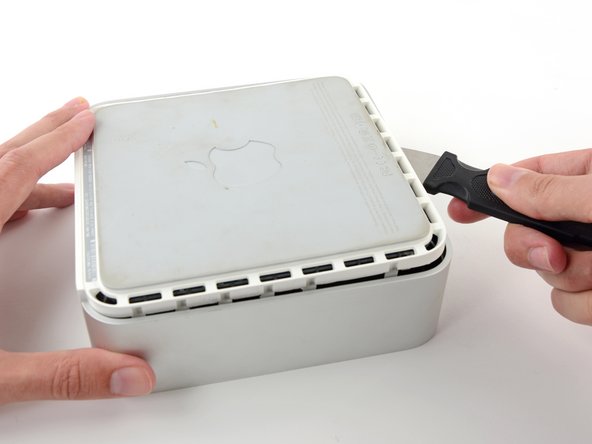
Assim que o primeiro lado estiver livre, gire o Mac mini e comece a forçar a borda frontal para cima.
-
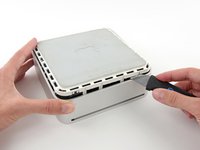
Use o mesmo movimento de alavanca para dobrar os clipes para dentro e levantar a carcaça inferior para fora da carcaça superior.
-
-
-
Talvez você precise mover a Jimmy ao longo da borda para soltar todos os clipes. Tenha paciência e faça um pouco de cada vez.
-
-
-
Continue trabalhando ao longo do perímetro, soltando os clipes da última borda.
-
-
-
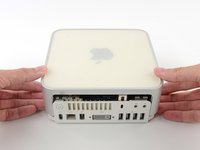
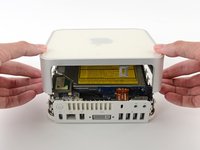
Vire o Mac mini de volta para cima e levante a carcaça superior, separando-a da carcaça inferior.
-
-
-
Pressione levemente os dois braços de retenção um contra o outro e levante a antena do AirPort para fora do seu pino.
-
-
-
-
Use a ponta de uma espátula para levantar ligeiramente o lado esquerdo da trava do cabo ZIF do soquete.
-
-
Ferramenta utilizada neste passo:Tweezers$4.99
-
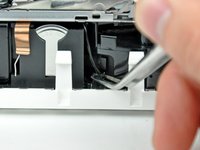
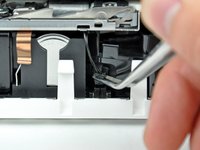
Use uma pinça para levantar o conector do cabo do sensor térmico do disco rígido do seu soquete na placa lógica.
-
-
-
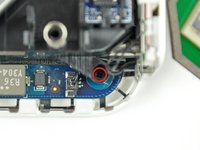
Remova o parafuso Phillips rebaixado próximo ao botão LIGA/DESLIGA que prende a estrutura interna à carcaça inferior.
-
-
-
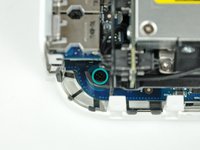
Remova o parafuso Phillips rebaixado próximo à luz de repouso que prende a estrutura interna à carcaça inferior.
-
-
-
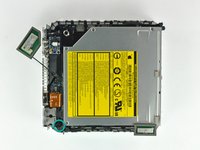
Remova o parafuso Phillips da estrutura interna próximo à antena Bluetooth.
-
-
-
Remova o parafuso Phillips próximo às portas de áudio que prende a estrutura interna à carcaça inferior.
-
-
-
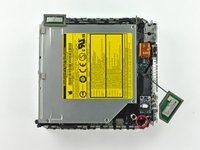
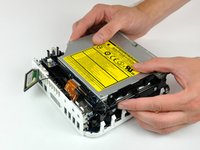
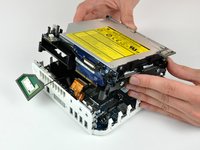
Levante suavemente a estrutura interna da carcaça inferior, tomando cuidado com a antena AirPort e quaisquer outros cabos que possam prender.
-
-
-
Remova os dois parafusos Phillips que prendem a lateral do disco rígido à estrutura interna.
-
-
-
Remova os dois parafusos Phillips que prendem a parte inferior do disco rígido à estrutura interna.
-
-
-
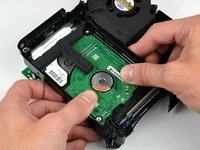
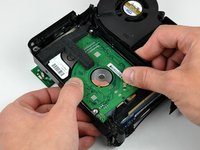
Use os polegares para deslizar o disco rígido em direção ao alto-falante, desconectando-o da placa de interconexão.
-













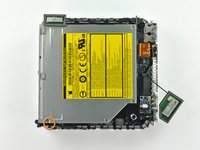
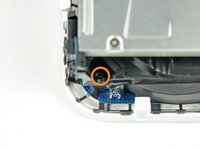


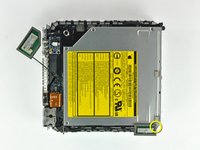
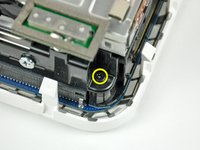







Para a remontagem de seu dispositivo, siga estas instruções na ordem inversa.
Cancelar: não concluí este guia.
548 outras pessoas executaram este guia.
Um agradecimento especial a esses tradutores:
100%

Translation Bot está nos ajudando a consertar o mundo! Quer contribuir?
Comece a traduzir ›

17Comentários do guia
The foam on the harddrive is attached with an adhesive tape - be careful to peel up the tape from the harddrive, rather than the foam from the tape.
I seemed to succeed - until I discovered my optical drive had broken. Disks do not mount, after some tries they eject. There was a LOT of dust inside my Mini, I think some got in the optical drive. A cleaning DVD and compressed gas didn't fix it. I wonder if it would be wise to seal the opening to the optical drive -- certainly before cleaning.
This was a failure for me, even though the memory and drive change went well.
Can't fault this guide.
* if you don't have a putty knife & you don't mind some scratches, a thin butter knife will do the trick for getting the case off.
*if you plan to replace hdd with an ssd - you may need to rejig some of the internal wires that run around the edges of the hdd/ssd: after I installed the ssd, and returned the wires to the tight track around the side and socket port end of the ssd, and turned the machine back on, there was a high pitch interference noises coming out the internal speaker every time the drive was active.
The solution: make sure the speaker wire isn't where it's *supposed* to be! There are three sets of wires, include the speaker pair. I reversed the positioning of these with respect to the SSD, i.e. I moved the speaker pair to be furthest away from the SSD, and *didn't* tuck them back in under the plastic lip beside the ssd connector port. I turned it back on, and no more high frequency whining whenever the drive is active
I upgraded my 2007 A1176 Mac Mini with a 2 TB M9T drive that I broke out of Seagate Backup Plus Ext. HD and increased my RAM from 2 GB to 3 GB! Success!
Be very careful with the audio cable removal the ZIF cable lock is VERY DELICATE!!!
