Ir para o conteúdo principal
Participe da comunidade de reparos - Criar conta

Logitech Webcam Pro 9000 Motherboard Replacement

O que você precisa

  1. Logitech Webcam Pro 9000 Motherboard Replacement, Front and Back Cover: passo 1, imagem 1 %32 Logitech Webcam Pro 9000 Motherboard Replacement, Front and Back Cover: passo 1, imagem 2 %32
    • Remove the two 8 mm Phillips #0 screws on the back cover.

    • The motherboard connects the two covers together. DO NOT separate the two yet.

    • There is a button that loosens as the Phillips screws are removed. Don't be alarmed if it falls out.

    Pergunte ao FixBot

    Comentar

  2. Logitech Webcam Pro 9000 Motherboard Replacement: passo 2, imagem 1 %32 Logitech Webcam Pro 9000 Motherboard Replacement: passo 2, imagem 2 %32
    • Remove the four 6mm Phillips #0 screws connecting the motherboard and front cover.

    • DO NOT detach the wire connecting the motherboard to the front cover.

    Pergunte ao FixBot

    Comentar

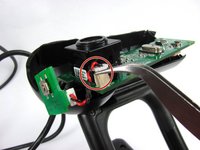
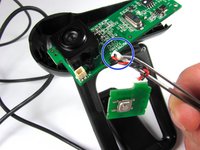
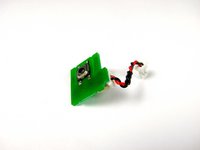
  3. Logitech Webcam Pro 9000 Motherboard Replacement, Snapshot button: passo 3, imagem 1 %32 Logitech Webcam Pro 9000 Motherboard Replacement, Snapshot button: passo 3, imagem 2 %32 Logitech Webcam Pro 9000 Motherboard Replacement, Snapshot button: passo 3, imagem 3 %32
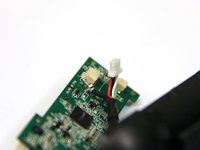
    • Grasp the white connector attaching the button chip wire to the motherboard.

    • Grab between the tabs and the socket.

    • Wiggle the connector back and forth to remove it from the connection box

    • Do not worry if you detach the red and black wire connection on the power button.

    Pergunte ao FixBot

    Comentar

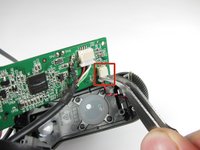
  4. Logitech Webcam Pro 9000 Motherboard Replacement, Microphone Connection: passo 4, imagem 1 %32 Logitech Webcam Pro 9000 Motherboard Replacement, Microphone Connection: passo 4, imagem 2 %32
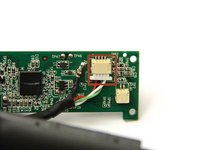
    • Grasp the white wire connector between the tabs and the socket.

    • Wiggle the connector back and forth to remove the front cover from the motherboard.

    Pergunte ao FixBot

    Comentar

  5. Logitech Webcam Pro 9000 Motherboard Replacement, USB Connection: passo 5, imagem 1 %32 Logitech Webcam Pro 9000 Motherboard Replacement, USB Connection: passo 5, imagem 2 %32
    Ferramenta utilizada neste passo:
    Tweezers
    $4.99
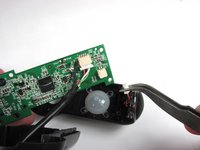
    • Use tweezers to grasp the white wire connector on the back of the motherboard.

    • Wiggle the connector back and forth to remove it from the socket.

    Pergunte ao FixBot

    Comentar

  6. Logitech Webcam Pro 9000 Motherboard Replacement: passo 6, imagem 1 %32 Logitech Webcam Pro 9000 Motherboard Replacement: passo 6, imagem 2 %32
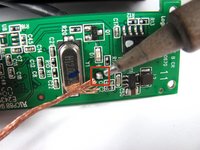
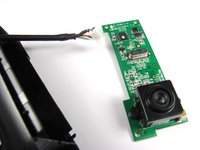
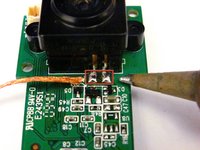
    • Desolder the joint on the front of the motherboard to completely detach the USB cable.

    • Follow this link to learn how to properly solder and desolder your parts.

    Pergunte ao FixBot

    Comentar

  7. Logitech Webcam Pro 9000 Motherboard Replacement, Camera: passo 7, imagem 1 %32
    • Remove the two 8mm Phillips#0 screws on the back of the motherboard.

    Pergunte ao FixBot

    Comentar

  8. Logitech Webcam Pro 9000 Motherboard Replacement: passo 8, imagem 1 %32 Logitech Webcam Pro 9000 Motherboard Replacement: passo 8, imagem 2 %32 Logitech Webcam Pro 9000 Motherboard Replacement: passo 8, imagem 3 %32
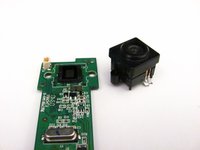
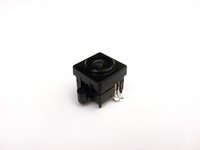
    • Remove the camera from the motherboard by desoldering the two connections as shown.

    • Follow this link to learn how to properly solder and desolder your parts.

    Pergunte ao FixBot

    Comentar

Conclusão

To reassemble your device, follow these instructions in reverse order.

Cancelar: não concluí este guia.

Uma outra pessoa concluiu este guia.

Cory Davis

Membro desde: 04/14/13

236 Reputação

Autoria de 4 guias

Equipe

Cal Poly, Team 12-34, Amido Spring 2013 Membro de Cal Poly, Team 12-34, Amido Spring 2013

CPSU-AMIDO-S13S12G34

4 Membros

Autoria de 16 guias

0Comentários do guia

Comentar

Visualizações:

Últimas 24 horas: 1

Últimos 7 dias: 7

Últimos 30 dias: 47

Ao todo: 2,597