Ir para o conteúdo principal
Participe da comunidade de reparos - Criar conta

Levoit Core 300-RAC Power Cord Replacement

O que você precisa

  1. Levoit Core 300-RAC Power Cord Replacement, Air Filter: passo 1, imagem 1 %32 Levoit Core 300-RAC Power Cord Replacement, Air Filter: passo 1, imagem 2 %32
    • Make sure your device is turned off and unplugged for safety.

    • Turn the Levoit Core 300-RAC over so the bottom is facing up.

    Pergunte ao FixBot

    Comentar

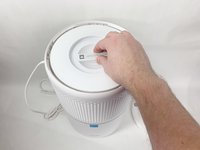
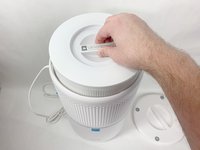
  2. Levoit Core 300-RAC Power Cord Replacement: passo 2, imagem 1 %32 Levoit Core 300-RAC Power Cord Replacement: passo 2, imagem 2 %32 Levoit Core 300-RAC Power Cord Replacement: passo 2, imagem 3 %32
    • Turn the bottom cover counterclockwise and lift it off to remove it.

    • The cover does not "snap" on or off when turned.

    Pergunte ao FixBot

    Comentar

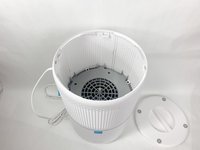
  3. Levoit Core 300-RAC Power Cord Replacement: passo 3, imagem 1 %32 Levoit Core 300-RAC Power Cord Replacement: passo 3, imagem 2 %32 Levoit Core 300-RAC Power Cord Replacement: passo 3, imagem 3 %32
    • Lift the filter straight up and out of the device.

    Pergunte ao FixBot

    Comentar

  4. Levoit Core 300-RAC Power Cord Replacement, Power Cord: passo 4, imagem 1 %32 Levoit Core 300-RAC Power Cord Replacement, Power Cord: passo 4, imagem 2 %32 Levoit Core 300-RAC Power Cord Replacement, Power Cord: passo 4, imagem 3 %32
    • Use a Phillips #2 screwdriver to remove the four screws that go through the four white tabs inside the device

    • Set the screws aside in a safe place.

    Pergunte ao FixBot

    Comentar

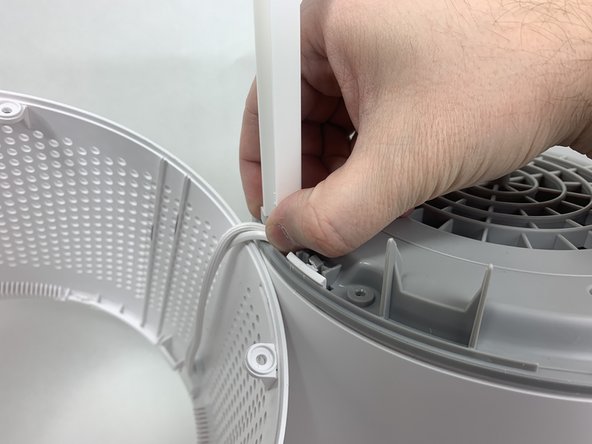
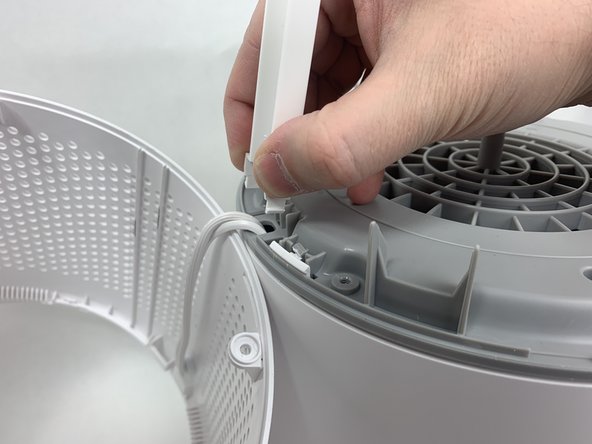
  5. Levoit Core 300-RAC Power Cord Replacement: passo 5, imagem 1 %32 Levoit Core 300-RAC Power Cord Replacement: passo 5, imagem 2 %32 Levoit Core 300-RAC Power Cord Replacement: passo 5, imagem 3 %32
    • Use a metal spudger to gently pry between the four white tabs and the white housing and release the outer housing.

    • Gently pull up on the outer housing to prevent the clips from resetting.

    Pergunte ao FixBot

    Comentar

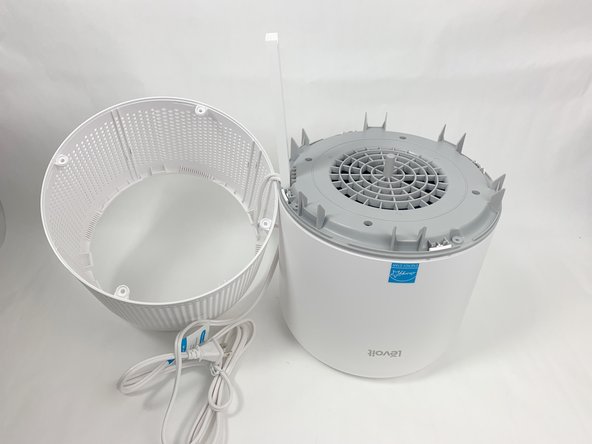
  6. Levoit Core 300-RAC Power Cord Replacement: passo 6, imagem 1 %32 Levoit Core 300-RAC Power Cord Replacement: passo 6, imagem 2 %32
    • Remove the white outer housing and set it to the side.

    • The power cord is fed through a hole in the side of this housing, so it will need to be right next to the rest of the device.

    Pergunte ao FixBot

    Comentar

  7. Levoit Core 300-RAC Power Cord Replacement: passo 7, imagem 1 %32 Levoit Core 300-RAC Power Cord Replacement: passo 7, imagem 2 %32 Levoit Core 300-RAC Power Cord Replacement: passo 7, imagem 3 %32
    • Grab the cable channel by its base, squeeze, and pull up at the same time to remove it.

    Pergunte ao FixBot

    Comentar

  8. Levoit Core 300-RAC Power Cord Replacement: passo 8, imagem 1 %32 Levoit Core 300-RAC Power Cord Replacement: passo 8, imagem 2 %32
    • Remove the four Phillips #2 screws securing the gray face plate.

    • Set the screws aside in a safe place.

    Pergunte ao FixBot

    Comentar

  9. Levoit Core 300-RAC Power Cord Replacement: passo 9, imagem 1 %32 Levoit Core 300-RAC Power Cord Replacement: passo 9, imagem 2 %32 Levoit Core 300-RAC Power Cord Replacement: passo 9, imagem 3 %32
    • Insert a Jimmy or spudger between the white tab and the gray faceplate body to release the faceplate.

    • Lift it out.

    Pergunte ao FixBot

    Comentar

  10. Levoit Core 300-RAC Power Cord Replacement: passo 10, imagem 1 %32
    • Use wire cutters to carefully cut off the crimped power cord connections and remove the white power cord.

    • Cut as close to the connection as possible to leave as much of the internal wires as possible.

    • Cut your new power cable to length and replace the old one. You can splice the new cable on using a soldering iron, heat shrink tubing, and a heat gun. Alternatively, you can use twist-on wire nuts to make a secure connection. For more information on soldering, take a look at How to Solder and Desolder Connectors, and How to Use Heat Shrink Tubing.

    Pergunte ao FixBot

    Comentar

Conclusão

To reassemble your device, follow these instructions in reverse order.

Cancelar: não concluí este guia.

2 outras pessoas executaram este guia.

David Kamp

Membro desde: 11/02/23

589 Reputação

Autoria de 3 guias

Equipe

UMass Dartmouth, Team 1-6, Petersen Fall 2023 Membro de UMass Dartmouth, Team 1-6, Petersen Fall 2023

UMASSD-PETERSEN-F23S1G6

5 Membros

Autoria de 8 guias

2Comentários do guia

You're a lifesaver, thank you! My rabbit managed to reach the cable for mine and chewed it up, my allergies have been going crazy

Grace - Responder Compartilhar

What type of cable did you use to replace the older one?

Mauricio Diaz - Responder Compartilhar

Comentar

Visualizações:

Últimas 24 horas: 0

Últimos 7 dias: 22

Últimos 30 dias: 123

Ao todo: 3,210