Introdução
If you have confirmed the speakers are broken by also testing the volume in your settings, the speakers will need to be replaced. It is important to note that some basic knowledge regarding soldering technique and safety is required. For those who are not completely confident with their soldering skills, a guide may be accessed at Como soldar e dessoldar contatos
O que você precisa
-
-
-
Remove the two 3.5 mm Phillips #00 screws that are covered by the micro SD port.
 Pergunte ao FixBot
-
-
-
Insert the spudger between the front and back panel in order to pry them apart.
-
Pry open the rest of the Le Pan S by dragging the spudger across the side.
-
-
-
-
Once the front and back faces are completely separated, remove the back cover to reveal the inside components.
-
-
-
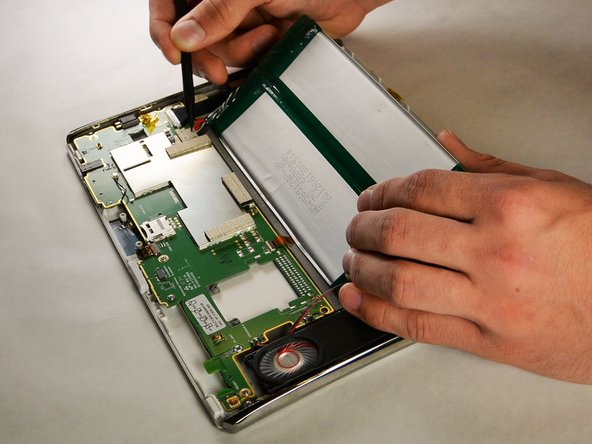
Disconnect the battery from the circuitry and lay it out of the way.
-
-
-
-
-
Remove the four 3.5 mm Phillips #00 screws holding the speakers in place.
-
Move the speakers out of the way.
-
-
-
Place the wick on the solder connecting the speakers to the electrical board.
-
Place a heated soldering iron on the solder wick to melt the existing solder.
-
Pull the speakers off of the solder connection.
-
-




To reassemble your device, follow these instructions in reverse order.

Equipe

IUPUI, Team 2-1, Harley Fall 2015 Membro de IUPUI, Team 2-1, Harley Fall 2015
IUPUI-HARLEY-F15S2G1
5 Membros
Autoria de 10 guias
