Introdução
Electric clothing-washing machines have sensor switches about doors. A switch is a moving mechanical part. In Kenmore 80, this switch can wear-out, or its plastic screw bosses can break. Workspace: have room in front of your washing machine, enough space such that it could tip over forward so its front is on floor, in front of its present position.
O que você precisa
-
-
Control panel console is fastened with two screws. Remove screws, pull bottom end of control panel forward (towards you), swing it upward, rest it in flipped position.
 Pergunte ao FixBot
-
-
-
Press on tab to release clip/latch. Grip connector, not wires, and pull it off of fixed connector.
-
-
-
-
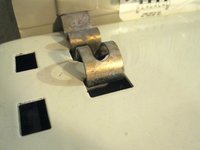
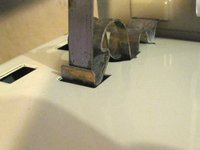
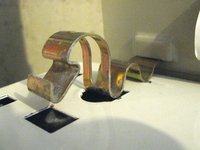
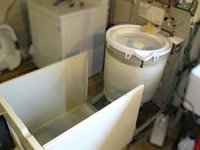
Use prise tool to remove two case clips. Pull top of case towards you, rock case (almost whole cabinet: case top, front, left & right) on its bottom front edge as axis, lower front of case until it rests on floor.
-
-
-
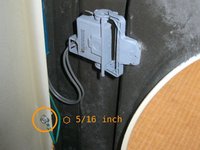
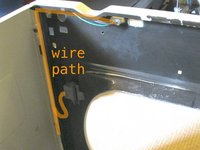
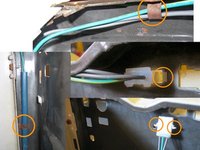
Case grounding wire is fastened on with one screw, 5/16 (five sixteenths) inch hexagon head. Unhook wires from the guide hooks.
-
-
-
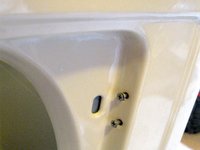
Switch is fastened on with two screws.
-
Remove connector from case top, squeezing connector's panel mount tabs to free it. when replacing: Face connector with its wedge bump facing frontward.
-






To reassemble your device, follow these instructions in reverse order.
Cancelar: não concluí este guia.
4 outras pessoas executaram este guia.

