Introdução
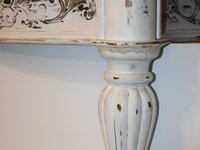
If your coffee table, dining table, or side table is suffering from a case of dry rot, this guide is the key to saving it. Dry rot is a fungus that consumes wood and can damage the structural integrity of a structure if it spreads. To avoid throwing out a favorite piece of furniture, use this guide to remove the dry rot and restore your table, chair, or other wood furniture.
I conducted this fix on my own in thirty minutes. It's fast, relatively easy, and worth the time and money spent on supplies to save yourself from buying a new table later on!
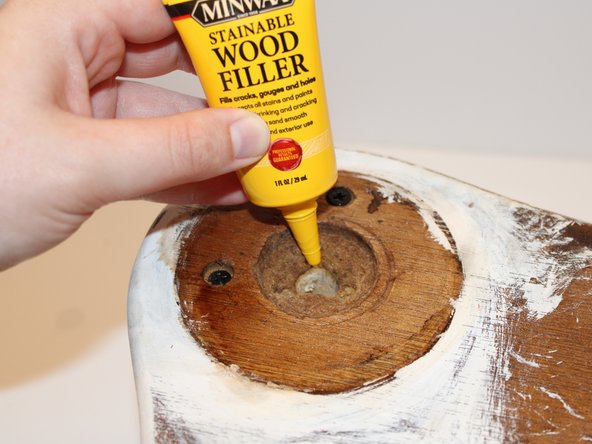
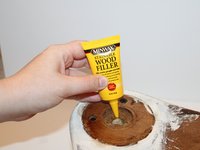
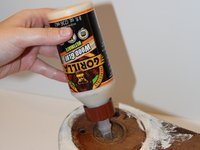
This repair requires the use of toxic epoxy, so work in a well-ventilated area and wear gloves to protect your skin.
O que você precisa
-
-
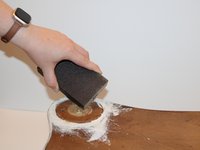
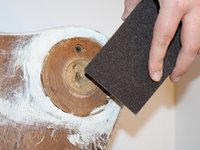
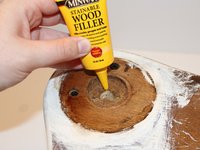
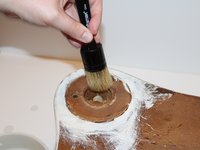
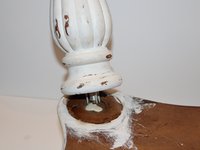
Place your table top down with the dry-rotted socket easily accessible to you.
-
-


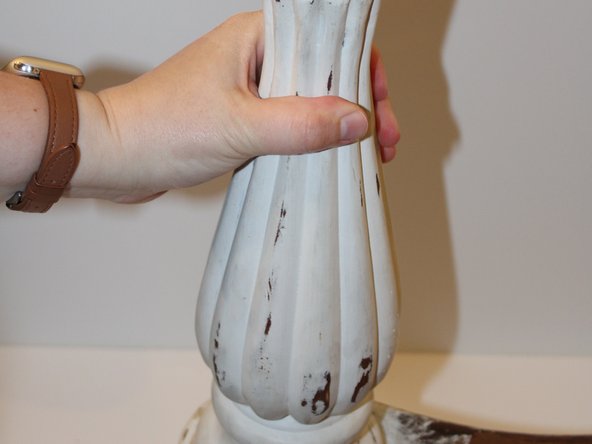


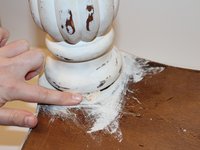


Make sure to allow all of the materials the proper time to cure and dry according to the instructions on their packaging before attempting to move the table. After that, your project is finished and yours to do with what you will!
Make sure to allow all of the materials the proper time to cure and dry according to the instructions on their packaging before attempting to move the table. After that, your project is finished and yours to do with what you will!

Equipe

University of North Alabama, Team 17-17, Winner Fall 2024 Membro de University of North Alabama, Team 17-17, Winner Fall 2024
UNA-WINNER-F24S17G17
1 Membro
1 Guia de autoria