Introdução
Use this guide to replace the bottom speaker on your HTC One M8.
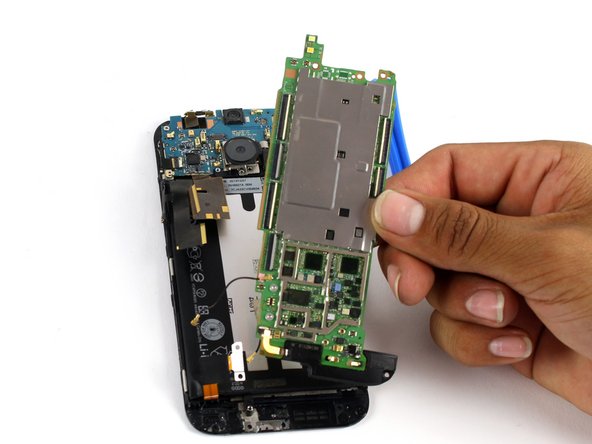
Please note that your device may have a large amount of copper shielding and tape covering the back of the display assembly, as shown here. If this is the case, you'll need to gently remove it to get at the motherboard.
O que você precisa
-
-
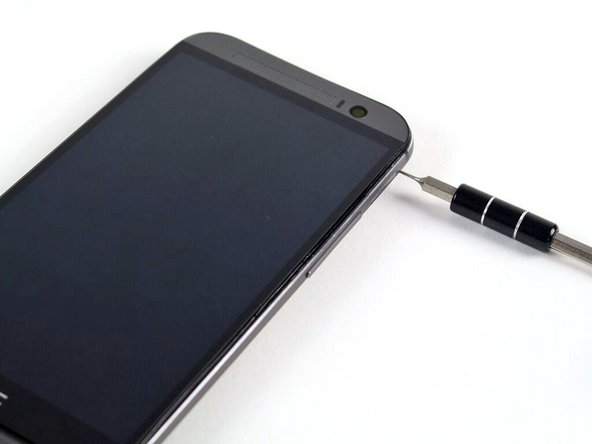
Insert a SIM card eject tool or a paperclip into the small hole in the SIM card tray, located on the upper left hand side of the phone.
-
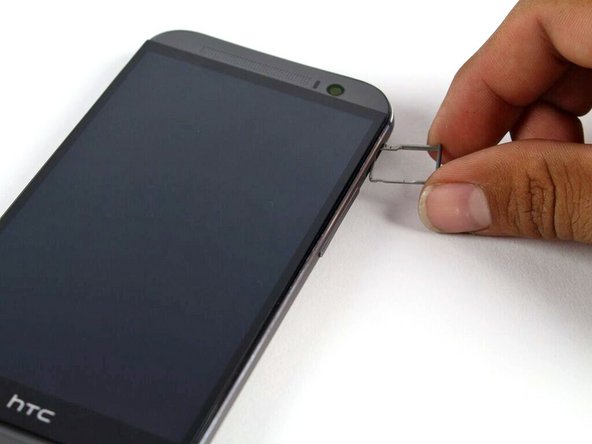
Press to eject the tray.
-
-
-
Insert a SIM card eject tool or a paperclip into the small hole in the microSD card tray, located on the upper right hand side of the phone.
-
Press to eject the tray.
-
-
-
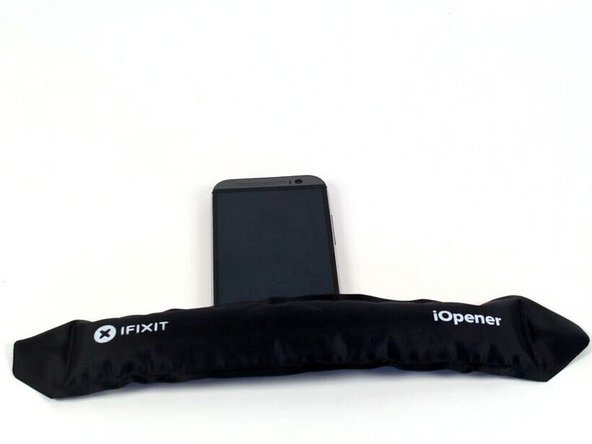
Use an iOpener or heat gun to loosen the adhesive on the upper and lower speaker grilles.
-
-
-
-
Remove the two silver 2 mm Phillips #00 screws securing the battery connector to the motherboard.
-
Use a plastic opening tool to gently pry up the battery connector.
-
-
-
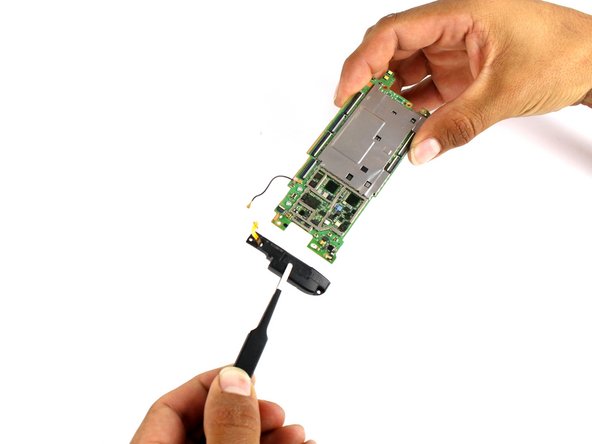
Use an iOpener to loosen up the adhesive securing the bottom speaker to the motherboard.
-
Use a pair of tweezers to gently remove the bottom speaker from the motherboard.
-


To reassemble your device, follow these instructions in reverse order.
To reassemble your device, follow these instructions in reverse order.
Cancelar: não concluí este guia.
13 outras pessoas executaram este guia.

Equipe

Cal Poly, Team 5-9, Maness Spring 2015 Membro de Cal Poly, Team 5-9, Maness Spring 2015
CPSU-MANESS-S15S5G9
Membros da 4
Autoria de 18 guias