Introdução
While using this guide you should be able to easily interpret how to replace the screen. When you begin tear down of the screen you’ll need the iFixit opening tool, and a #00 Phillips screwdriver, and some clear tape.
Before replacing any parts on your computer please refer to the troubleshooting page which may give you some solutions on how to fix your screen issues before buying a new one.
Make sure all power is fully disconnected before the rear laptop cover is removed.
O que você precisa
-
-
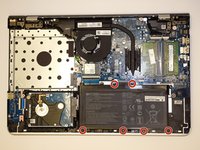
Turn the laptop over so the back is facing up. Use a Phillips #0 screwdriver to remove the 11 screws from the bottom cover. Rotate the screws counter-clockwise.
-
Eight 5mm screws.
-
Three 10mm screws.
-
-
-
Remove the six 5mm screws securing the battery using the Phillips #0 screwdriver.
-
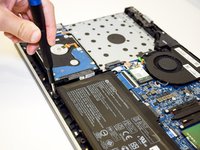
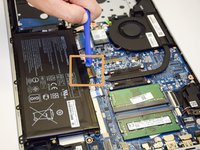
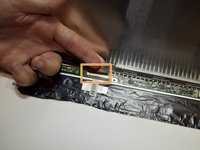
Gently disconnect the battery from the motherboard with a plastic opening tool and remove it from the device.
-
Charge it to 100% and continue to charge it for an additional two hours. Next, unplug the charger and use the laptop normally to completely drain the battery. Wait at least five hours and recharge the battery to 100%.
-
-
-
-
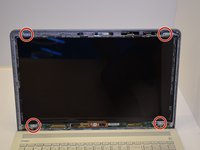
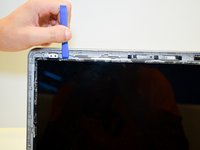
Open the laptop and make sure the screen is facing you.
-
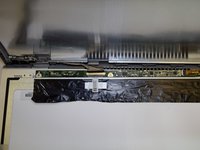
Insert a spudger or an opening tool in the top left corner and work your way around the edges of the screen to remove the black plastic bezel.
-


To reassemble your device, follow these instructions in reverse order.
To reassemble your device, follow these instructions in reverse order.
Cancelar: não concluí este guia.
3 outras pessoas executaram este guia.
Equipe

Embry-Riddle Aeronautical University, Team S24-G1, McClure Fall 2019 Membro de Embry-Riddle Aeronautical University, Team S24-G1, McClure Fall 2019
ERAU-MCCLURE-F19S24G1
Membros da 4
Autoria de 7 guias