Introdução
If your HP ElitePad 900 battery life quickly dies, is constantly overheating, or having problems holding a charge, use this guide to replace your battery.
The battery held within the laptop stores and supplies energy through the laptop for the convenience of not having to be plugged in to use, providing portable use.
Before conducting the repair, make sure your laptop is completely off and not connected to any power source.
O que você precisa
-
-
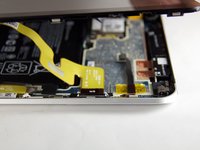
Unscrew the two 2.8mm Phillips #000 screws near the power connector.
 Pergunte ao FixBot
-
-
-
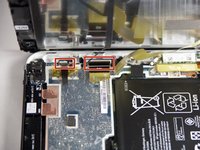
Use the tip of a spudger to disconnect the two display ZIF connectors.
-
-
-
-
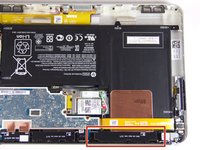
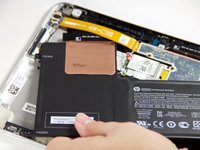
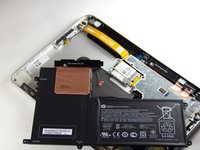
Remove the six 2.2mm Phillips #000 screws securing the battery to the device.
-


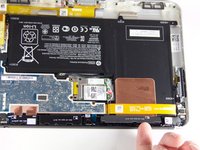


To reassemble your device, follow these instructions in reverse order. Take your e-waste to an R2 or e-Stewards certified recycler.
Cancelar: não concluí este guia.
13 outras pessoas executaram este guia.

Equipe

USF Tampa, Team 12-4, Blackwell Fall 2015 Membro de USF Tampa, Team 12-4, Blackwell Fall 2015
USFT-BLACKWELL-F15S12G4
4 Membros
Autoria de 6 guias
2Comentários do guia
Great Job took 10 min from start to finish!
One way to remove screen assembly without a suction cup is to use a piece of duct tape folded onto to itself leaving a small amount of the adhesive portion exposed. This creates a little handle. You can then stick it to assembly and lift it out easily.