Ir para o conteúdo principal

GravityLight LED Replacement

O que você precisa

  1. GravityLight LED Replacement, Removing the Front Panel: passo 1, imagem 1 %32 GravityLight LED Replacement, Removing the Front Panel: passo 1, imagem 2 %32
    • Flip the GravityLight on its back and place it on a sturdy surface.

    • Unscrew the three 2cm Phillips #00 screws on the back of the GravityLight’s body.

  2. GravityLight LED Replacement, Opening the Device Housing: passo 2, imagem 1 %32
    • Some of the internal pieces may loosen or fall out during disassembly.

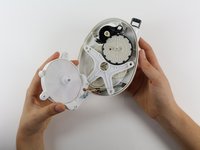
    • Firmly grasp both parts of the GravityLight body and pull them apart.

  3. GravityLight LED Replacement, Removing the Back Panel Screws: passo 3, imagem 1 %32
    • Place the back panel, the larger of the two pieces, on a sturdy surface with its back down.

    • Unscrew the two 2cm Phillips 00 screws on the inside of the back panel.

  4. GravityLight LED Replacement, Removing the LED Housing: passo 4, imagem 1 %32 GravityLight LED Replacement, Removing the LED Housing: passo 4, imagem 2 %32
    • Hold the LED housing in your hand, but do not separate it too far otherwise you will tear the wires.

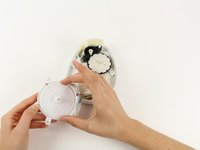
    • Lift the LED housing away from the back panel.

  5. GravityLight LED Replacement, Remove the White Gear from the LED Housing: passo 5, imagem 1 %32 GravityLight LED Replacement, Remove the White Gear from the LED Housing: passo 5, imagem 2 %32
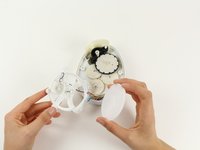
    • Grab the outside of the large, white gear in the LED housing and pull the gear out of the housing.

  6. GravityLight LED Replacement, Position the LED Housing: passo 6, imagem 1 %32
    • Set the LED housing flat on a sturdy surface so that the back of the LED and the wires are exposed.

  7. GravityLight LED Replacement, Cut the Wires: passo 7, imagem 1 %32
    • Place the GravityLight's back panel aside.

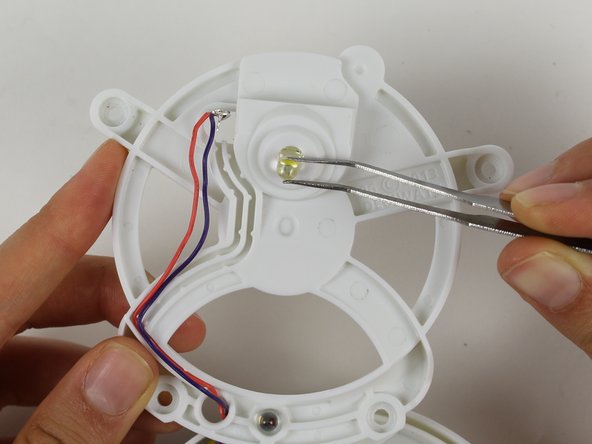
    • Use the Flush Wire Cutter to cut both the purple wire and the red wire that connect to the LED.

  8. GravityLight LED Replacement, Bend the LED Leads: passo 8, imagem 1 %32
    • Take tweezers and bend the leads (the silver wires coming out of the bulb) so that the leads are straight.

    • The straight leads will make the LED easier to take out.

  9. GravityLight LED Replacement, Remove the LED: passo 9, imagem 1 %32
    • Flip the LED housing over.

    • Pull the LED out with tweezers.

  10. GravityLight LED Replacement, Soldering the New LED: passo 10, imagem 1 %32
    • For reassembly: Flip the LED housing back over.

    • Put the new LED in its spot. Solder the red wire and the purple wire back onto the new leads.

    • Make sure that you pair each wire to the correct lead. If the LED still does not light, switch the wires on the leads.

    • For information on how to solder look here: Como soldar e dessoldar contatos

Conclusão

To reassemble your device, follow these instructions in reverse order.

Brian Gouldsberry

Membro desde: 09/26/14

201 Reputação

Autoria de 2 guias

Equipe

Cal Poly, Team 12-2, Forte Fall 2014 Membro de Cal Poly, Team 12-2, Forte Fall 2014

CPSU-FORTE-F14S12G2

Membros da 5

Autoria de 7 guias

0 comentários

Adicione um comentário

Exibir estatísticas:

Últimas 24 horas: 0

Últimos 7 dias: 0

Últimos 30 dias: 1

Duração total: 612