Ir para o conteúdo principal

Google Pixel 5a Screen Adhesive Installation

O que você precisa

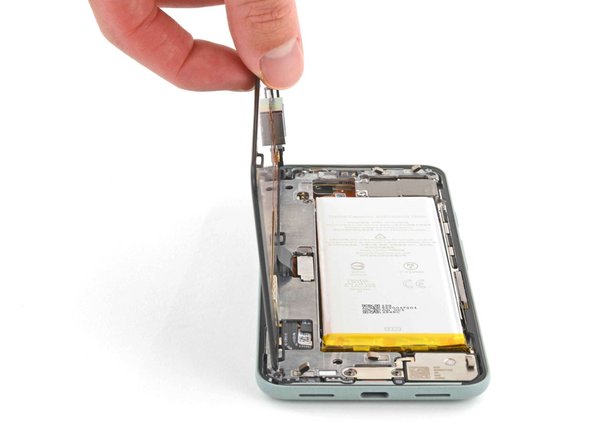
  1. Google Pixel 5a Screen Adhesive Installation, Remove adhesive residue from the frame: passo 1, imagem 1 %32 Google Pixel 5a Screen Adhesive Installation, Remove adhesive residue from the frame: passo 1, imagem 2 %32 Google Pixel 5a Screen Adhesive Installation, Remove adhesive residue from the frame: passo 1, imagem 3 %32
    • Peel off as much adhesive as you can with a pair of tweezers.

    • Use a spudger to scrape away any lingering adhesive.

    • Don't use metal tools to scrape away adhesive as this will damage the frame.

    • For best results, clean the area underneath the removed adhesive with 90% or greater isopropyl alcohol to prep the surface for the new adhesive.

  2. Google Pixel 5a Screen Adhesive Installation, Remove adhesive residue from the screen: passo 2, imagem 1 %32 Google Pixel 5a Screen Adhesive Installation, Remove adhesive residue from the screen: passo 2, imagem 2 %32 Google Pixel 5a Screen Adhesive Installation, Remove adhesive residue from the screen: passo 2, imagem 3 %32
    • Repeat the previous step for the screen adhesive.

    • Don't use metal tools to scrape away adhesive as this will damage the screen.

    • Don't use isopropyl alcohol near the front camera bracket as it will loosen its adhesive.

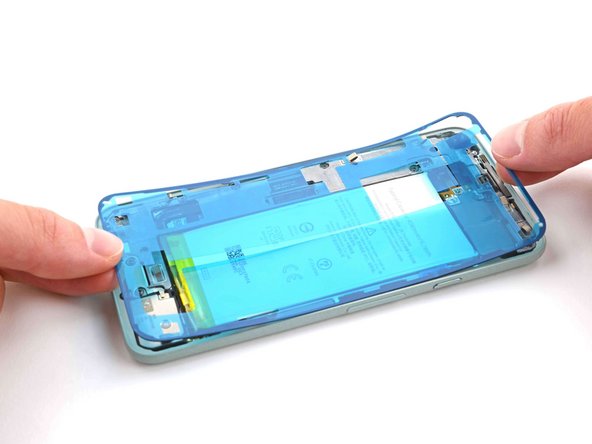
  3. Google Pixel 5a Screen Adhesive Installation, Align the adhesive: passo 3, imagem 1 %32
    • Use the front camera and corners of the frame to correctly align the adhesive.

  4. Google Pixel 5a Screen Adhesive Installation, Prepare the adhesive: passo 4, imagem 1 %32
    • Peel away the clear plastic lining to expose the frame side of the adhesive.

  5. Google Pixel 5a Screen Adhesive Installation, Apply the adhesive: passo 5, imagem 1 %32 Google Pixel 5a Screen Adhesive Installation, Apply the adhesive: passo 5, imagem 2 %32
    • Be very careful during this step! The adhesive is very sticky and can't be repositioned once it sticks. Misaligned adhesive can lead to an improper seal.

    • Lower the adhesive onto the frame.

    • Use the front camera and corners to help align the adhesive during installation.

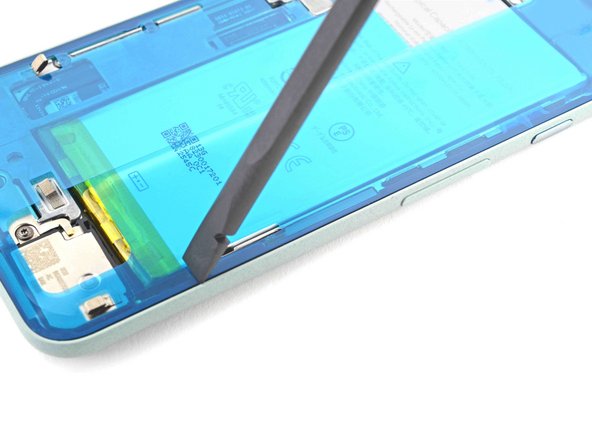
  6. Google Pixel 5a Screen Adhesive Installation, Secure the adhesive to the frame: passo 6, imagem 1 %32 Google Pixel 5a Screen Adhesive Installation, Secure the adhesive to the frame: passo 6, imagem 2 %32
    • Use the flat end of a spudger or your fingernail to press down on the adhesive.

    • Slide along the perimeter to secure the adhesive to the frame.

  7. Google Pixel 5a Screen Adhesive Installation, Peel away the outer plastic lining: passo 7, imagem 1 %32 Google Pixel 5a Screen Adhesive Installation, Peel away the outer plastic lining: passo 7, imagem 2 %32
    • Use your fingers to grasp the blue plastic lining near the center and peel it away from the phone.

    • This should leave a thin perimeter of adhesive still covered by blue plastic lining.

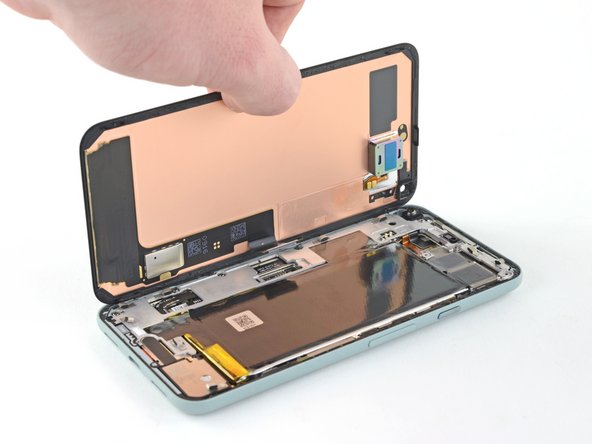
  8. Google Pixel 5a Screen Adhesive Installation, Connect the screen: passo 8, imagem 1 %32 Google Pixel 5a Screen Adhesive Installation, Connect the screen: passo 8, imagem 2 %32
    • Follow the screen replacement guide in reverse order and connect the screen to your pixel.

    • Remember to reinstall the screen connector bracket.

    • If you replaced the screen, check the screen's front-facing camera hole and remove any protective liners covering it.

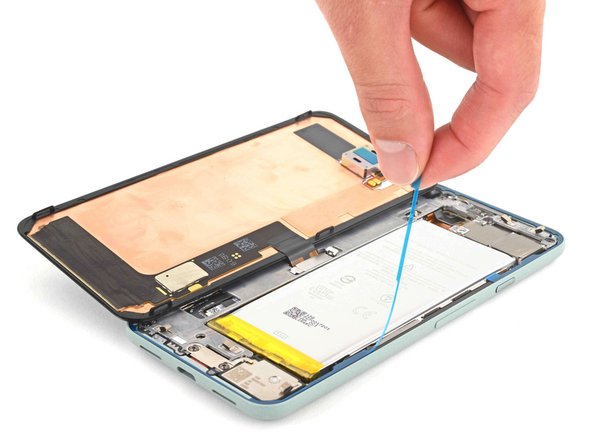
  9. Google Pixel 5a Screen Adhesive Installation, Peel away the remaining plastic lining: passo 9, imagem 1 %32 Google Pixel 5a Screen Adhesive Installation, Peel away the remaining plastic lining: passo 9, imagem 2 %32
    • Peel away the blue plastic lining to expose the perimeter adhesive.

  10. Google Pixel 5a Screen Adhesive Installation, Position the screen: passo 10, imagem 1 %32 Google Pixel 5a Screen Adhesive Installation, Position the screen: passo 10, imagem 2 %32 Google Pixel 5a Screen Adhesive Installation, Position the screen: passo 10, imagem 3 %32
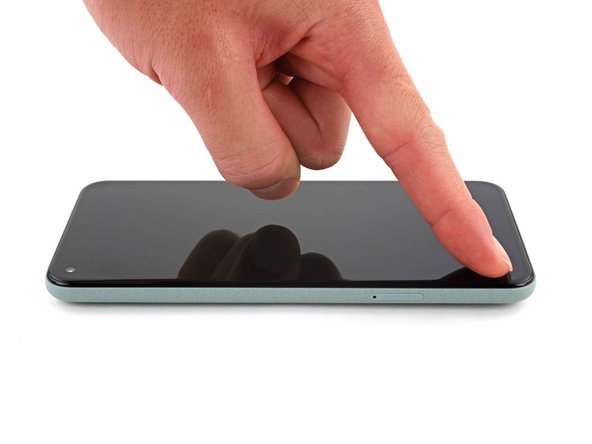
    • Position the screen so it lays on the frame.

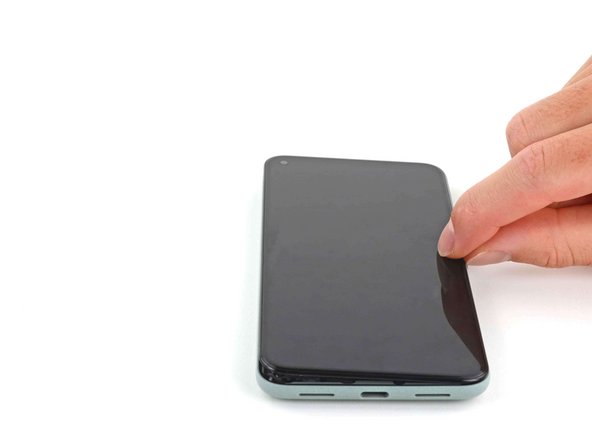
  11. Google Pixel 5a Screen Adhesive Installation, Press down the screen corners: passo 11, imagem 1 %32 Google Pixel 5a Screen Adhesive Installation, Press down the screen corners: passo 11, imagem 2 %32
    • Press down the corners of the screen to secure them to the frame.

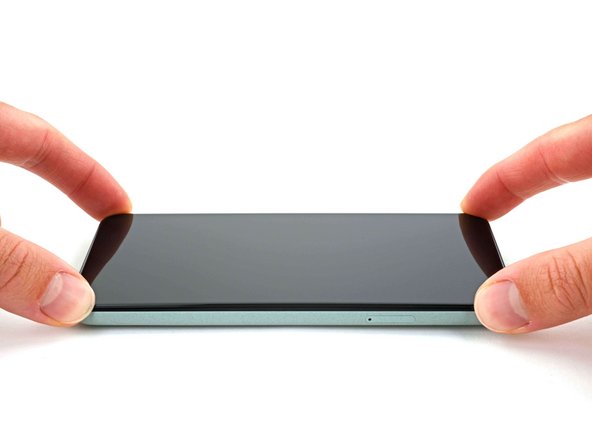
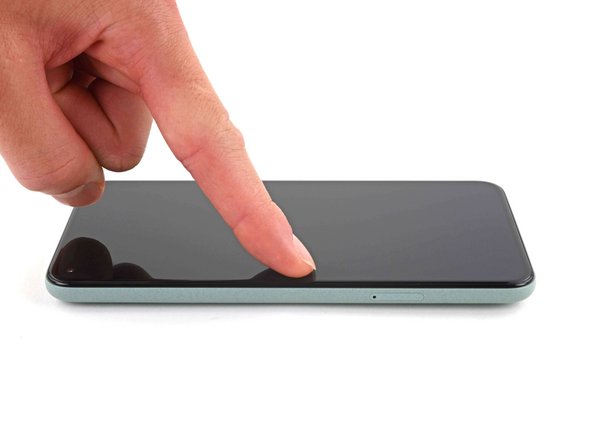
  12. Google Pixel 5a Screen Adhesive Installation, Secure the screen to the frame: passo 12, imagem 1 %32 Google Pixel 5a Screen Adhesive Installation, Secure the screen to the frame: passo 12, imagem 2 %32 Google Pixel 5a Screen Adhesive Installation, Secure the screen to the frame: passo 12, imagem 3 %32
    • Press down on the edges of the screen.

    • Slide along the perimeter to secure it to the frame.

    • You can heat the perimeter of the screen to soften the adhesive and help it bond more securely.

Conclusão

Repair didn’t go as planned? Try some basic troubleshooting, or ask our Pixel 5a Answers community for help.

14 outras pessoas executaram este guia.

Chayton Ritter

Membro desde: 08/21/20

18.004 Reputação

Autoria de 99 guias

Equipe

Guide Team Membro de Guide Team

Staff

Membros da 6

Autoria de 7.250 guias

3 comentários

Pretty easy. Maybe 20 mins job. Nice guide.

Toby Phillippe - Responder

What is the stack of books for?

ccc - Responder

Excellent instructions. I was able to get through this no problem.

Chrystian - Responder

Adicione um comentário

Exibir estatísticas:

Últimas 24 horas: 7

Últimos 7 dias: 49

Últimos 30 dias: 179

Duração total: 5,490