Introdução
This repair guide was authored by the iFixit staff and hasn’t been endorsed by Google. Learn more about our repair guides here.
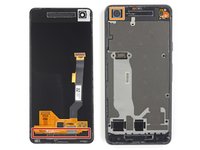
Replacement guide for the power and volume buttons on a Google Pixel 2 smartphone.
This guide covers the external plastic buttons as well as the internal ribbon cable.
O que você precisa
-
-
If your display glass is cracked, keep further breakage contained and prevent bodily harm during your repair by taping the glass. This also makes a smooth surface allowing the suction cup to bond.
-
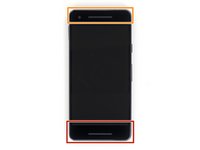
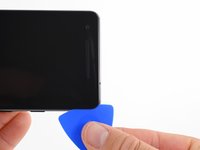
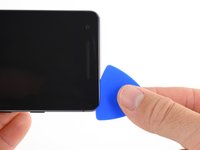
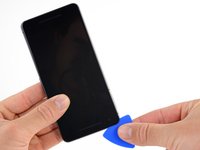
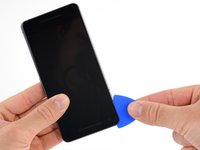
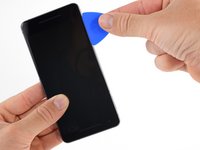
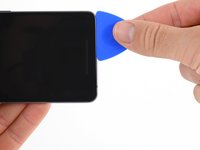
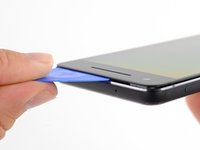
Apply a suction cup as close to the volume button edge of the phone as you can while avoiding the curved edge.
-
-
-
-
Apply a heated iOpener to the proximity sensor on the top edge of the midframe for two minutes to soften its adhesive.
-
-
Ferramenta utilizada neste passo:Magnetic Project Mat$19.95
-
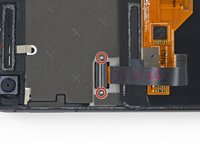
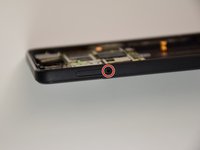
Peel back the small piece of tape covering the screw below the earpiece speaker. Peel back any tape covering other screws as well.
-
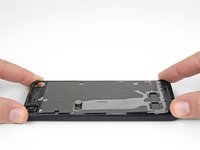
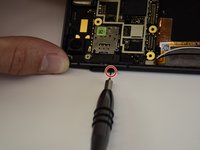
Remove the following screws securing the midframe:
-
Eleven 3.7 mm Phillips screws
-
One 4 mm T5 Torx screw
-
-
-
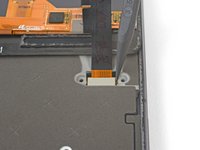
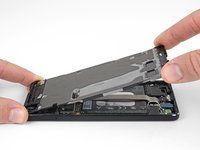
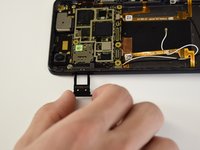
Use the flat end of a spudger to disconnect the battery connector.
-
-
-
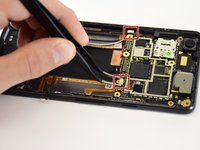
Use the flat end of a spudger to disconnect the charging assembly connector.
-
-
-
Fill a plastic dropper or syringe with high concentration isopropyl alcohol and apply a few drops of alcohol under each corner of the battery. Give the alcohol a minute to weaken the battery adhesive.
-
Alternatively, apply a heated iOpener to the back of the phone over the battery for at least two minutes. Reheat and reapply the iOpener as needed until the battery adhesive is sufficiently weakened.
-
-
-
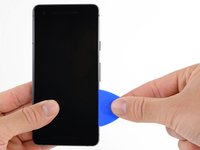
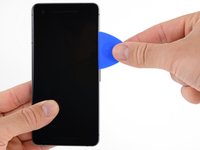
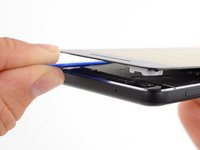
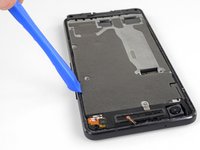
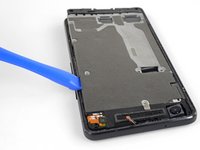
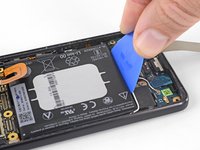
Hold the charging assembly cable out of the way and insert an opening pick along the bottom edge of the battery.
-
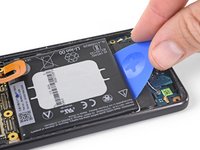
Apply steady, even pressure to slowly lever the battery up and out of the phone.
-
Only pry from the center of the battery to avoid damaging the delicate ribbon cables beneath either side of the battery.
-
If you are having trouble, apply some more alcohol under the battery and try again.
-
-
Ferramenta utilizada neste passo:Tesa 61395 Tape$5.99
-
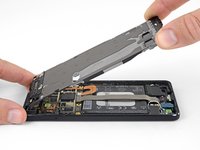
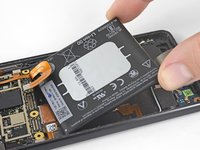
Remove the battery.
-
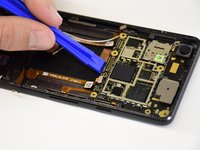
Use a spudger to scrape away any remaining adhesive from the phone, and clean the glued areas with isopropyl alcohol and a lint-free cloth.
-
Secure the new battery with pre-cut adhesive or double-sided adhesive tape. In order to position it correctly, apply the new adhesive into the phone, not directly onto the battery. The adhesive should not touch any of the cables under the battery.
-
Press the battery firmly into place for 20-30 seconds.
-
-
-
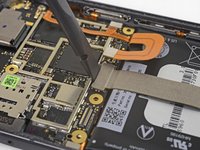
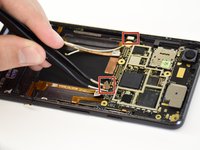
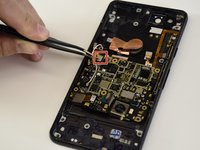
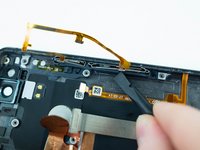
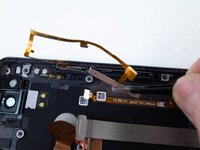
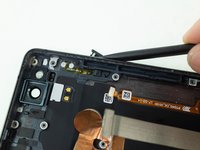
use the flat end of a spudger to disconnect the charging assembly connector from the motherboard.
-
-
-
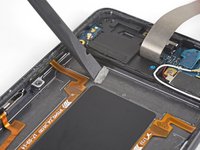
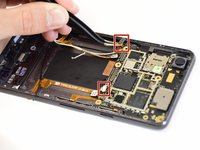
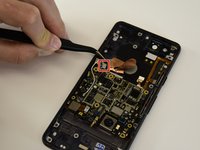
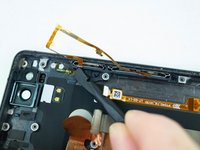
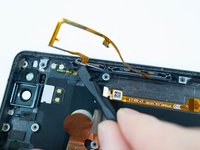
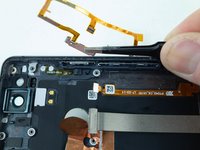
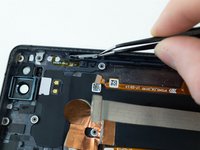
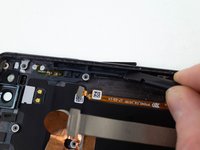
Use the pointed end of a spudger to gently lift up the button ribbon cable from the phone.
-


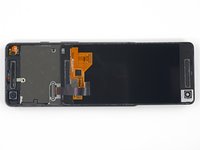


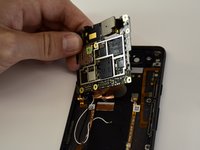


Compare your new replacement part to the original part—you may need to transfer remaining components or remove adhesive backings from the new part before installing.
To reassemble your device, follow the above steps in reverse order.
Take your e-waste to an R2 or e-Stewards certified recycler.
Repair didn’t go as planned? Check out our Answers community for troubleshooting help.
Cancelar: não concluí este guia.
4 outras pessoas executaram este guia.

1Comentário do guia
If you buy this part here as new, it comes a little bigger than the original, so volume buttons won't fix or working well, I mean one of the buttons volume up or down will work and the other no. :-(
I think is better to buy the used part.