Ir para o conteúdo principal
Participe da comunidade de reparos - Criar conta

Ematic FunTab 3 Motherboard Replacement

O que você precisa

  1. Ematic FunTab 3 Motherboard Replacement, Back Panel: passo 1, imagem 1 %32 Ematic FunTab 3 Motherboard Replacement, Back Panel: passo 1, imagem 2 %32 Ematic FunTab 3 Motherboard Replacement, Back Panel: passo 1, imagem 3 %32
    • Turn off the device before starting

    • To prevent damage, open the device on the side without the buttons.

    • Insert the hooked end of the plastic opening tool in the gap between the screen and the back panel on the edge of the device.

    • Slide the plastic opening tool down the long side of the device.

    • Insert tool again and slide it down the long slide of the case a second time.

    Pergunte ao FixBot
  2. Ematic FunTab 3 Motherboard Replacement: passo 2, imagem 1 %32
    • Pull the back panel away from the screen.

    Pergunte ao FixBot
  3. Ematic FunTab 3 Motherboard Replacement, Battery: passo 3, imagem 1 %32
    • Remove the black tape to reveal the wire ribbon connector.

    Pergunte ao FixBot
  4. Ematic FunTab 3 Motherboard Replacement: passo 4, imagem 1 %32 Ematic FunTab 3 Motherboard Replacement: passo 4, imagem 2 %32 Ematic FunTab 3 Motherboard Replacement: passo 4, imagem 3 %32
    Ferramenta utilizada neste passo:
    Tweezers
    $4.99
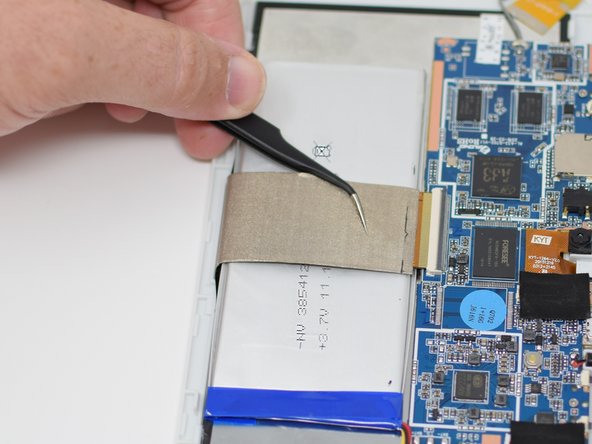
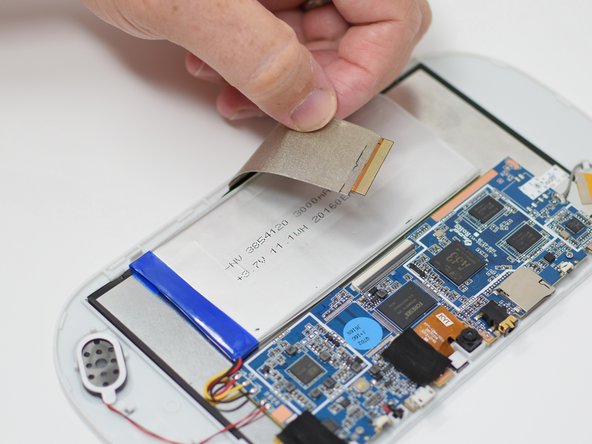
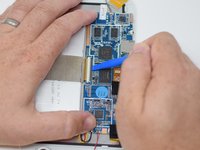
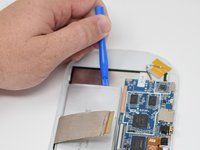
    • Flip up the black retaining tab using the plastic opening tool.

    • Pull out the large wire ribbon that crosses over the battery.

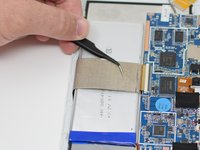
    • You may need tweezers to pull out the wire ribbon.

    Pergunte ao FixBot
  5. Ematic FunTab 3 Motherboard Replacement: passo 5, imagem 1 %32 Ematic FunTab 3 Motherboard Replacement: passo 5, imagem 2 %32 Ematic FunTab 3 Motherboard Replacement: passo 5, imagem 3 %32
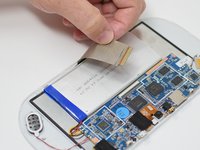
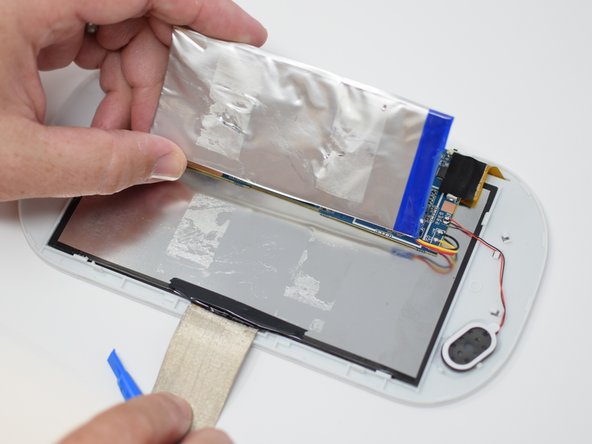
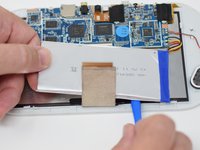
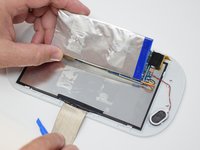
    • Insert the plastic opening tool under the battery.

    • Using the plastic opening tool, pry up the battery.

    • There is tape on the back of the battery. Some more force may be required to separate the battery from the back of the display.

    Pergunte ao FixBot
  6. Ematic FunTab 3 Motherboard Replacement: passo 6, imagem 1 %32 Ematic FunTab 3 Motherboard Replacement: passo 6, imagem 2 %32
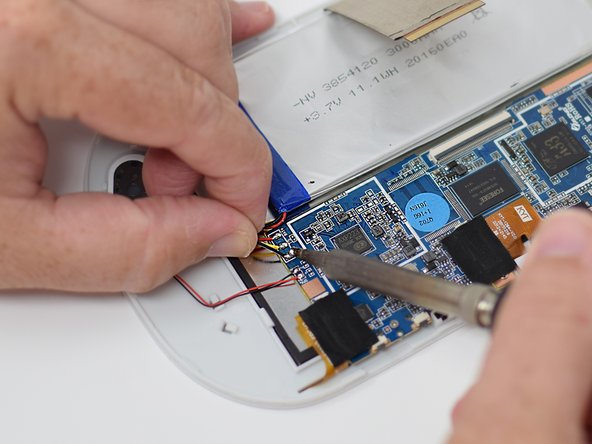
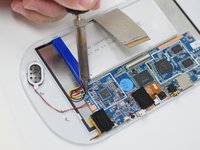
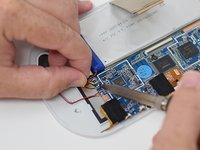
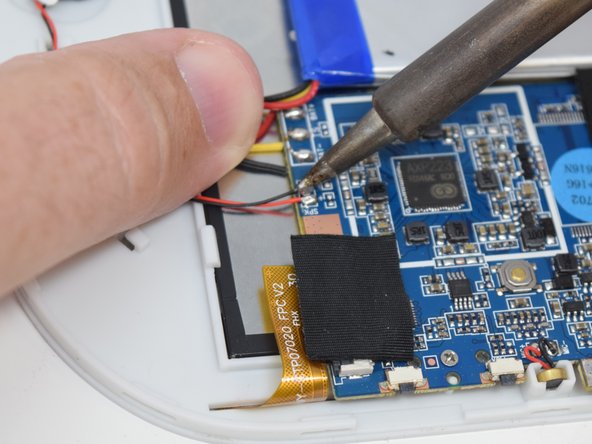
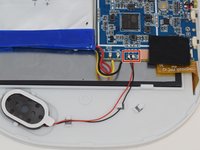
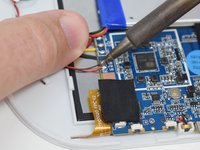
    • Remove the wires from the motherboard using a soldering iron tool. Here is a link on How To Solder and Desolder Connections.

    • After the connections are desoldered, remove the battery.

    • Close the black ribbon retaining tabs once ribbons are inserted during reassembly.

    Pergunte ao FixBot
  7. Ematic FunTab 3 Motherboard Replacement, Speaker: passo 7, imagem 1 %32 Ematic FunTab 3 Motherboard Replacement, Speaker: passo 7, imagem 2 %32
    Pergunte ao FixBot
  8. Ematic FunTab 3 Motherboard Replacement: passo 8, imagem 1 %32 Ematic FunTab 3 Motherboard Replacement: passo 8, imagem 2 %32 Ematic FunTab 3 Motherboard Replacement: passo 8, imagem 3 %32
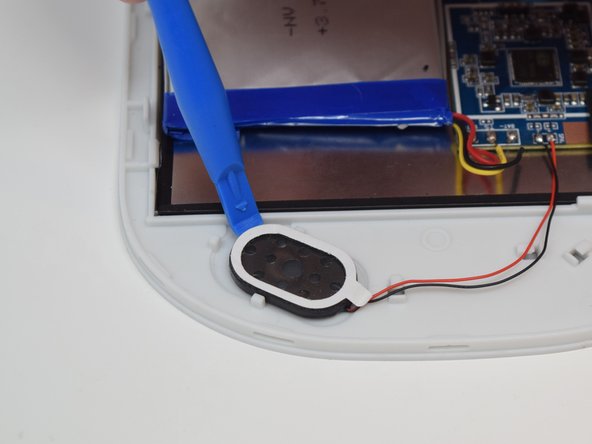
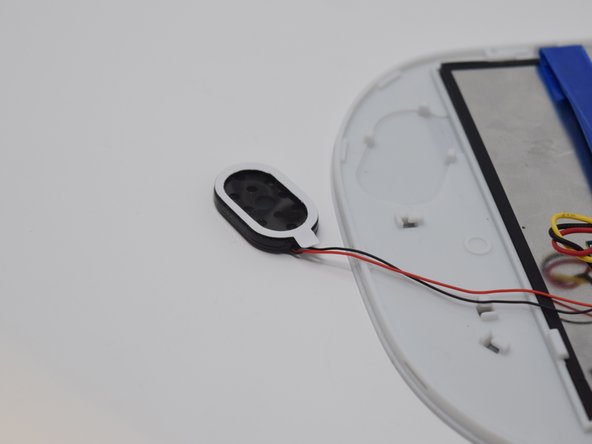
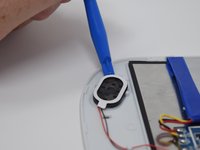
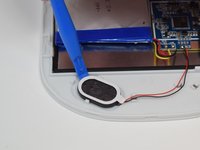
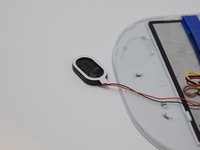
    • After the connections are desoldered, remove the speaker by prying it up using a plastic opening tool.

    • There is glue on the back of the speaker. Some more force may be required.

    Pergunte ao FixBot
  9. Ematic FunTab 3 Motherboard Replacement, Camera: passo 9, imagem 1 %32 Ematic FunTab 3 Motherboard Replacement, Camera: passo 9, imagem 2 %32
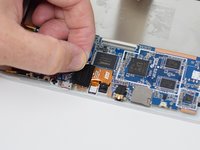
    • Remove the black tape to reveal the wire ribbon connector.

    Pergunte ao FixBot
  10. Ematic FunTab 3 Motherboard Replacement: passo 10, imagem 1 %32
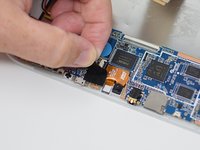
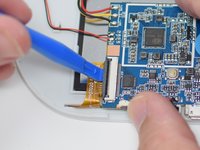
    • Use the plastic opening tool to flip up the black retaining tab.

    Pergunte ao FixBot
  11. Ematic FunTab 3 Motherboard Replacement: passo 11, imagem 1 %32 Ematic FunTab 3 Motherboard Replacement: passo 11, imagem 2 %32
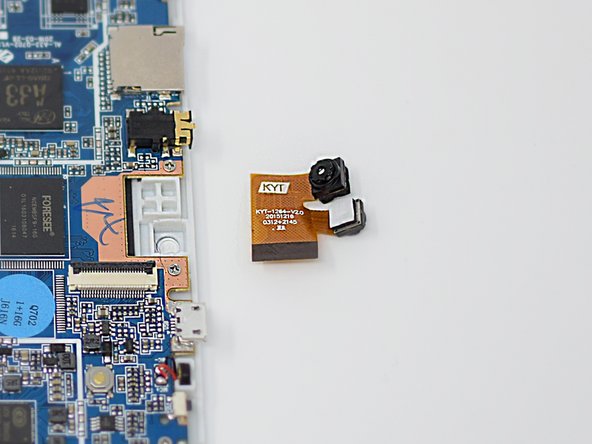
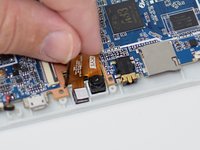
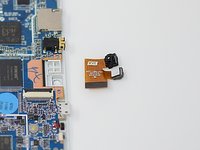
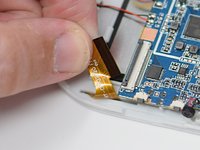
    • Pull out the wire ribbon connected to the camera.

    • The camera is held in place by glue, so extra force may be required.

    • Remove the camera from the device.

    • Close the black ribbon retaining tabs once ribbons are inserted during reassembly.

    Pergunte ao FixBot
  12. Ematic FunTab 3 Motherboard Replacement, Motherboard: passo 12, imagem 1 %32
    • Remove the black tape to reveal the screen connector.

    Pergunte ao FixBot
  13. Ematic FunTab 3 Motherboard Replacement: passo 13, imagem 1 %32 Ematic FunTab 3 Motherboard Replacement: passo 13, imagem 2 %32
    • Flip up the retaining tab using the plastic opening tool.

    • Pull out the screen wire ribbon to disconnect the screen and motherboard.

    Pergunte ao FixBot
  14. Ematic FunTab 3 Motherboard Replacement: passo 14, imagem 1 %32 Ematic FunTab 3 Motherboard Replacement: passo 14, imagem 2 %32
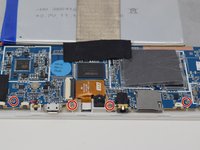
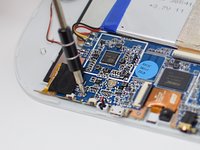
    • Using a PH 00 screwdriver, remove the four 4.5 mm screws that are holding the motherboard in place.

    Pergunte ao FixBot
  15. Ematic FunTab 3 Motherboard Replacement: passo 15, imagem 1 %32
    • It is now safe to remove and replace the old motherboard with your new motherboard.

    • Close the black ribbon retaining tabs once ribbons are inserted during reassembly.

    Pergunte ao FixBot
Conclusão

To reassemble your device, follow these instructions in reverse order.

Amanda Davis

Membro desde: 07/11/18

581 Reputação

Autoria de 5 guias

Equipe

UW Tacoma, Team S1-G5, Cardinal Summer 2018 Membro de UW Tacoma, Team S1-G5, Cardinal Summer 2018

UWT-CARDINAL-SU18S1G5

4 Membros

Autoria de 12 guias

0Comentários do guia

Comentar

Visualizações:

Últimas 24 horas: 0

Últimos 7 dias: 4

Últimos 30 dias: 34

Ao todo: 567