Introdução
If your device is not holding a charge, or only functions when plugged into the charger, then this guide will show how to fix this problem by replacing the battery. This process could take anywhere from 15-30 minutes, and requires you to detach and desolder all of the battery's connection to the device.
O que você precisa
-
-
-
Insert the hooked end of the plastic opening tool in the gap between the screen and the back panel on the edge of the device.
-
Slide the plastic opening tool down the long side of the device.
-
Insert tool again and slide it down the long slide of the case a second time.
 Pergunte ao FixBot
-
-
-
-
-
-
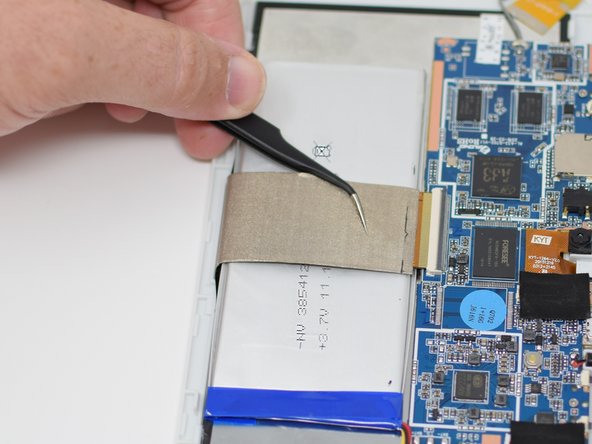
Remove the black tape to reveal the wire ribbon connector.
-
-
Ferramenta utilizada neste passo:Tweezers$4.99
-
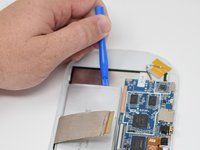
Flip up the black retaining tab using the plastic opening tool.
-
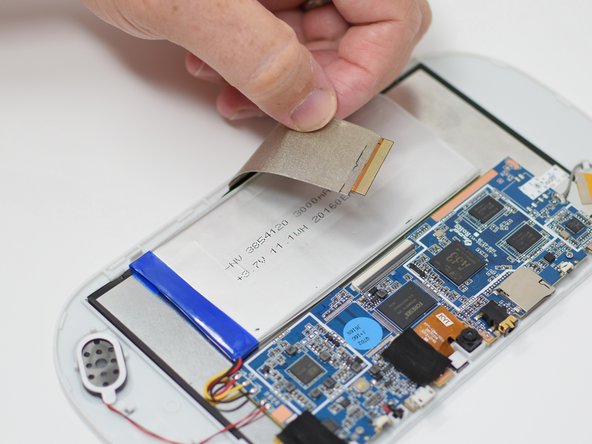
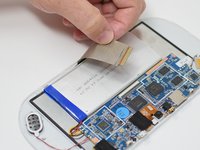
Pull out the large wire ribbon that crosses over the battery.
-
-
-
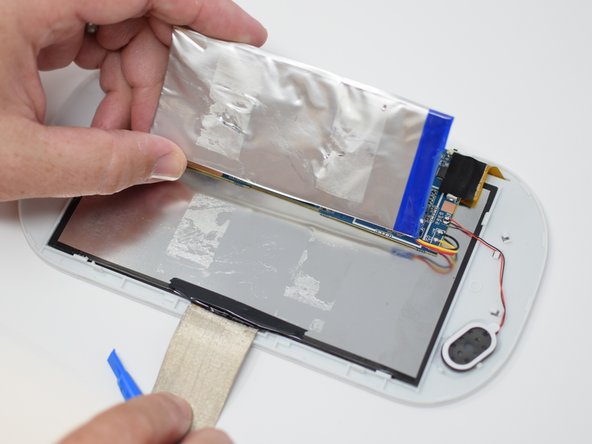
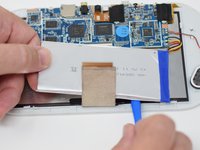
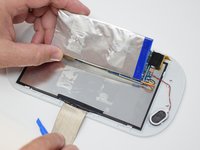
Insert the plastic opening tool under the battery.
-
Using the plastic opening tool, pry up the battery.
-
-
-
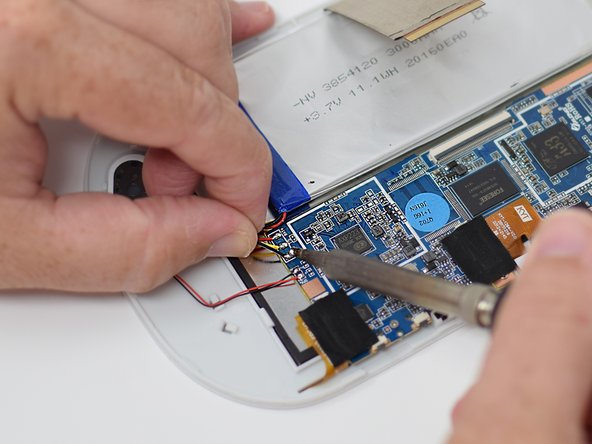
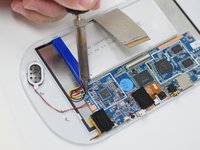
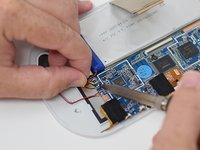
Remove the wires from the motherboard using a soldering iron tool. Here is a link on How To Solder and Desolder Connections.
-
After the connections are desoldered, remove the battery.
-
-






To reassemble your device, follow these instructions in reverse order.

Equipe

UW Tacoma, Team S1-G5, Cardinal Summer 2018 Membro de UW Tacoma, Team S1-G5, Cardinal Summer 2018
UWT-CARDINAL-SU18S1G5
4 Membros
Autoria de 12 guias
