Introdução
This repair should take approximately one hour (time may vary). Battery replacement requires separating the battery from the tablet itself and removing its connections to other parts of the tablet.
O que você precisa
-
-
-
Pry open the Ematic FunTab 2 using the plastic opening tool.
 Pergunte ao FixBot
-
-
Ferramenta utilizada neste passo:Tweezers$4.99
-
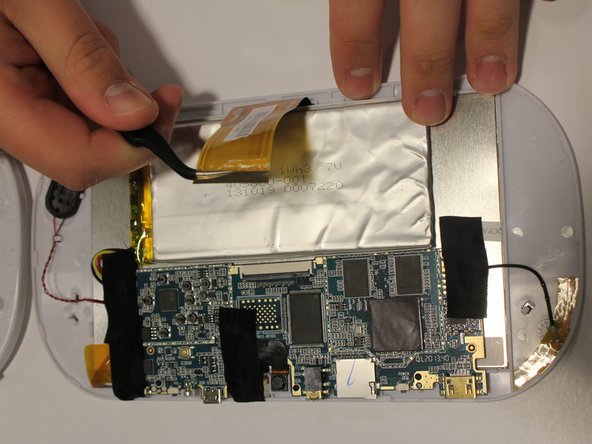
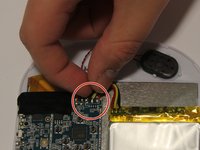
Flip up the retaining tab (the black bar on the connector), then pull LCD connector with tweezers. Be careful not to damage the LCD connector.
-
-
-
-
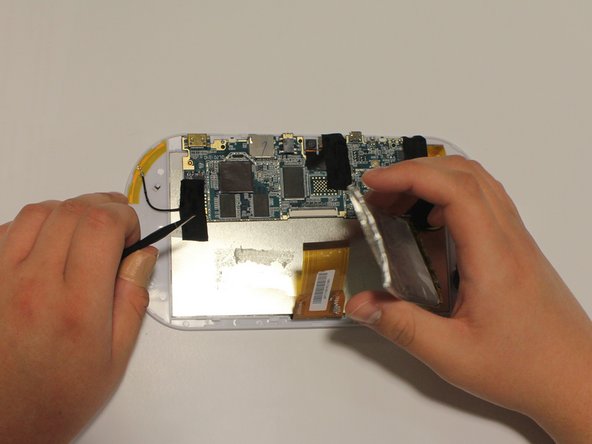
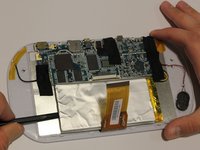
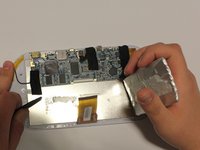
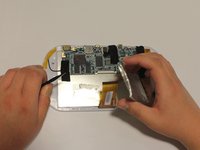
Now remove battery by putting the spudger between the battery and the LCD display and prying apart.
-
Be careful when prying the battery from the display. Wiggle the spudger if necessary.
-
-
-
Remove tape from the yellow, red, and black wires connecting the battery to the LCD.
-
-
-
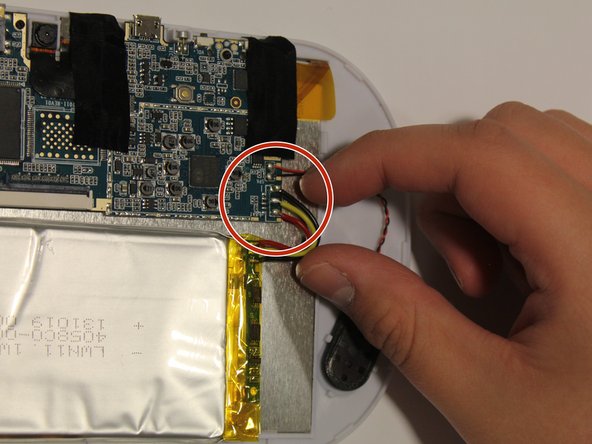
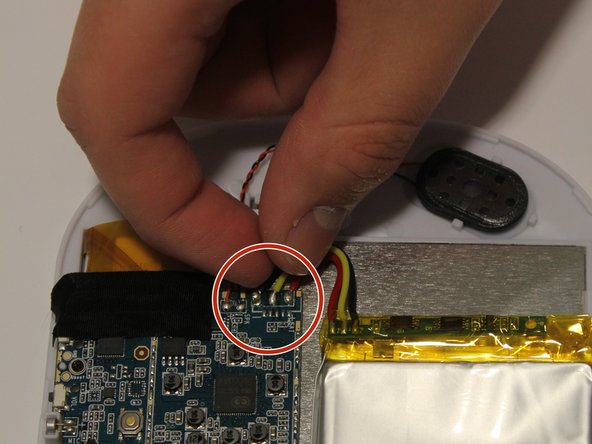
Disconnect the yellow, red, and black wires from the motherboard.
-
You will need to solder these wires back after completing the battery replacement. Here is a link on how to solder Como soldar e dessoldar contatos.
-
-
-
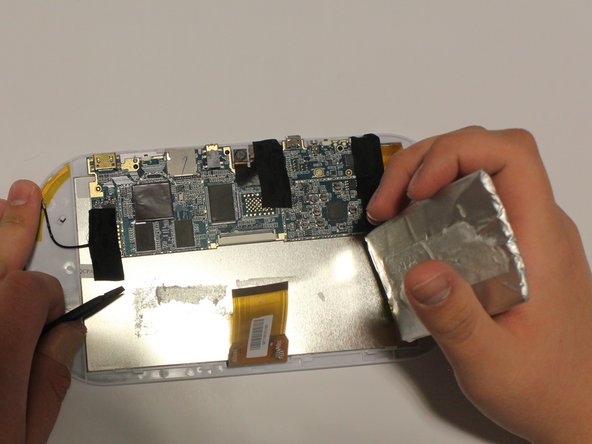
Now remove battery. The battery should still be pried from the LCD display, if not pry it again.
-
-







To reassemble your device, follow these instructions in reverse order.
Cancelar: não concluí este guia.
2 outras pessoas executaram este guia.

Equipe

University of Alabama, Team 1-1, Naidoo Spring 2015 Membro de University of Alabama, Team 1-1, Naidoo Spring 2015
UA-NAIDOO-S15S1G1
4 Membros
Autoria de 4 guias
