Introdução
This guide will teach the user how to remove every component safely and replace the screen of the Digiland DL701Q tablet.
O que você precisa
-
-
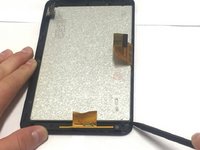
Hold the device firmly, in landscape view.
-
Locate the crevice that separates the front cover from the back cover. Then hold the plastic opening tool and insert the wedge portion of the tool into the crevice.
-
Slowly slide the wedge portion of the plastic opening tool while applying some upward force around the device until the back cover is completely loose.
 Pergunte ao FixBot
-
-
-
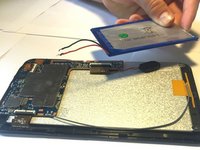
Place the screen in the palm of your hand and then with your other hand carefully grab the case and remove the cover like flipping the page of a book.
-
Lay the device down and notice that the speaker will be attached to the back cover with a wire. Carefully lift the speaker upward from the back cover and place it near the battery.
-
-
-
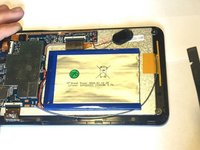
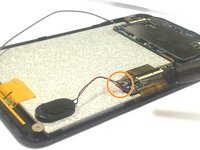
Lay device flat on the table.
-
Firmly grip the device on the edges. Take the wedge portion of the spudger tool and push in between the battery and the screen with force. Begin pushing the spudger with the wedge underneath the battery all the way around in order to break the glue.
-
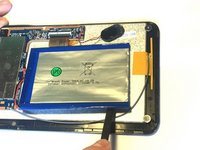
Repeat this step pushing further across and underneath until the battery is loose.
-
-
-
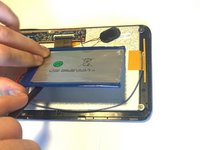
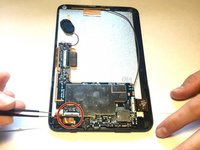
Once the battery is loose slowly lift it up so you can get to the terminals as seen in the next picture.
-
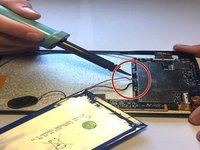
Desolder the battery's connection terminals from the motherboard.
-
Remove the battery by pulling it out of the device.
-
-
-
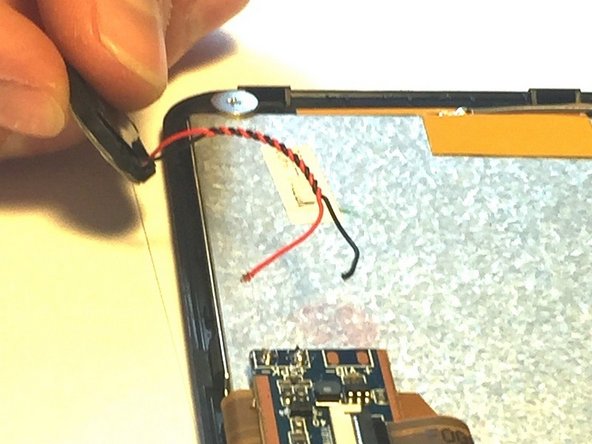
Orient the device with the screen facing down as shown in the picture and locate the speaker.
-
Locate where the flash's wires connect to the motherboard.
-
Desolder the speaker's wires from the motherboard and remove the speaker by pulling gently to see if the wires have been desoldered.
-
-
-
Ferramenta utilizada neste passo:Tweezers$4.99
-
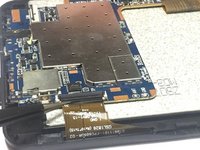
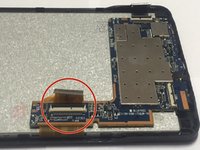
First orient the device to a portrait position as seen in the picture.
-
Locate the zero insertion force (ZIF) connector shown in the figure.
-
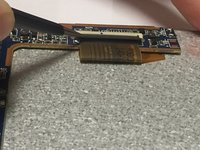
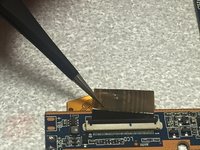
Use the tweezers to pull up on the zero insertion force (ZIF) connector and release the ribbon.
-
Next, take the tweezers and grab the ribbon and pull outward from the socket.
-
-
-
Then take the tweezers and grip the tape on the back of the camera and pull outward.
-
Lastly, take the spudger and pry the back camera from the bottom applying force upward.
-
The camera should be loose from the device and now you can lift it up and remove it.
-
-
-
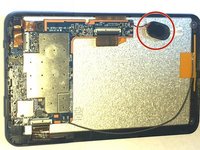
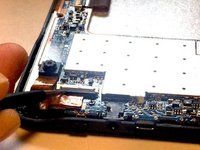
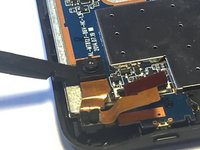
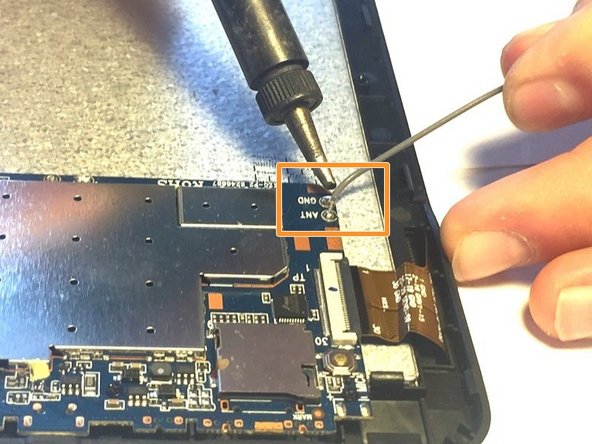
With the device flat on the table in the portrait position, grip the device and locate the antenna.
-
There is a connection at the top of the device. Desolder the connection.
-
Now locate the last connection that is attached near the bottom of the device. Desolder this connection.
-
-
Ferramenta utilizada neste passo:Tweezers$4.99
-
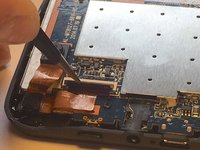
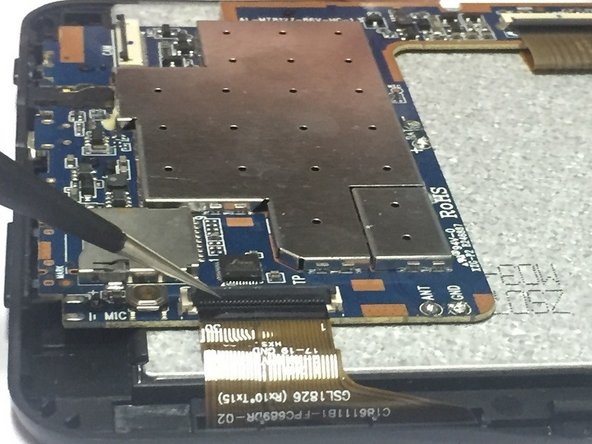
Grip the device firmly in hand and locate the black tab.
-
Pull up on the zero insertion force (ZIF) connector with the tweezers to unlock the ribbon.
-
Remove the ribbon by pulling it out using the tweezers.
-
-
-
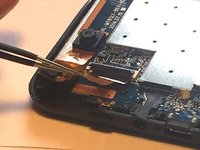
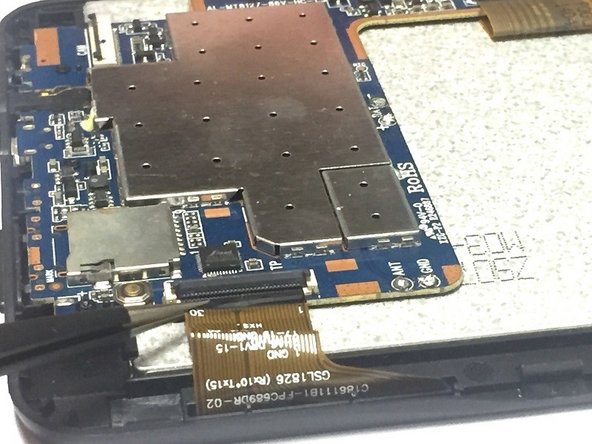
Locate the second ribbon that is attached to the motherboard.
-
Pull up on the zero insertion force (ZIF) connector using the tweezers. This will release the ribbon that is locked into place.
-
Pull the ribbon out using the tweezers to remove it from the motherboard.
-
-
-
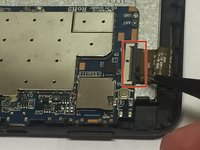
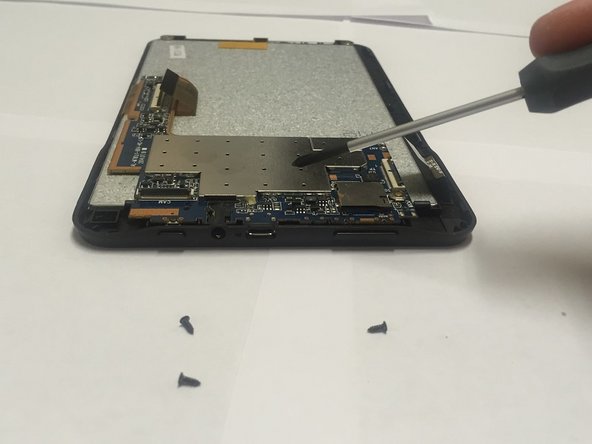
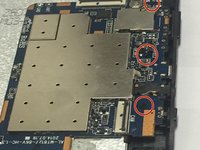
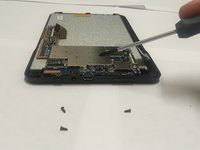
Locate the three 4mm screws that attach the motherboard to the device.
-
Use a PH0 screw driver to remove the 4mm screws shown.
-
-
-
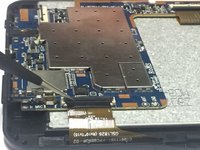
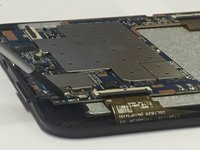
Grip the motherboard and lift up gently and remove the motherboard from the device.
-
-
Ferramenta utilizada neste passo:Tweezers$4.99
-
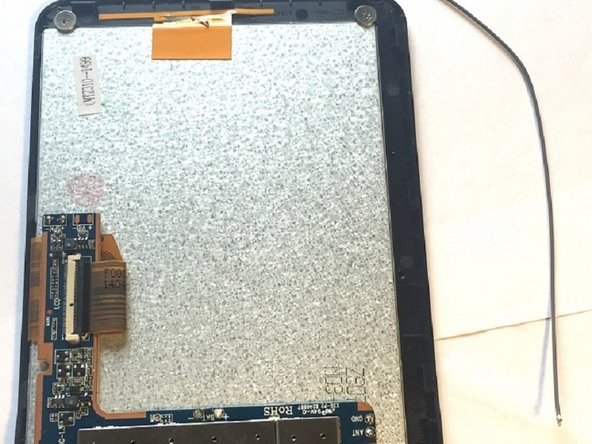
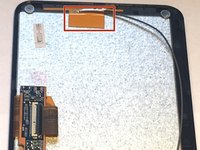
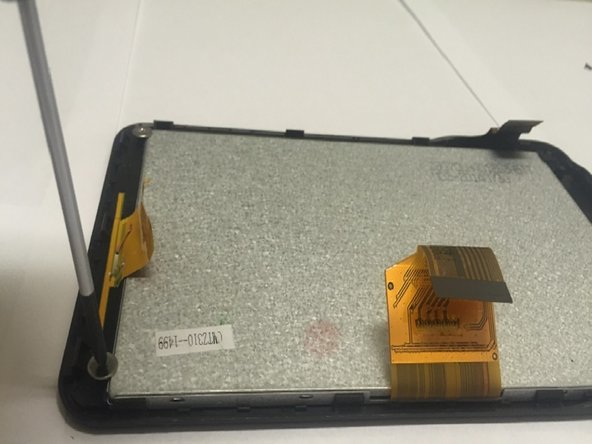
Use the tweezers to pry up the antenna strip
-
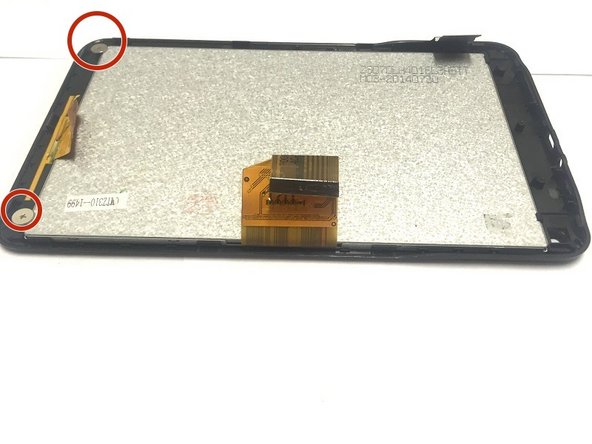
Locate the two 3mm screws.
-
Remove the two 3mm screws using the PH0 screwdriver.
-
-
-
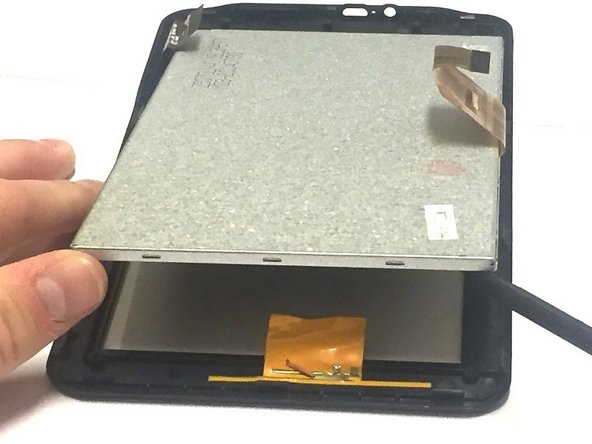
Insert the spudger below the corner of the screen and lift the screen up.
-
Gently remove the screen from the device.
-


To reassemble your device, follow these instructions in reverse order.
Cancelar: não concluí este guia.
7 outras pessoas executaram este guia.
Equipe

Clemson, Team 6-1, Benson Spring 2016 Membro de Clemson, Team 6-1, Benson Spring 2016
CLEM-BENSON-S16S6G1
3 Membros
Autoria de 7 guias