Ir para o conteúdo principal

Esta versão pode conter edições incorretas. Mude para o último instantâneo verificado.

O que você precisa

  1. Este passo não foi traduzido. Ajude a traduzi-lo

    : passo 1, imagem 1 %32 : passo 1, imagem 2 %32
    • It is possible to plug the laptop in to avoid hibernating the system.

    • Locate the Hibernate option in the Start menu. Let the system fully hibernate (or shut down) before removing the battery.

  2. Este passo não foi traduzido. Ajude a traduzi-lo

    : passo 2, imagem 1 %32 : passo 2, imagem 2 %32
    • Flip the laptop over and unlock the 2 battery tabs. The tabs will remain unlocked until the battery is removed.

  3. Este passo não foi traduzido. Ajude a traduzi-lo

    : passo 3, imagem 1 %32 : passo 3, imagem 2 %32 : passo 3, imagem 3 %32
    • The "extended runtime" battery on this model will stick out a few inches by design. This cannot be avoided.

    • Remove the battery. Pull the battery up from the back.

  4. Este passo não foi traduzido. Ajude a traduzi-lo

    : passo 4, imagem 1 %32 : passo 4, imagem 2 %32 : passo 4, imagem 3 %32
    • This step does not apply if this guide is being used as a prerequisite.

    • Align the battery with the tabs on the chassis. Drop the battery in place once lined up. If needed, use light pressure to seat it in the computer.

  5. Este passo não foi traduzido. Ajude a traduzi-lo

    : passo 5, imagem 1 %32
    • This step does not apply if this guide is being used as a prerequisite.

    • Turn the computer on and plug the charger in.

  6. Este passo não foi traduzido. Ajude a traduzi-lo

    : passo 6, imagem 1 %32 : passo 6, imagem 2 %32 : passo 6, imagem 3 %32
    • The screw marked in orange is directly screwed into the chassis. This point WILL break if overtightended.

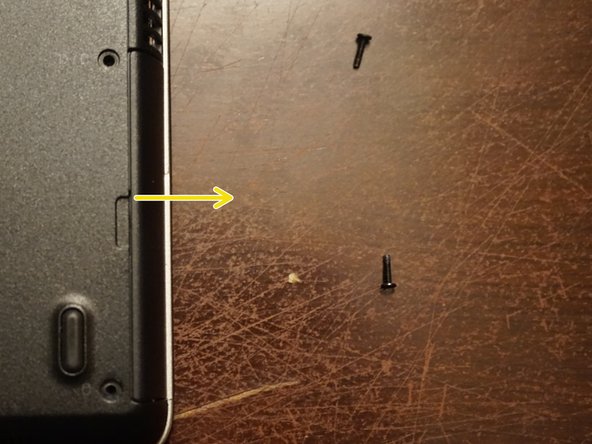
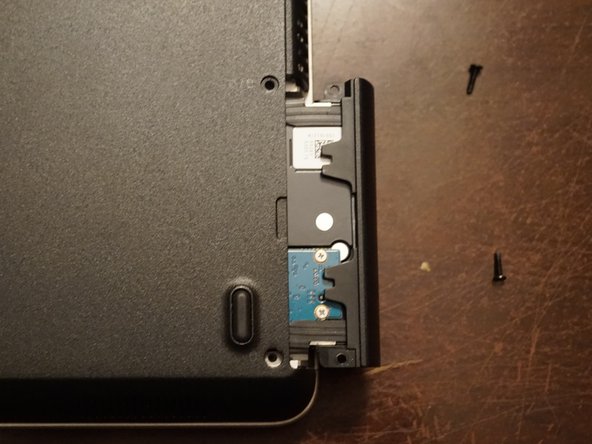
    • To remove the hard drive from the computer, remove the two screws. Use the Phillips #1 bit.

  7. Este passo não foi traduzido. Ajude a traduzi-lo

    : passo 7, imagem 1 %32 : passo 7, imagem 2 %32 : passo 7, imagem 3 %32
    • This step is not required if you are moving the drive to an identical Dell computer.

    • To remove the drive clip, remove the Phillips #0 screw holding the hard drive to the clip.

    • Once the screw is removed, remove the drive starting from the side with the screw.

    • Remove the drive from the right side by removing the drive from the alignment pin.

  8. Este passo não foi traduzido. Ajude a traduzi-lo

    : passo 8, imagem 1 %32 : passo 8, imagem 2 %32 : passo 8, imagem 3 %32
    • The bumpers are held on with double sided tape. This does not have to be replaced.

    • Once the drive is removed from the clip, remove the rubber bumpers. Transfer them to your new drive.

Linha de Chegada

3 outras pessoas executaram este guia.

Nick

Membro desde: 11/10/09

88.899 Reputação

Autoria de 49 guias

Equipe

Master Techs Membro de Master Techs

Community

Membros da 322

Autoria de 2.539 guias

0 comentários

Adicione um comentário

Exibir estatísticas:

Últimas 24 horas: 1

Últimos 7 dias: 10

Últimos 30 dias: 47

Duração total: 7,127